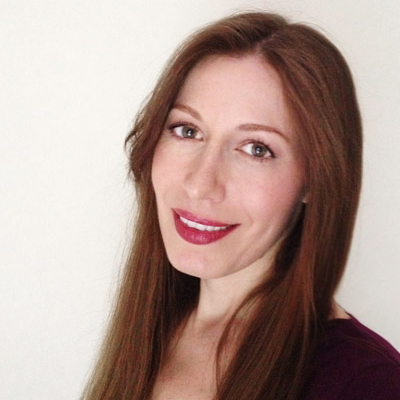
Adding a texture to a photograph is a great way of adding some interest or drama. A lot of fine-art photographers use this technique to give their images an interesting twist. Different textures will give your images a different feel. Adding a texture of concrete could add a bit of grittiness or an urban touch to your photograph, whilst a pastel colored soft texture may add a hint of romance. This tutorial will take you through the steps of adding the texture to your image.
Step 1: Open your image in Adobe Photoshop. Retouch your image if needed. The texture will need to be the final step, so make sure you are perfectly happy with all your adjustments to your photograph before continuing to step 2.
Step 2: Open your texture file in Adobe Photoshop. Click on that file so that you have the texture file selected and not your photograph. To make this step easier and to see your photo and the texture side by side you can use Photoshops arrange documents tool. This tool is situated in the horizontal menu bar (as an icon), or can be accessed by clicking on arrange from the window drop down menu and choosing the best option for your circumstances.
Step 3: Now that you can see your photo next to your texture, use the move tool from the main tool palette to drag your texture onto your image. You do this by left clicking on your mouse and keeping your finger pressed down whilst dragging the texture onto the photograph. Once it is over the photograph you can let go of the mouse. The image should drop onto your photograph and you should now see two layers in the layers palette. The one at the bottom will be your photograph and the one on top will be the texture. You can now close your original texture image, as it is not needed anymore.
Step 4: You photograph and texture will normally be different sizes. Ideally you should always have a texture that is at least the same size as your photograph or larger as sizing up the texture loses quality. If you texture is larger then you will need to make it smaller to fit your photo. The way to do this is to use the free transform tool. You can use the shortcut which is control (or command) T or use the menu item Edit and choose Free Transform from the drop down list. A box will now surround your texture and if you hover with your mouse over any corner you will see a double-sided arrow pop up. Press down on your shift key and click and drag the arrow upwards to make the texture larger, or downwards to make it smaller. The reason for using the shift key is that you will ensure you size the texture up or down whilst keeping the original proportions.
Step 5: Now that your texture is on your image there are many things that you can do to manipulate the texture and get the result that you want. I will tell you a few options. One option is to use a blending mode on your texture layer to change how it looks on top of your photo. Above your layer palette (which is by default on the right hand side of your screen) you have a few boxes such as opacity and fill. To the left of the opacity box is one that by default will say normal. This means that your blending mode is set to normal. If you click on the little arrow in the box you will get a drop down menu with all the blending modes. Here is a tip to let you scroll through all the blending modes without having to click on each one to activate it. To cycle though just press Shift and + (plus sign) to cycle down the menu and Shift and (minus sign) to go back up the menu. If you decide that you like the texture how it is but want it to be less obvious, then use the box named opacity and change the percentage to something lower.
Maybe you like the texture but you decide you want to soften it a bit. To do this you could blur the texture so that the outline is not so sharp. Choose the Gaussian Blur filter from the filter menu in the horizontal menu bar. Choose a small number (to start), apply the filter and see the results. You can revert back if you dont like it by pressing command (or control) Z. This takes you back one step.
Another thing you can do is change the color of the texture. Sometimes you have a great texture but you want a different color. In this case you would click on the little icon at the bottom of your layer palette (whilst your texture layer is selected) that looks like a circle. This is the icon for adjustment layers. Clicking on the icon brings up different options and the one you need is hue and saturation or curves. If you have never used it before, go with hue and saturation, as this is a little easier to understand. By dragging the sliders in the dialog box you can change the color of your texture. This adjustment layer (and any type of adjustment layer) is non-destructible. This means that you can go back at any time (by clicking on the new layer in your layers palette called Hue and Saturation) and making adjustments to the sliders.
Using texture layers is a lot of fun! Once you have tried it once you will find yourself using this technique again and again as there are so many ways you can change your photos by adding textures.
Enjoy!

Printer Friendly Version

