
The book is divided into three sections, Underwear, Dresses and Accessories. The chapters include the most popular dress on the Doll Making Site, The Spring Dress for 18 Inch Dolls, as well as 5 other outfits, bloomers, a slip, a crocheted vest and skirt, and accessories such as jewelry, a bag, a knitted hat and scarf, and the new scrub suit. There are also patterns for slender Magic Attic type dolls as well as full-bodied American Girl dolls and an antique Saucy Walker doll from the 1950's. Each chapter is listed in the contents so it is easy to find.
The book is rich with color photos of the completed outfits and accessories. The instructions are easy to follow and include everything you need to know to create a varied wardrobe for your dolls. All that's needed is a basic knowledge of sewing and crochet techniques.
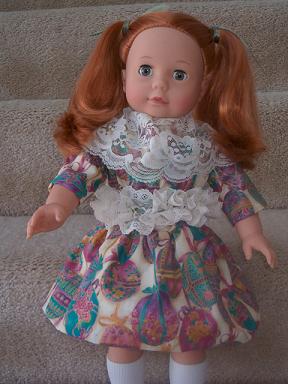
These outfits have all been designed and made by me, the full color cover photo at right, shows a sampling of the dresses included. I've tried to incorporate ideas to vary the designs and appearance of the outfits to answer the needs and requests of my readers.
This book would make a fun and exciting gift for any 18 inch doll enthusiast on your Holiday or Birthday list. Tuck in a copy with some fabric and thread, yarn, or beads, for a thoughtful gift they'll really enjoy. Or why not treat yourself and your dolls to a new wardrobe. You're only limited by your own imagination! The book contains 32 pages, is only $3.00 and can be purchased through PayPal by clicking here.
If you love 18 inch dolls, and want a collection of patterns for a wardrobe, all in one handy Ebook, this is for you! All these patterns are available on the Doll Making site, but I have brought them all together in one book for ease of finding and using them.
