
We will start by drawing the basic shape for our lights, using a free public domain image from Unsplash.com as a guide (see link below). Of course, holiday lights come in many shapes from circles to stars. In this tutorial, we will draw the oval shaped lights. Once we have the basic shape, we will add color and details.
Open Affinity Designer and let's get started.
- Start a new 1000 x 1000 pixel document at 144 dpi for the web or 300 dpi for print. (see screenshot)
- Open the photograph of real holiday lights into Affinity Designer and using the Pen tool, make a rough trace of one of the lights.
- Copy/Paste the drawing in to your working document and refine the drawing in to a smooth shape of the bulb. (see screenshot)
- Using the Rounded Rectangle tool, draw a small rectangle at the base of the bulb. (see screenshot)
- In the Context toolbar and with the rectangle shape still selected, uncheck the box next to Single Radius. (see screenshot)
- Change the Rounded corner icon to the None icon for the TL and TR corners.
- Select the rectangle on the canvas. In the Context toolbar, set the Fill to black and the Stroke to Null (see screenshot).
- Select the bulb shape. In the Context toolbar, set the Fill to red (FF0100) and the Stroke to Null. (see screenshot)
- Using the Cresent tool, draw a cresent shape at the top right corner of the bulb. (see screenshot)
- With the cresent shape still selected, click the Flip Horizontal icon in the top Toolbar. (see screenshot)
- Rotate the cresent shape a little to the left to match the curve of the bulb. (see screenshot)
- Repeat the previous steps to add a highlight at the bottom left corner of the bulb. (see screenshot)
Now we will draw the small base for the electrical cord.
The rounded rectangle has four rounded corners. Let's remove the two rounded corners that are touching the base of the bulb. (see screenshot)
Now we will add the color and details. Let's continue working on the rounded rectangle.
Let's start with a red colored light or the color of your choice.
Now we will add some highlights.
We need to flip the cresent to face in the opposite direction, so that it matches the curve of the bulb.
Green 00CD64
Blue 0096FF
Yellow FFD70D
Purple C015FF
Alternative: Instead of the oval bulb shape used above, try using a circle shaped bulb.
String Lights on Roof Top Edge by Bob Ricca
https://unsplash.com/photos/selective-focus-photography-of-string-lights-on-roof-top-edge-8V7ItC2M5JU
Once you have your string of lights, you can add it too your holiday graphic elements collection (see screenshot). Use it in a nice holiday card or in a holiday marketing project.
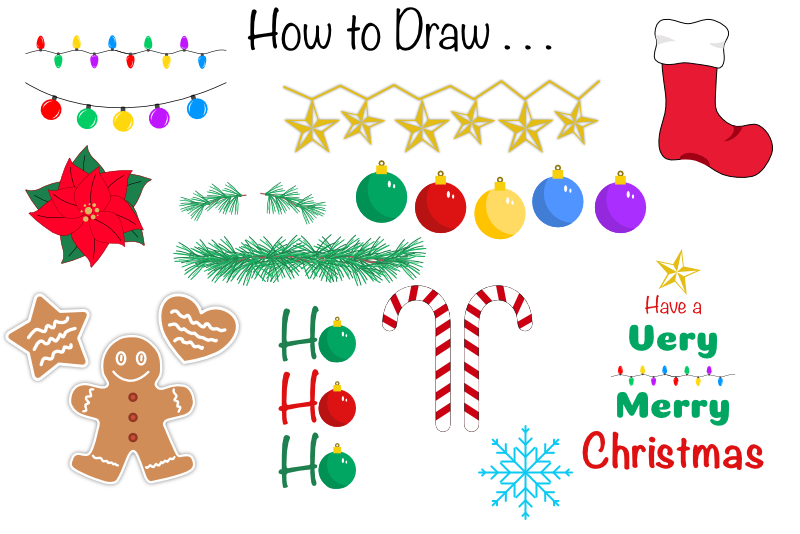
Index - How to Draw a Holiday Theme Collection of Elements
Affinity(R) Designer screenshots used by permission of Serif (Europe) Ltd. This article is not endorsed by Serif Ltd.
