
Full Digi Planner PDF Template - Side Tab Labels
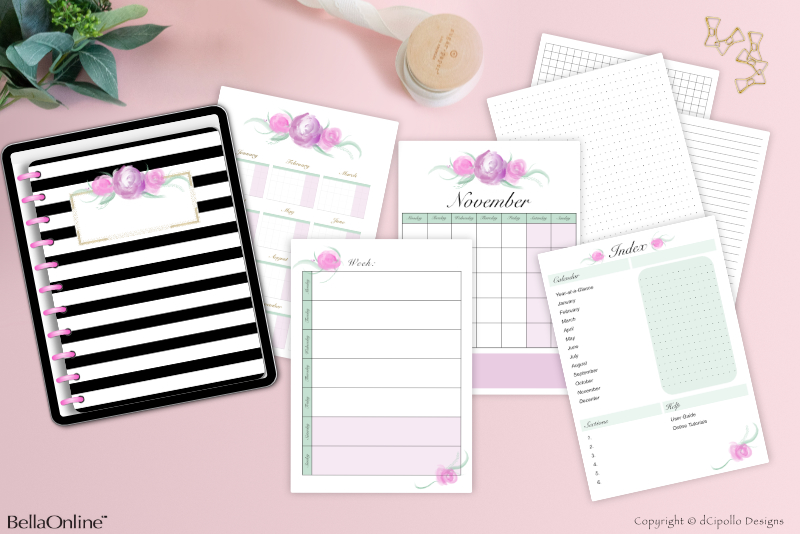
At this point in the Design a Digital Planner in Affinity Suite tutorial series, we will work on the labels for our side tabs. As stated previously, we have side tabs for the Year-at-a-Glance calendar page and for each monthly calendar section page.
We will start by creating a custom Character text stye for the tab labels. We will use the common Arial font at the size of 10 points. As this is a template, you will probably change this Arial font for a designer font that will enhance your digital planner.
In this tutorial, you will learn the following.
Design a Digital Planner in Affinity Suite - Tutorial Series Index
More Affinity Suite Tutorials
Screenshots used by permission of Serif (Europe) Ltd. This article is not endorsed by Serif Ltd.
We will start by creating a custom Character text stye for the tab labels. We will use the common Arial font at the size of 10 points. As this is a template, you will probably change this Arial font for a designer font that will enhance your digital planner.
In this tutorial, you will learn the following.
- Use the Artistic Text tool
- Create a custom Character Text style
Let's Get Started
- Open your Full Digi Planner PDF .afpub working file.
- So that we can see better, turn off the Visibility for the layers above the Top Tabs layer.
- From the top menu, click View - Studio - Text Styles to open the panel.
- Click outside of the Canvas with the Move tool, to deselect any text.
- Click the Create Character Style icon at the bottom of the Text Styles panel.
- Set the Style Name to Tab Label.
- Select the Font link in the side menu and set the Font Family to Arial and the Font Size to 10pt. (see screenshot)
- Click OK to set the new style.
- With the Artistic Text tool selected, open the Side Tabs group layer and select the Yearly group layer. With the Tab Label style still selected in the Text Styles panel, click on the Canvas over the first side tab and type the text Yearly.
- In the Transform panel, set the Rotation value to -90, to rotate the text in to the correct position.
- Select both the Yearly text and Yearly group layers. From the top menu, click Layer - Alignment - Align Center. Next, click Layer - Alignment - Align Middle.
- In the Layers panel, right-click the Yearly text layer and choose Duplicate.
- In the Layers panel, drag the bottom duplicate text layer to just above the January group layer. Rename the text layer January.
- On the Canvas, drag the duplicate text box to just above the January tab, while holding down the Shift key on your keyboard.
- Select the Artistic Text tool and triple-click the text box on the Canvas. Change the text to Jan.
- Select the January text layer and the January group layer. From the Menu, click Layer - Alignment - Align Center. Next click Layer - Alignment - Align Middle. (see screenshot).
- Repeat these steps for the other eleven monthly labels, centering the label over each tab.
- Turn on the Visibility for the layers above the Top Tabs layer.
- Click File - Save to save the working .afpub file.
You will see the new Tab Label style in the Text Styles panel (see screenshot). Select the Tab Label style.
Now we need to center the label on the tab.
Let's use this label to make the other monthly tab labels.
Note: If you wish to label the section tabs at the top, use the same steps as above and omit rotating the text.
Design a Digital Planner in Affinity Suite - Tutorial Series Index
More Affinity Suite Tutorials
Screenshots used by permission of Serif (Europe) Ltd. This article is not endorsed by Serif Ltd.
Powered by Creative Market

Related Articles
Editor's Picks Articles
Top Ten Articles
Previous Features
Site Map
Content copyright © 2023 by Diane Cipollo. All rights reserved.
This content was written by Diane Cipollo. If you wish to use this content in any manner, you need written permission. Contact Diane Cipollo for details.


