Digitize Artwork & Lettering & Create Planner Accs

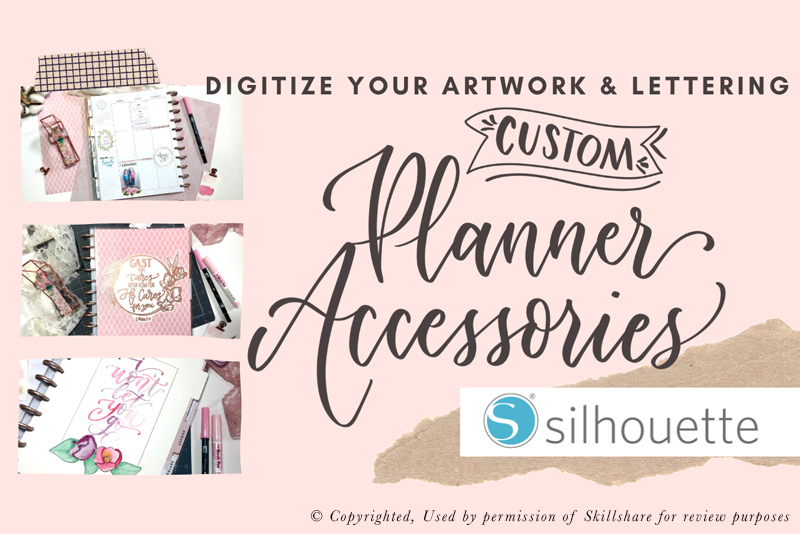
In this new Skillshare online course, Digitize Your Artwork & Lettering & Create Custom Planner Accessories with Silhouette, Ana Baker teaches how to create printable planner assets from your own artwork and the Silhouette cutting machine. She demonstrates several projects, including a planner cover, dashboard and stickers. This course was exactly what I was looking for, as I wanted to use my Silhouette cutting machine to print and cut custom designed pages for my Happy Planner.
Ana begins with a tour of the Silhouette cutting machine and software. She discusses the drawing, text and other tools that she uses to create her own artwork in Silhouette Studio®. Although, the Studio tools are not as extensive as those in Photoshop® and Illustrator®, I was impressed at the various planner assets Ana was able to create within Studio.
Besides creating original layouts and artwork in Studio, Ana also demonstrates how she uses AirDrop to move artwork created in other graphics programs, such as Procreate®, into Studio. Once in Studio, she discusses how she uses Studio’s Trace and Detach feature to separate the raster art into individual objects. Finally, Ana demonstrates how she cuts her traditional watercolor art into planner assets.
Ana’s first project was a decorative jumbo clip. After dragging the PNG artwork, hand lettering inside a wreath, into Studio, Ana demonstrates how to use the Offset feature to add a border around the edge of the art.
The second project is a weekly menu dashboard. The artwork includes color palette swatches and hand lettered day titles. Again, Ana uses Trace and Detach to separate the art and uses the drawing tools and layers to create the dashboard layout. Then she uses the Eye Dropper tool to color the objects from the color swatches. Finally, she uses a custom cut file, which she created herself, to cut the dashboard to fit her Happy Planner.
The next project is a sticker page full of half box stickers. Ana drew the cut line for one sticker and then duplicated that cut line several times. After she adds artwork and family photos to the boxes, she is ready to print and cut.
For the next project, Ana demonstrates how to use the dual carriage holder, one holding a Micron pen and the other the cutting blade, to sketch her line art and then cut in one step. Next, she adds color to the line art with traditional watercolors after cutting.
I really liked Ana’s custom divider page cut file, which has two parts. One cut line was for the page and the second cut line was for a moveable tab. As the tab cut line is not in a fixed position, she can place the tab in any location along the side or top of the page cut line.
Ana’s next project was a planner cover. She used the foil quill heat tool in the carriage holder to create a foil outline from her artwork. After adding a foil sheet over the paper adhered to the cutting mat, Silhouette heat transfers the foil instead of sketching the lines of the art.
The final project has no printing but just cutting. Ana demonstrates how to cut traditional watercolor artwork into stickers. She uses the PixScan feature to scan the artwork into Studio and then cut the stickers.
Ana specializes in lettering and calligraphy. You will find this and several other courses by Ana Baker on Skillshare.com.
https://www.skillshare.com/classes/Digitize-Your-Artwork-Lettering-Create-Custom-Planner-Accessories-with-Silhouette-FREE-STICKERS/1783601425/projects

Related Articles
Editor's Picks Articles
Top Ten Articles
Previous Features
Site Map
Content copyright © 2023 by Diane Cipollo. All rights reserved.
This content was written by Diane Cipollo. If you wish to use this content in any manner, you need written permission. Contact Diane Cipollo for details.


