
Full Digi Planner PDF Template - Page Top Tabs
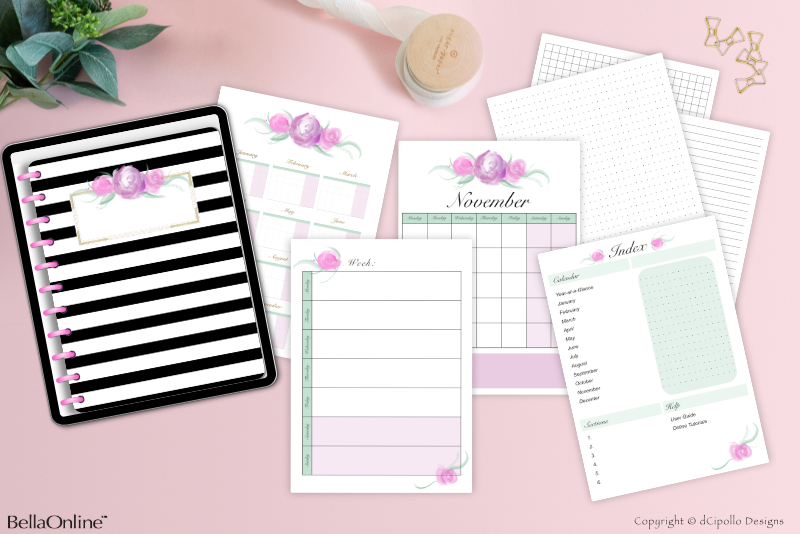
At this point in the Design a Digital Planner in Affinity Suite tutorial series, we have created the side tabs. Let's continue the process for the six section top tabs. We will also make a smaller tab that will go to the Index page.
For this template, we will be adding 6 top section tabs. But you can add as many as you wish. Just adjust the width of the tabs to fit the tabs along the top of the page. Of course, you can omit the section tabs and just have the index tab. We will be adding the top tabs directly above the Side Tabs group layer.
Design a Digital Planner in Affinity Suite - Tutorial Series Index
More Affinity Suite Tutorials
Screenshots used by permission of Serif (Europe) Ltd. This article is not endorsed by Serif Ltd.
For this template, we will be adding 6 top section tabs. But you can add as many as you wish. Just adjust the width of the tabs to fit the tabs along the top of the page. Of course, you can omit the section tabs and just have the index tab. We will be adding the top tabs directly above the Side Tabs group layer.
Let's Get Started
- Open your Full Digi Planner PDF .afpub working file.
- If you haven't done so already, turn off the visibility of the layers above the Page Shadow layer.
- Select the Side Tabs group layer. Draw a rounded rectangle at the top left edge of the inside page.
- In the Transform panel, select the top left corner of the Anchor Point Selector. Set the following values.
- In the Context Toolbar, set the Corner to Rounded and the Radius to 15%.
- In the Color panel, set the Stroke to Null and the Fill to the color of your choice.
- In the Layers panel, name this layer Tab.
- Duplicate this new Tab layer. Select the bottom duplicate layer. In the Color panel, set the Stroke to Null and the Fill to black (000000).
- Set the following values in the Transform panel.
- To create the shadow, set the Opacity of this layer to 25% and the Blend Mode to Multiply in the Layers panel.
- Select both Tab layers, right-click and choose Group. Name the Group layer to Index.
- Select the Side Tabs group layer again. Draw a new rectangle to the right of the Index tab, name the layer Tab and set the Corner radius to 15%. Set the Stroke to Null and the Fill to the color to your choice.
- Set the following values in the Transform panel.
- Duplicate this Tab layer. Select the bottom duplicate layer and change the color to black (000000). Set the following values in the Transform panel.
- Set the Opacity to 25% and the Blend Mode to Multiply in the Layers panel (see screenshot).
- Select both layers and group them. Name the group Section 1.
- Duplicate this Section 1 group layer. Rename the bottom duplicate group layer Section 2. Set the X value to 605 in the Transform panel.
- Repeat the previous step four times. Name the group layers to Section 3, Section 4, Section 5 and Section 6. Set the following X values.
- Select the Index and all section layers (see screenshot), right-click and choose Group. Name the group layer to Top Tabs.
- Turn on the visibility of the top layers (see screenshot).
- Click File - Save to save our changes to the working .afpub file.
X to 185
Y to 20
Width to 90
Height to 90
X to 183
Y to 18
Width: 94
Height: 92
Now let's create the top section tabs.
X to 304
Y to 20
Width: 272
Height: 90
X to 302
Y to 18
Width: 276
Height: 92
Section 3 - X to 908
Section 4 - X to 1212
Section 5 - X to 1515
Section 6 - X to 1818
Design a Digital Planner in Affinity Suite - Tutorial Series Index
More Affinity Suite Tutorials
Screenshots used by permission of Serif (Europe) Ltd. This article is not endorsed by Serif Ltd.
Powered by Creative Market

Related Articles
Editor's Picks Articles
Top Ten Articles
Previous Features
Site Map
Content copyright © 2023 by Diane Cipollo. All rights reserved.
This content was written by Diane Cipollo. If you wish to use this content in any manner, you need written permission. Contact Diane Cipollo for details.


