Design Holiday Gift Tags in Affinity Designer

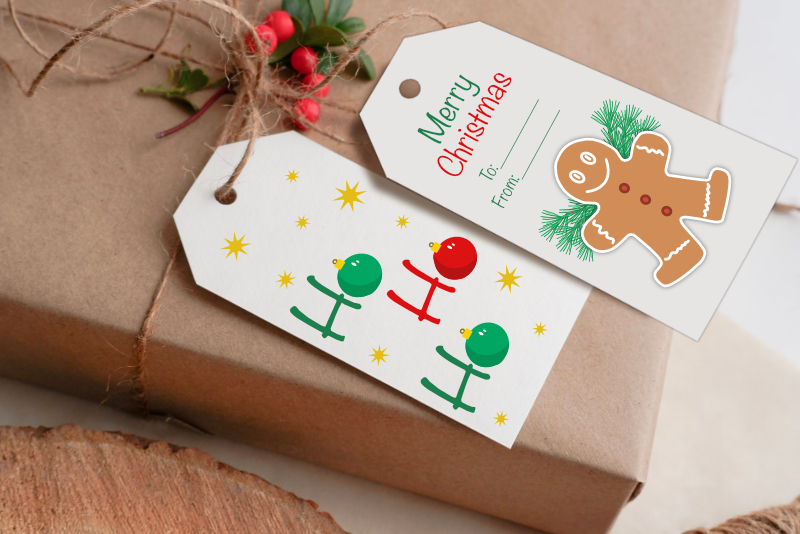
In this Affinity Designer tutorial, we will create holiday gift tags using the motifs from your Christmas collections.
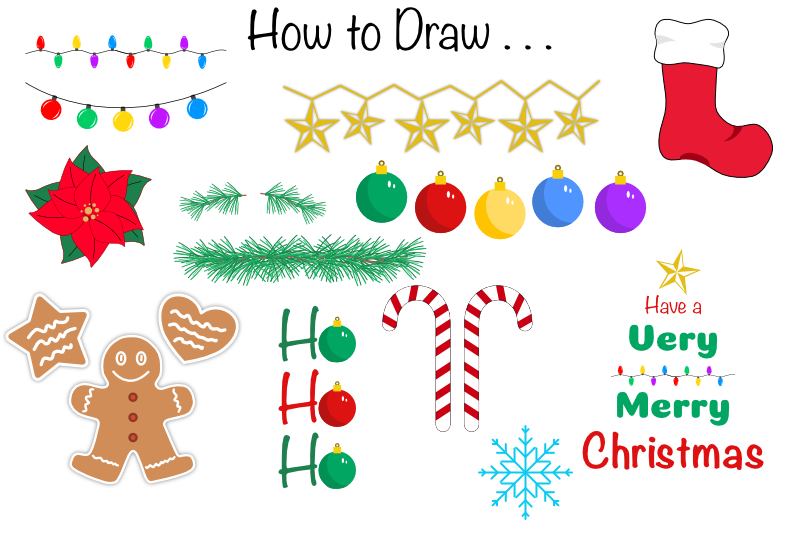
Ready to wrap your gifts for the holidays? Don't forget the gift tags. Now that we have our motifs collection, we can mix and match these motifs together in a design for gift tags. We will start by drawing a layout of nine 3 by 2 inch gift tags that can be printed on letter sized paper.
Open Affinity(R) Designer and let's get started.
Index - How to Draw a Holiday Theme Collection of Elements
Screenshots of Affinity(R) Designer used by permission of Serif(R) (Europe) Ltd. This article is not endorsed by Serif Ltd.
Ready to wrap your gifts for the holidays? Don't forget the gift tags. Now that we have our motifs collection, we can mix and match these motifs together in a design for gift tags. We will start by drawing a layout of nine 3 by 2 inch gift tags that can be printed on letter sized paper.
Open Affinity(R) Designer and let's get started.
- Start a new document for an 8.5 x 11 inch letter size at 300 dpi for printing. (see screenshot)
- Click the Rectangle tool and set the Fill to white, Stroke to black and the Stroke Width to 1 pt. (see screenshot)
- Draw a rectangle at the top right corner that is 2 inches wide and 2.5 inches tall. Use the Transform panel set the Width and Height correctly. (see screenshot)
- Switch to the Trapezoid tool and draw a trapezoid that is 2 inches wide and .5 inch tall. (see screenshot)
- On the Canvas, place the trapezoid above and touching the top edge of the rectangle.
- Select both shapes. From the Toolbar, click the Add icon in the Boolean section to combine the two shapes in to one 2 inch by 3 inch tag. (see screenshot)
- With the Ellipse tool, draw a circle that is 0.25 by 0.25 inch at the top of the tag. (see screenshot)
- Select both the tag and the circle. From the Boolean section, click the Subtract icon.
- In the Layers panel, name the layer tag, right-click and choose Duplicate. Drag the new tag to the center of the page. (see screenshot)
- Repeat the previous step and place the third tag at the left of the page, leaving a small margin around the page.
- Select all three tags. From the Menubar, click Layer - Alignment - Space Horizontally.
- In the Layers panel, select all three layers, right-click and choose Group. Name the group layer Tag Row 1. (see screenshot)
- In the Layers panel, select the group layer. From the Menubar, click Layer - Alignment - Align Center.
- In the Layers panel, duplicate the Tag Row 1 layer and name the new group layer Tag Row 2. On the canvas, drag the new row below the original row.
- From the Menubar, click Layer - Alignment - Align Center.
- Repeat the previous steps to create a Tag Row 3 group layer and center it at the bottom of the page.
- Select all three layers. From the Menubar, click Layer - Alignment - Space Vertically.
- Select all three layers and group them into one layer. Name the layer Tag Page. (see screenshot)
- With the Tag Page layer selected, click Layer - Alignment - Align Middle to center the group vertically on the page.
- Using the Artistic text tool, set the following values in the Context toolbar. (see screenshot)
Font Family - Noteworthy
Font Weight - Bold
Font Size - 48 pt
Color - Black - Using the Artistic text tool, type the words Ho Ho Ho on to the first gift tag. You want each Ho to be on its own line. Move the center Ho slightly to the right of the others. (see screenshot)
- In the Context toolbar, set the color for the first and third Ho to green (1D804E) and the color of the center Ho to red (DD1112).
- With the Artistic text tool, remove each o from the each Ho. (see screenshot)
- From your collection file, copy the green ornament. Paste the ornament in to this design file and place the ornament over the top of and replacing the o in the first and third Ho. Resize the ornament as needed. (see screenshot)
- Repeat the previous step to replace the red o with the red ornament in the second Ho. (see screenshot)
- In the Layers panel, group all of the text and ornament layers together and name the layer HoHoHo (see screenshot). If needed, adjust the position of the design over the first tag on the page.
- Set the Fill to a golden color (E3BD15) and the Stroke to Null.
- With the Star tool, open the Presets menu in the Context toolbar. Select any of the presets. (see screenshot)
- Add a star to the canvas. (see screenshot)
- Add a few more stars to the design. (see screenshot)
Now we want to cut out the small circle.
Let's space the three tags evenly horizontally.
Let's add a new row of tags.
Now that you have a page of tags, you will want to save this document as a page of blank tags, so that you can use it again.
Next we are ready to design the tags using the motifs from your holiday icon collection. Let's start by creating a simple word art design with the words Ho Ho Ho.
Now we will remove the o in each Ho and replace it with one of the ornaments from your motifs collection.
Let's add a little interest with a few stars, using the Star tool.
Index - How to Draw a Holiday Theme Collection of Elements
Screenshots of Affinity(R) Designer used by permission of Serif(R) (Europe) Ltd. This article is not endorsed by Serif Ltd.

Related Articles
Editor's Picks Articles
Top Ten Articles
Previous Features
Site Map
Content copyright © 2023 by Diane Cipollo. All rights reserved.
This content was written by Diane Cipollo. If you wish to use this content in any manner, you need written permission. Contact Diane Cipollo for details.


