Thick And Thin Yarn
Every time I wander through a yarn store, thick and thin yarns catch my eye. Sometimes they are hand-dyed and spun so that parts of the yarn are bulkier than other sections; sometimes they are single-colored with slubs in a different fiber; certainly, there are other iterations of this broad yarn category. I usually always find myself “petting” the yarn and then moving on, looking for something that will give me more of an even finish. However, a few weeks ago, I found a colorway that really grabbed me. Two skeins of yarn later, I was leaving the store wondering what I could do with one hundred and fifty yards of bulky weight yarn.
For this purchase, the answer was a hat. In the course of swatching (yes, I did!) and researching on the Internet, I learned a few tricks that will make subsequent purchases less of a game of “Yarn Chicken”. For one thing, it’s not that difficult to look up the amount of yarn needed to build an accessory of garment; putting the question into a search engine immediately brings up all sorts of advice and calculators. Ask the yarn what it wants to be; you’ll usually get an answer. If nothing comes to mind, consider a hat or scarf. Then check how much yarn you will need and purchase accordingly.
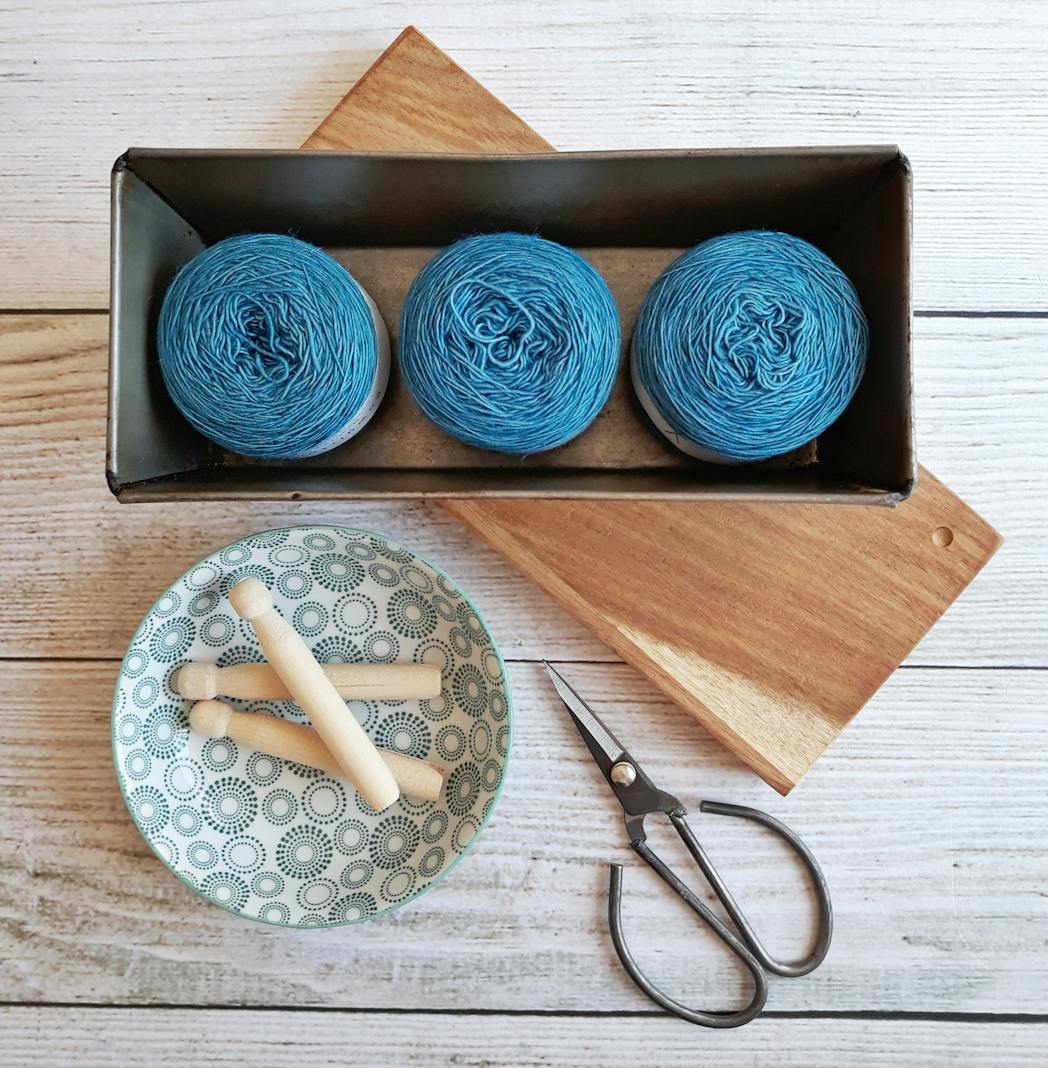
Once the yarn is yours, treat it as a delicate fabric and WIND IT SLOWLY. In this way, you’ll put less pressure on the thin parts of the yarn, which seem to take more abuse. Even if you’re working with wool, which is pretty strong, the uneven sections mean that you want to minimize any friction. If you’re not winding it yourself, watch what the winder does; ask any questions that you might have about working with the yarn before you leave the store.
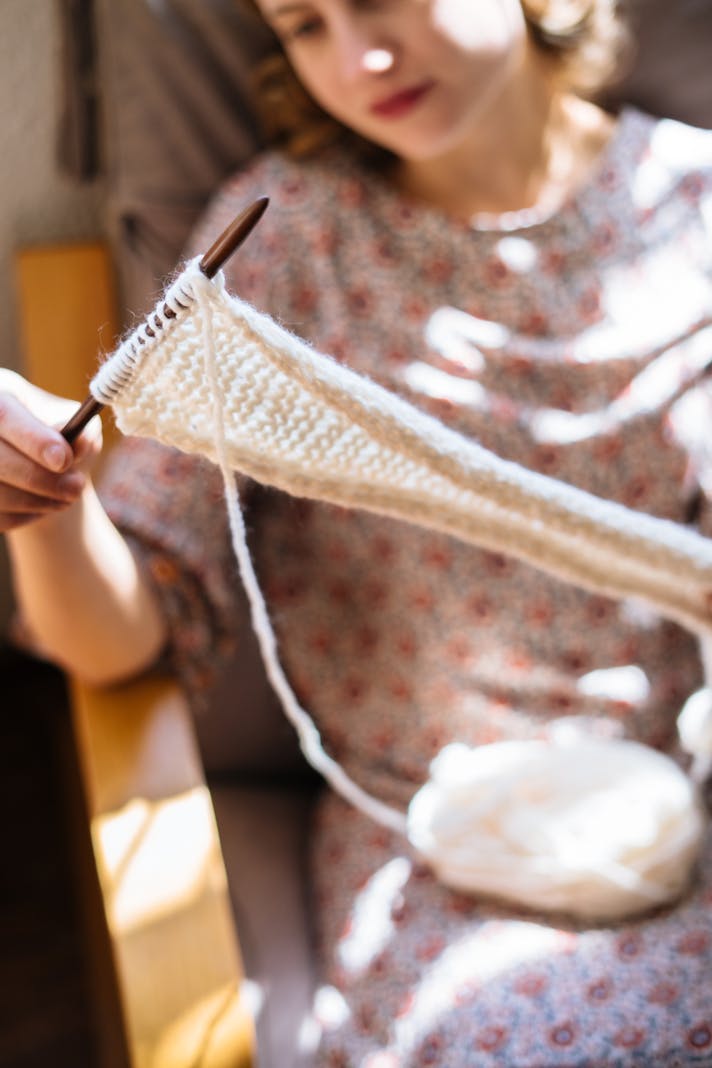
Once the yarn is wound and ready, get out three sets of needles. The first should be the suggested gauge for that yarn, the second and third a size larger and smaller. WHEN (not if) you swatch, try the yarn with different needles. My purchase called for a size 11, but I found that the yarn really sang on a size 13 needle – and I usually knit loosely, so this was a surprise.
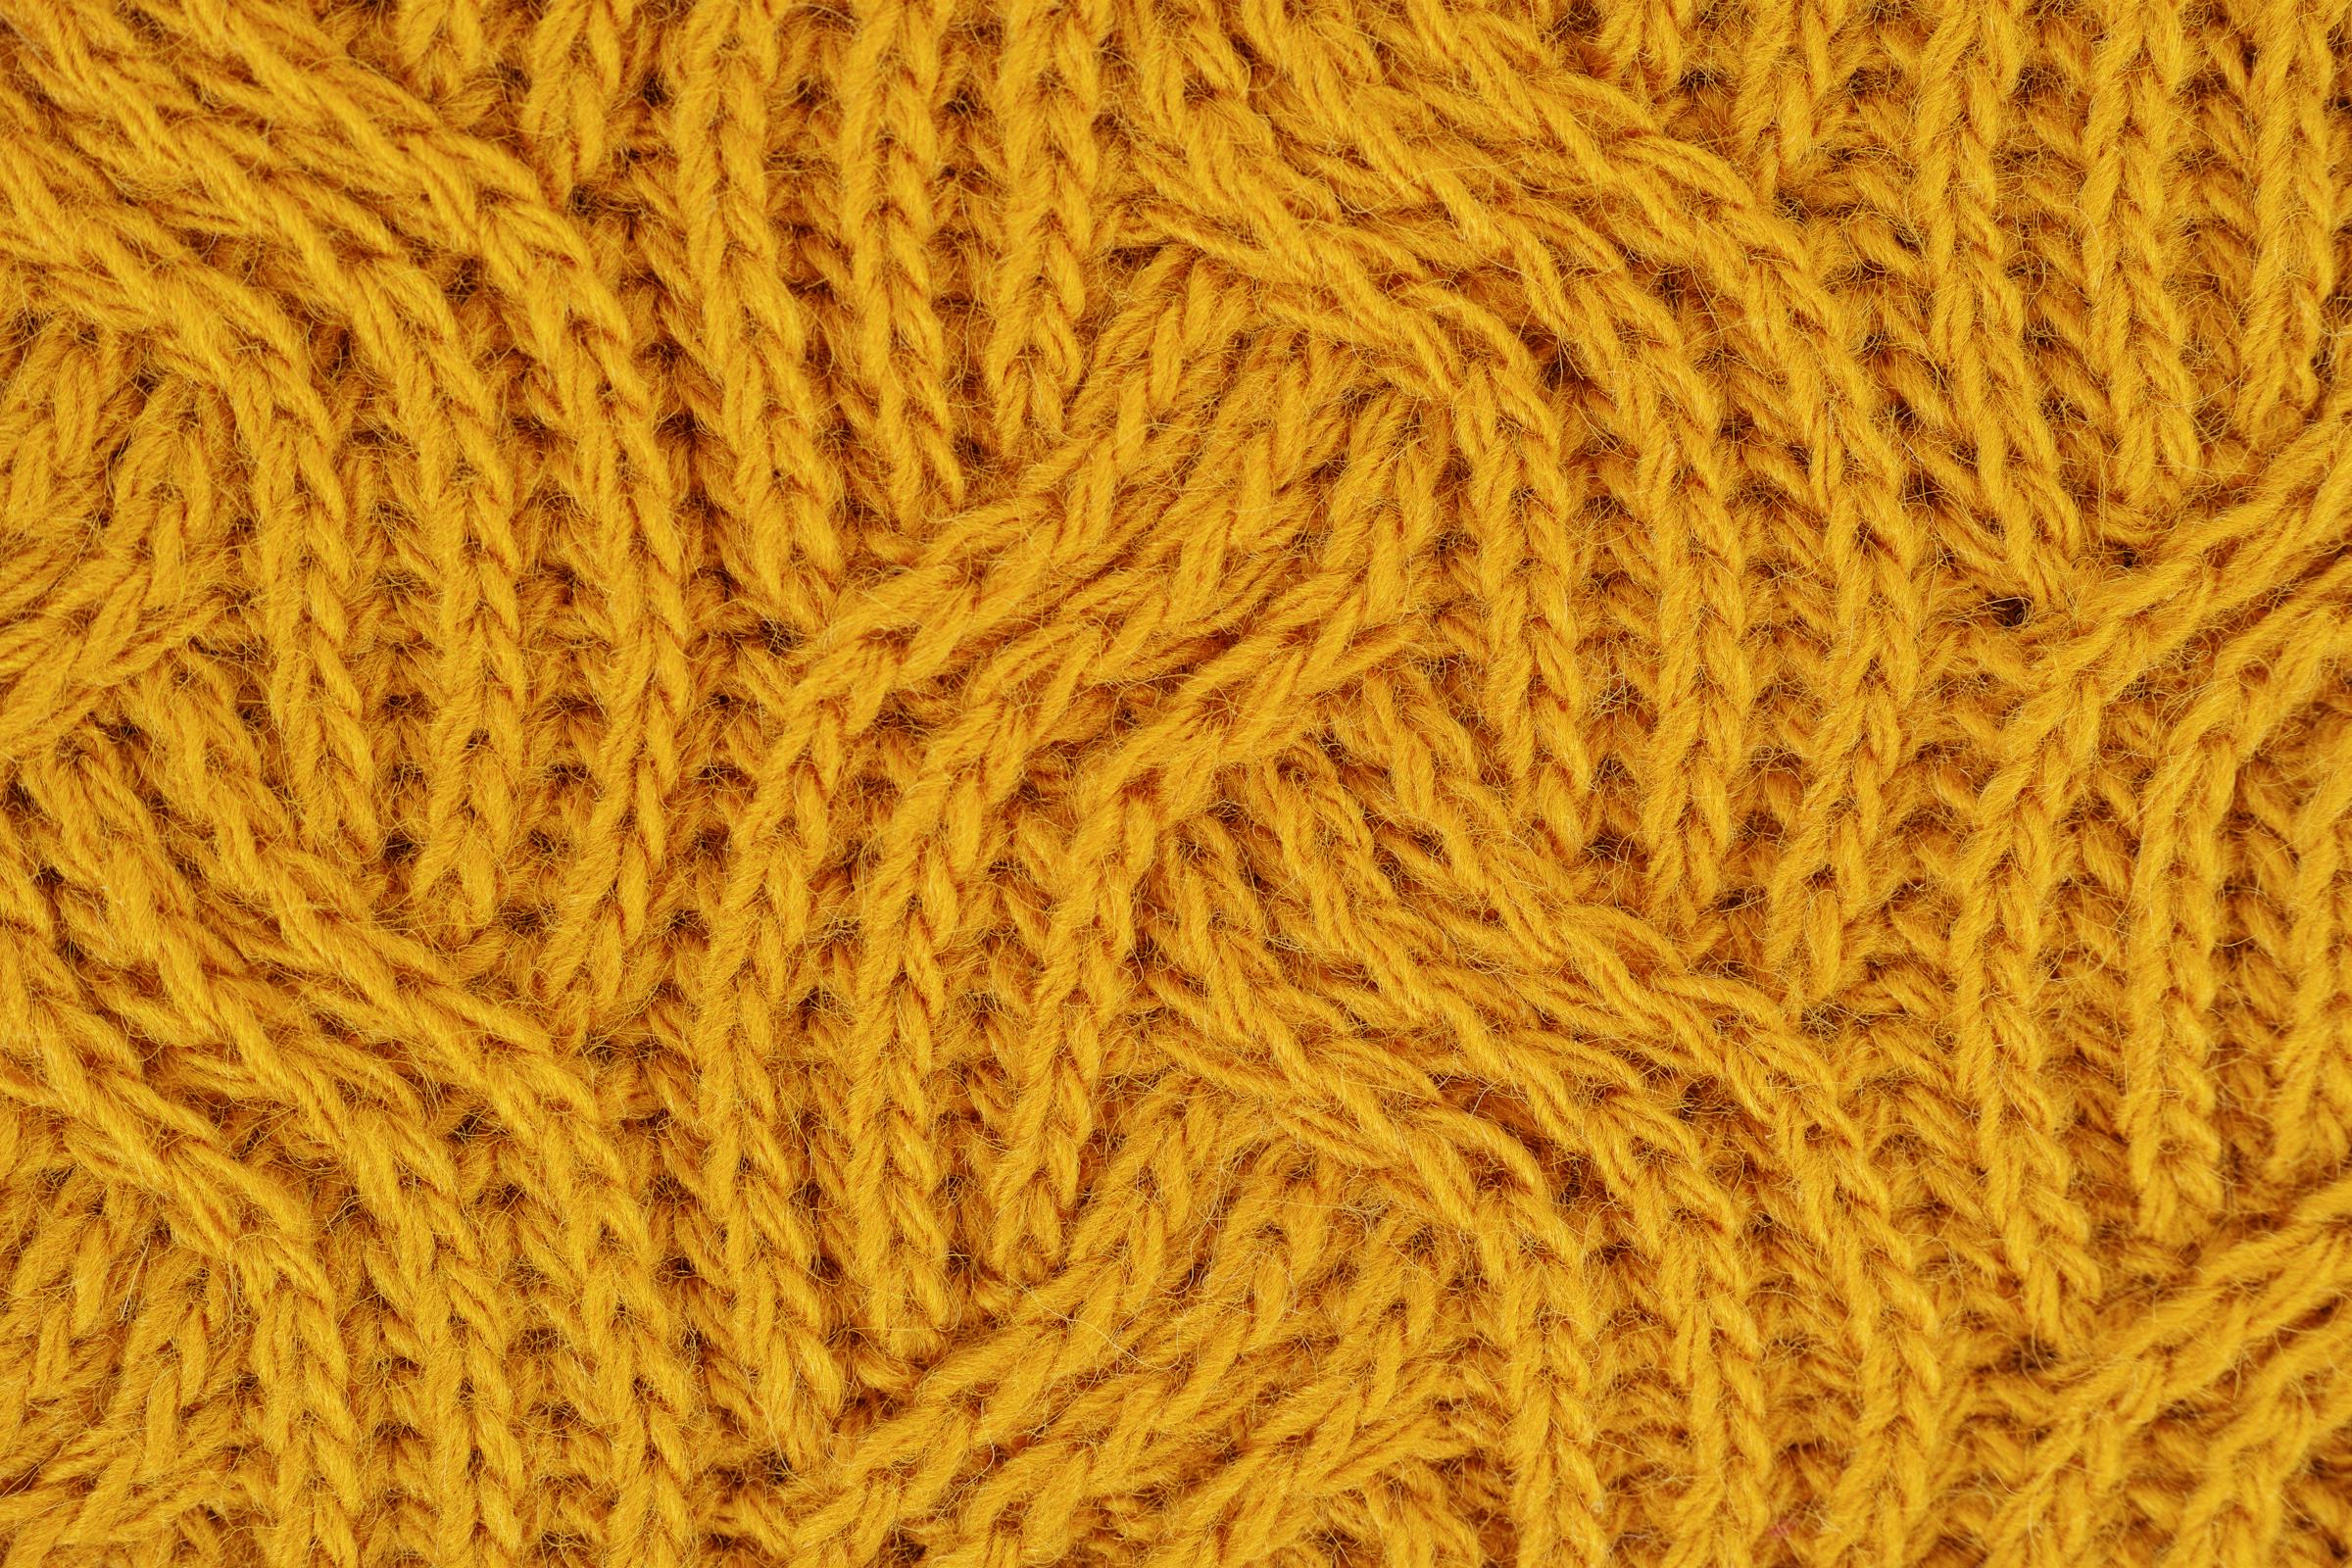
Play with stitch patterns if you’re not using someone else’s directions, but remember that complicated yarn prefers simple stitches. I tried out both 2x2 rib and stockinette for my hat, and found that I liked the ribbing much better.
Be extra careful in casting on so that you don’t need to undo it and start over. Again, we’re talking about the friction; thick-and-thin yarn can felt or fall apart if you knit it up and pull it out too many times. Once you have the project on the needle, work slowly and stop periodically to check your tension. Even with a larger needle, I found the actual knitting tighter than normal; the large needles were heavier than I was accustomed to, and the bulky sections took an extra bit of muscle.
You might consider using a seamless pattern for this kind of yarn. If you do end up sewing seams, consider using an evenly-textured yarn in the same fiber and color. This will help to smooth the seams.
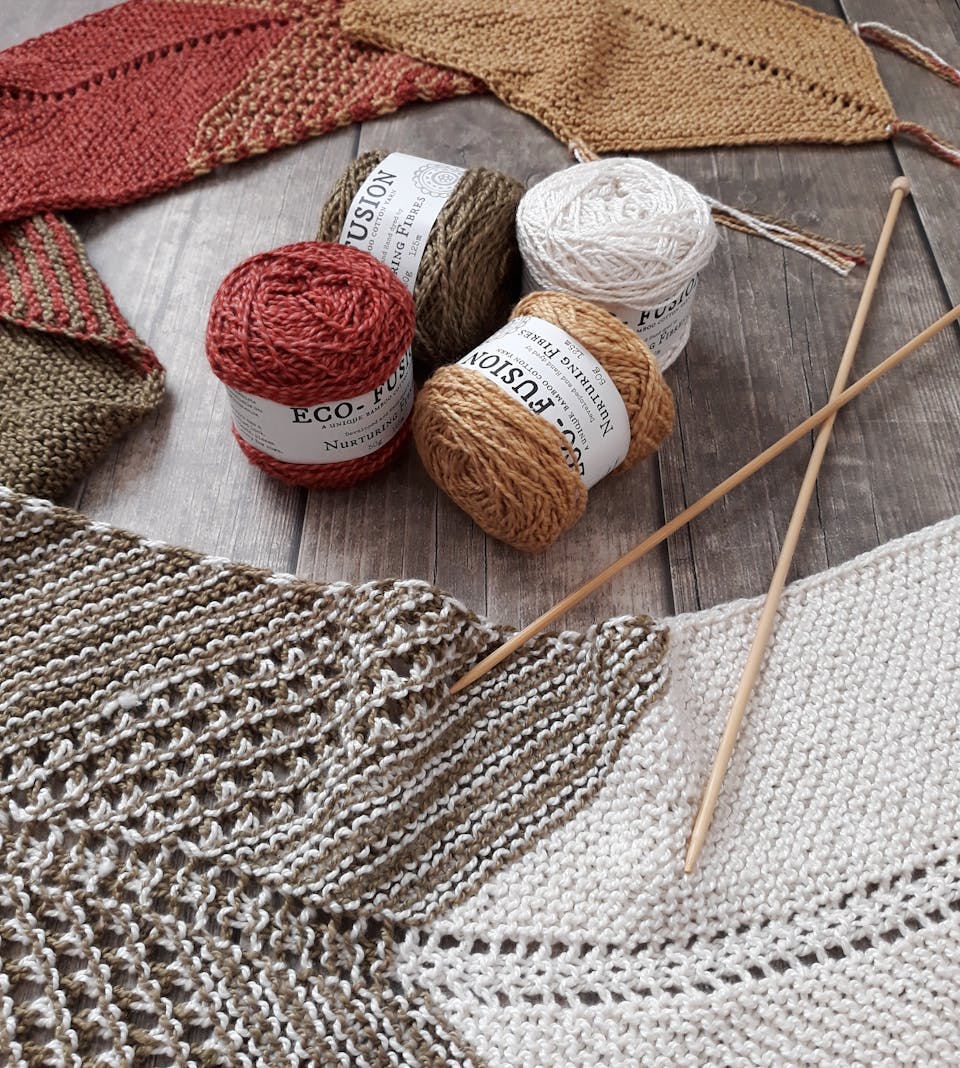
Thick-and-thin yarns are striking when knit into an accessory or garment. The extra care you give the knitting will help you to be happier with the finished product. We’re going out to dinner tonight – and guess which hat I intend to wear?!
For this purchase, the answer was a hat. In the course of swatching (yes, I did!) and researching on the Internet, I learned a few tricks that will make subsequent purchases less of a game of “Yarn Chicken”. For one thing, it’s not that difficult to look up the amount of yarn needed to build an accessory of garment; putting the question into a search engine immediately brings up all sorts of advice and calculators. Ask the yarn what it wants to be; you’ll usually get an answer. If nothing comes to mind, consider a hat or scarf. Then check how much yarn you will need and purchase accordingly.
Once the yarn is yours, treat it as a delicate fabric and WIND IT SLOWLY. In this way, you’ll put less pressure on the thin parts of the yarn, which seem to take more abuse. Even if you’re working with wool, which is pretty strong, the uneven sections mean that you want to minimize any friction. If you’re not winding it yourself, watch what the winder does; ask any questions that you might have about working with the yarn before you leave the store.
Once the yarn is wound and ready, get out three sets of needles. The first should be the suggested gauge for that yarn, the second and third a size larger and smaller. WHEN (not if) you swatch, try the yarn with different needles. My purchase called for a size 11, but I found that the yarn really sang on a size 13 needle – and I usually knit loosely, so this was a surprise.
Play with stitch patterns if you’re not using someone else’s directions, but remember that complicated yarn prefers simple stitches. I tried out both 2x2 rib and stockinette for my hat, and found that I liked the ribbing much better.
Be extra careful in casting on so that you don’t need to undo it and start over. Again, we’re talking about the friction; thick-and-thin yarn can felt or fall apart if you knit it up and pull it out too many times. Once you have the project on the needle, work slowly and stop periodically to check your tension. Even with a larger needle, I found the actual knitting tighter than normal; the large needles were heavier than I was accustomed to, and the bulky sections took an extra bit of muscle.
You might consider using a seamless pattern for this kind of yarn. If you do end up sewing seams, consider using an evenly-textured yarn in the same fiber and color. This will help to smooth the seams.
Thick-and-thin yarns are striking when knit into an accessory or garment. The extra care you give the knitting will help you to be happier with the finished product. We’re going out to dinner tonight – and guess which hat I intend to wear?!
You Should Also Read:
Three Free Garter Patterns on Ravelry
Jimmy Beans Wool
Blue Sky Fibers

Related Articles
Editor's Picks Articles
Top Ten Articles
Previous Features
Site Map
Content copyright © 2023 by Korie Beth Brown, Ph.D.. All rights reserved.
This content was written by Korie Beth Brown, Ph.D.. If you wish to use this content in any manner, you need written permission. Contact Korie Beth Brown, Ph.D. for details.