Step 5. Rainbow element. The next element we will add to the design is the ctoon_rainbow element. Choose the Cartoon Edition library from the drop-down list on the Element Setter. Use the arrows to find the rainbow element and click Add New Image. This element is already in the correct size. So you just need to click and drag it to his feet.
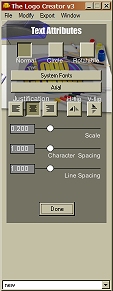
We want this element to have less importance in the overall design of the logo, so let's lower the opacity value. Use the Opacity slider bar to change the opacity to .412 and then click Done. The rainbow is now semitransparent but it is still on top of the character's legs. We will move it behind the character. From the main Menubar click Modify > Send To Back. Step 6. Add your tagline. The Logo Creator comes with a built-in tagline generator. Go to the main Menubar and click Modify > New Text Element. You will see the default word "new" on the canvas. We will replace this with our tagline. Go to the Element Setter and click the Taglines button to open the Slogans and Taglines Generator. Click on the Generate Tagline button to generate taglines until you find one that will work with your logo. The tagline I choose for this project was "The Pride Shows". When you find a tagline that you like, click the Use This Tagline button and the tagline will appear in the text input box on the Element Setter. You can now edit this tagline if you wish and then click Set Text to replace the text on the logo canvas. 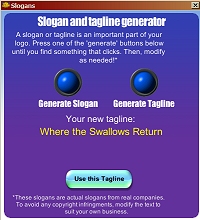 Slogans and Taglines Generator Step 7. Format the text. We need to resize the text to fit the canvas. Click the Format button on the Text Menu to open the Text Attributes dialog box. Find the Scale slider bar and drag to .067. The Logo Creator comes with built-in designer fonts. However, you also have the option to use any of the fonts on your computer. I decided to use the Logo Creator's Cheeseburger font. Click on the button labeled Arial to open an alphabetized list of the build-in fonts. Click on the Cheeseburger font and the text will change on the canvas and the dialog box will close. Click Done to close the Text Attributes dialog box.
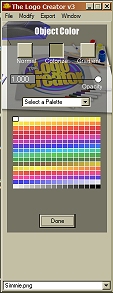
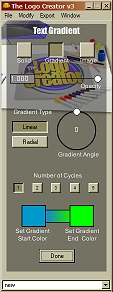
The default color for any text added to the canvas is a green gradient. Let's change it to a solid color more suitable to our design. Click on the Color button on the Text Menu to open the Text Gradient dialog box. Click on the Solid button to change the text from a gradient to a solid color. Now move your mouse pointer over the canvas and it will change to an eyedropper. Use the eyedropper to "grab" a color from the character's sweater. If you don't like the first color you select, you can repeat this step until you find a color you wish to use. Click Done to close this dialog box. Click and drag to position the text under his feet. ← Back | Next → The Logo Creator material used by permission of Laughingbird Software LLC. Copyright ©2000-2004 All Rights Reserved. | ||||
Printer Friendly Version