
Design A Business Card Back Template Photoshop CC
In this tutorial, we will design the back of our business card template in Photoshop CC.
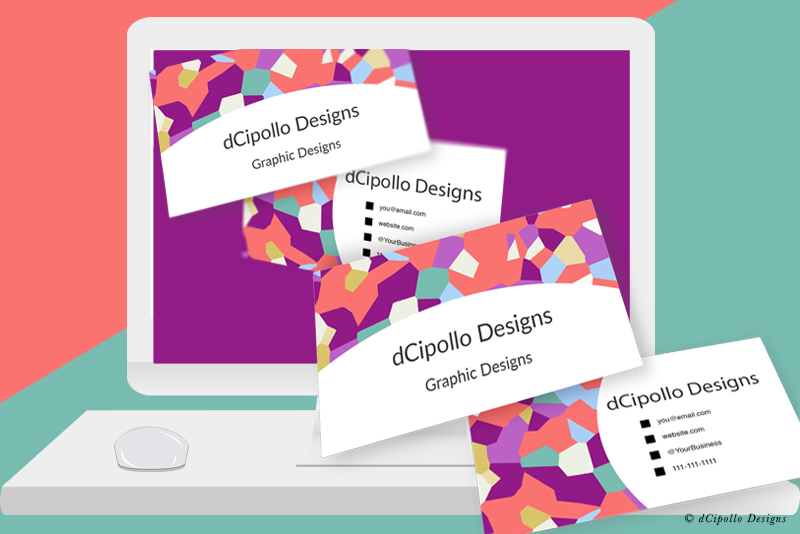
In the two previous tutorials, we designed the basic foundation for our business card template and the front of the card. Now we will add the background graphic, bullet icons and contact information to the back of the card.
Business Name/Personal Name
Profession
Email
Website URL
Social Hashtag or @
Phone Number
Address
Back
Copyright 2018 Adobe Systems Incorporated. All rights reserved. Adobe product screen shot(s) reprinted with permission from Adobe Systems Incorporated. Adobe, Photoshop, Photoshop Album, Photoshop Elements, Illustrator, InDesign, GoLive, Acrobat, Cue, Premiere Pro, Premiere Elements, Bridge, After Effects, InCopy, Dreamweaver, Flash, ActionScript, Fireworks, Contribute, Captivate, Flash Catalyst and Flash Paper is/are either [a] registered trademark[s] or a trademark[s] of Adobe Systems Incorporated in the United States and/or other countries.
In the two previous tutorials, we designed the basic foundation for our business card template and the front of the card. Now we will add the background graphic, bullet icons and contact information to the back of the card.
Add Background Smart Object
Open the template file and you should have the card front completed (see screenshot). The background graphic layer for the front of the card is a smart object. Let's start by adding a background graphic layer to the card back, by duplicating the smart object on the card front.- Open the Business Card Front artboard group and select the [YOUR BACKGROUND DESIGN HERE] layer.
- Right-click the layer and choose New Smart Object via Copy (see screenshot). This will create an independent copy of the smart object, so you can change the graphic in one smart object without affecting the other smart object.
- In the Layers panel, drag the layer copy in to the Business Card Back artboard group and place it below the Lines layer (see screenshot). You should see the placeholder graphic appear in the card back artboard. You can remove the copy text at the end of the layer name.
Add Contact Info
Now we can add the contact information to the back of the card. We will continue to use the Raleway font. We will repeat the company/personal name. Below that you can add some or all of the following. Of course, there is no limit to what information you might need to put on the card, including a QR code.Business Name/Personal Name
Profession
Website URL
Social Hashtag or @
Phone Number
Address
- Add the first layer of text Business Name. Let' set the Font Size to 12 pt and the alignment to Left (see screenshot).
- Rename the layer to [YOUR NAME HERE].
- Add the second line of text Your Profession, with the Font Size reduced to 10 pt and aligned to the left.
- Rename the layer to [YOUR PROFESSION HERE] and drag the layer below the first text layer (see screenshot).
- Select the text on the second layer and drag to align it with the first text layer, using the pop-up guides (see screenshot).
In the example, I repeated these steps for the following layers (see screenshot), setting the font size to 8 pts. You can add any information that is needed by your client.
you@email.com - [YOUR EMAIL ADDRESS HERE]
website.com - [YOUR WEBSITE URL HERE]
@YourBusiness - [YOUR HASHTAG HERE]
111-111-1111 - [YOUR PHONE NUMBER HERE] - Add a new group folder and name it Text.
- Select all the text layers and place them in the new folder.
Add Bullet Icons
Optional: If you wish to add a nice touch, add some bullet points to the left of the four lines of text at the bottom. We will draw four small rectangles as Shape layers, so that the user can change the color of the icons.- With the Rectangle tool set to Shape mode, draw a small square on the artboard to the left of the you@email.com text. A good size for the square is 20 x 20 pixels (see screenshot).
- With the square selected, set the Fill to a solid black color and the Stroke to null.
- Name this layer [EMAIL - ADJUST SQUARE FILL COLOR] (see screenshot).
- Create a new folder named Bullets or Squares above the Text group and drag this new layer in to the folder.
- Duplicate the [EMAIL - ADJUST SQUARE FILL COLOR] layer and drag it below the current layer.
- Rename the layer to [WEBSITE - ADJUST SQUARE FILL COLOR].
- Repeat this for the hashtag and phone number layers.
- Position each square next to the attached text.
Back
Copyright 2018 Adobe Systems Incorporated. All rights reserved. Adobe product screen shot(s) reprinted with permission from Adobe Systems Incorporated. Adobe, Photoshop, Photoshop Album, Photoshop Elements, Illustrator, InDesign, GoLive, Acrobat, Cue, Premiere Pro, Premiere Elements, Bridge, After Effects, InCopy, Dreamweaver, Flash, ActionScript, Fireworks, Contribute, Captivate, Flash Catalyst and Flash Paper is/are either [a] registered trademark[s] or a trademark[s] of Adobe Systems Incorporated in the United States and/or other countries.

Related Articles
Editor's Picks Articles
Top Ten Articles
Previous Features
Site Map
Content copyright © 2023 by Diane Cipollo. All rights reserved.
This content was written by Diane Cipollo. If you wish to use this content in any manner, you need written permission. Contact Diane Cipollo for details.


