Playing with Ribbing

Ribbings are combinations of knit and purl stitches that stack up to form columns. Ribbings provide a non-curling edges for pieces knit in stockinette or another stitch that doesn’t lie flat by itself. Because ribbings pull in to a greater or lesser extent, they can add shaping to a garment. Ribbings are also used to give decorative texture and pattern. They are some of the easiest stitch patterns to learn, and important to have in your knitting repertoire.
Most rib patterns are interchangeable as long as the number of stitches stays the same. This gives an adventurous knitter choices – if you don’t like the way a particular ribbing looks in a sweater, swap it out for another that you prefer! It’s truly amazing how just a small change and result in a totally different look to a garment.
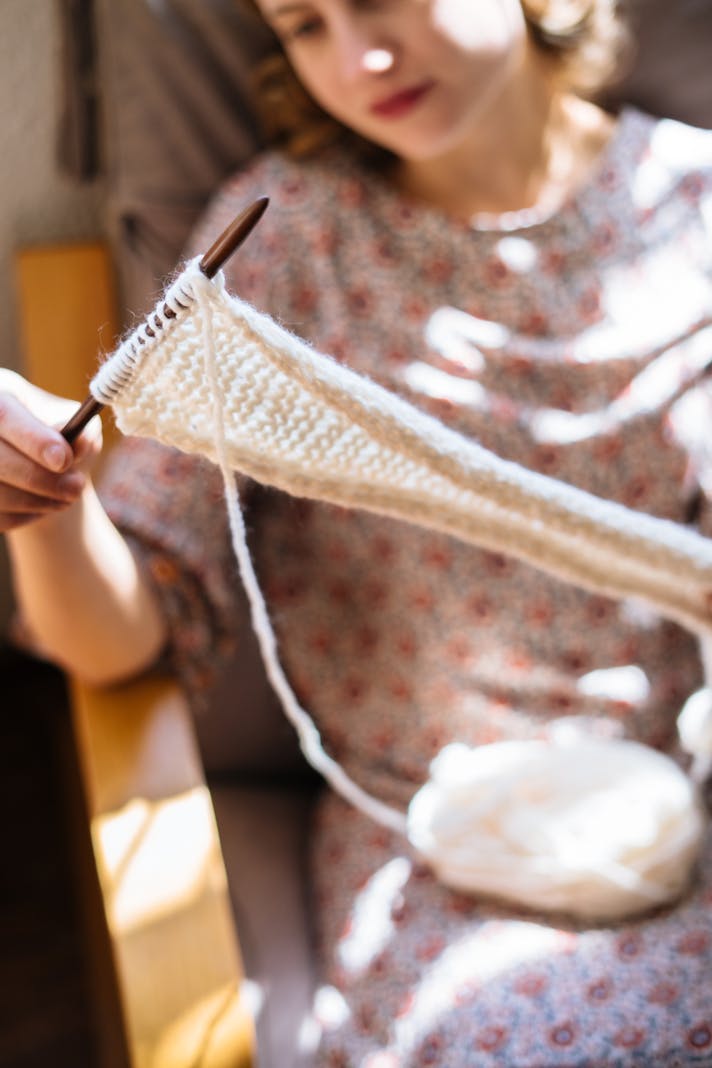
As an example, you might try making two swatches that are almost identical. Using a non-textured, light-colored, easy-to-read worsted yarn, cast on twenty-five stitches. On the first row, knit 1, purl 1, continuing to the last stitch, which you will knit. On all succeeding rows, knit the knit stitches and purl the purl stitches. This creates your basic k1,p1 rib with an extra stitch at the end for balance. Note that this particular ribbing displays a rather mild and unassuming appearance. It’s a nice pattern to use when you don’t want the ribbing to command attention.
Keep this first swatch for comparison and make a second one using the same yarn and number of stitches. This time, however, make one small change: on the first row, knit the knit stitches through the back of the loop rather than the front. The pattern will be (k1 tbl, p1, end k1 tbl). On all successive rows, knit the knit stitches through the back loop and purl the purl stitches. This simple change creates a twisted rib, one with more texture than the first one. On a simple sweater, twisted 1x1 ribbing gives extra personality that may be exactly what’s needed to make the garment pop!
For another example, here are two other rib patterns for comparison. Again, use a non-textured, light-colored, easy-to-read yarn so that you can see the difference between the two swatches! For the first, cast on twenty-six stitches. The pattern for row one will be k2, p2, ending with two extra knit stitches to balance out the pattern. On succeeding rows, again knit the knit stitches and purl the purl stitches. This creates a somewhat more casual ribbing, perfect for unisex patterns and for basic socks. For the second swatch, you’ll mix up the pattern with just one change:
Row 1: k2, p2, end k2.
Row 2: knit the knit stitches and purl the purl stitches.
Row 3: Knit two together, knit the first stitch again, purl 2. Repeat this for the rest of the row, ending with knit two together, knit the first stitch again.
Row 4: knit the knit stitches and purl the purl stitches.
Repeat these four rows for the pattern.
Compare the two swatches. The first one is a basic 2x2 rib. The second is a 2x2 rib with a very basic twist added every third row. This gives the ribbing a mini-cabled effect, perfect for socks and simple hats, and again adding a bit of personality to a vest or sweater ribbing. The second will draw in a bit more than the first, which could be useful if you need a firm edge or if you’re knitting with a fiber that doesn’t have much bounce.
If you enjoyed playing with different ribbings, invest in a good stitch dictionary! There are literally thousands of ribbing patterns out there, and each one of them is beautiful when paired with the right yarn. This is an easy way to add creativity to your knitting and an excellent way to dip your toes into designing your own patterns.

Related Articles
Editor's Picks Articles
Top Ten Articles
Previous Features
Site Map
Content copyright © 2023 by Korie Beth Brown, Ph.D.. All rights reserved.
This content was written by Korie Beth Brown, Ph.D.. If you wish to use this content in any manner, you need written permission. Contact Korie Beth Brown, Ph.D. for details.


