
Basic Blocks Plus...

 Basic Blocks PLUS.....
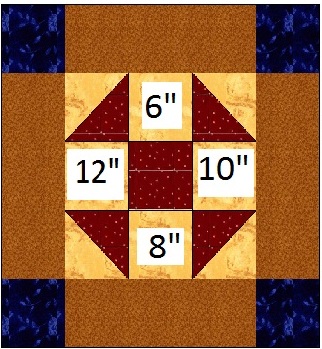
Basic Blocks PLUS... is a series of instructions to make traditional 12" block patterns PLUS instructions for making the same block in 6", 8" or 10" dimensions.
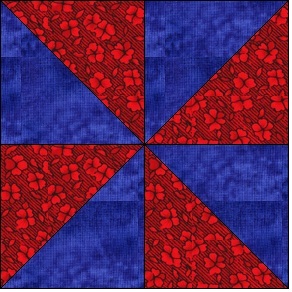
This set of instructions is for the Pinwheel block. According to Red Dawn’s Timeline of History of Quilting in America, the Pinwheel block was first expressed in 1795. This makes the Pinwheel block very old indeed.
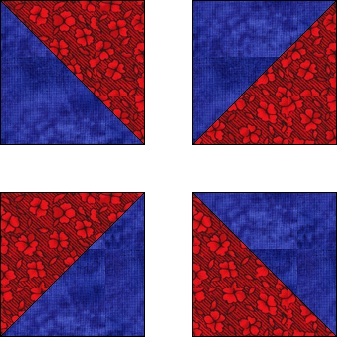
Here is a picture of the Pinwheel block:
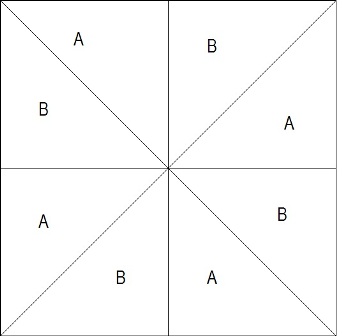
Here is a black and white labelled map of the Pinwheel block:
The Pinwheel is a very simple block to make, and is a pleasing pattern when used with two colors only. For Example:
Cutting Instructions
Cutting Instructions for making a 6” block
Template A: 2 x 3 7/8" Blue Fabric
Template B: 2 x 3 7/8" Red Fabric
Cutting Instructions for making a 8" block
Template A: 2 x 4 7/8" Blue Fabric
Template B: 2 x 4 7/8" Red Fabric
Cutting Instructions for making a 10" block
Template A: 2 x 5 7/8” Blue Fabric
Template B: 2 x 5 7/8” Red Fabric
Cutting Instructions for making a 12" block
Template A: 2 x 6 7/8" Blue Fabric
Template B: 2 x 6 7/8" Red Fabric
To print out the How To Series instructions for Half Square Triangle Units Click here.
Sewing Instructions
Step 1: Using the instructions for the Half Square Triangle Units, make 4 HSTU from the blue and red fabric.
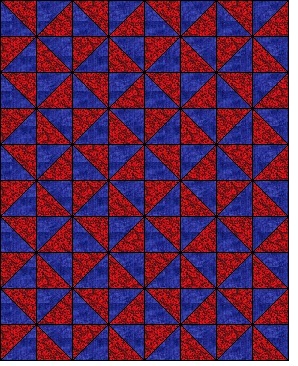
Step 2: Place the four blocks according to the picture following.
Step 3: Sew the two Units on the top row together, using a 1/4" seam allowance.
Step 4: Sew the two Units on the bottom row together, using a 1/4" seam allowance
Step 5: Sew the top row to the bottom row.
Congratulations! This block is complete.

Related Articles
Editor's Picks Articles
Top Ten Articles
Previous Features
Site Map
Content copyright © 2023 by Judie Bellingham. All rights reserved.
This content was written by Judie Bellingham. If you wish to use this content in any manner, you need written permission. Contact Judie Bellingham for details.

