
Materials Needed
1/4 yard of plain fabric, color of your choice.
3 to 4 skeins of six strand embroidery floss for the hair
scraps of embroidery floss for the facial features
For tips on cloth doll body assembly look here:
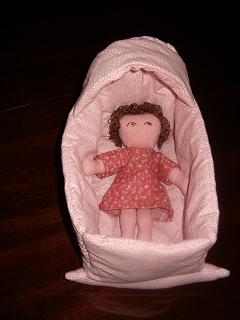
21 Inch Lalena Doll
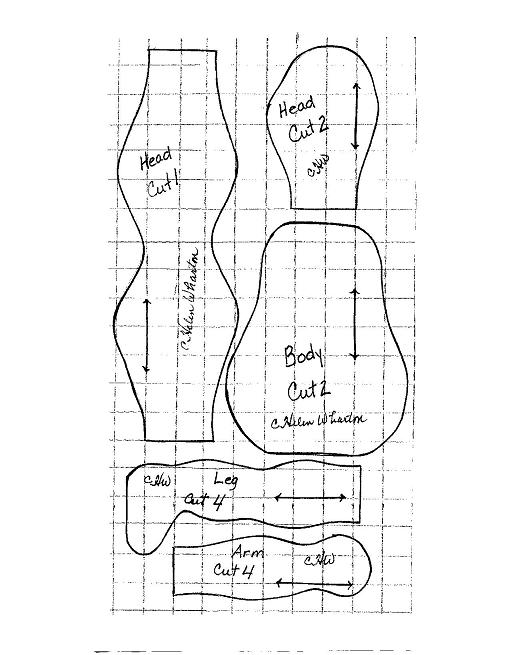
Begin by stitching both arms and legs together then turn right side out with the back end of a knitting needle or the eraser end of a pencil. Stuff them firmly. Attach the arms and legs to the back of the body following the techniques in the Lalena Doll article.
Stitch the body front to the back, leaving openings at the neck and bottom for turning and stuffing. Turn right side out and close the bottom opening with ladder stitch. Stuff the body firmly and close the neck opening. Stitch the head pieces together, turn the head right side out and stuff the head firmly. Using ladder stitch, carefully attach the head to the body.
For an explanation of embroidery stitches used in the making of this doll look here:
Embroidery Stitches Used in Doll Making
To embroider the face I used outline stitch and 2 strands of floss to create the mouth, nose and to outline the eyes. For the irises i also used 2 strands of floss and satin stitch. I used 3 strands of floss and french knot for the pupils of the eyes.
The hair was done using 3 strands of floss. For instructions on stitching the hair look here:
How to Knot on Yarn Doll Wigs
Making and Dressing Cloth Dolls
Ebook with patterns and instructions to make 5 cloth dolls as well as chapters on general doll making techniques.The book includes 21 inch Lalena Doll, 21 inch David Doll, Bear Dolls, 9 inch Destiny Doll and 15 inch Annie Doll, all together in one handy book. 53 pages.Making and Dressing Cloth Dolls.
