Fabric Stenciling
Even with the dizzying array of printed fabric selections available to the sewer there are times when just the right printed design is desired, however the fabric choices may not always represent the perfect preference. Perhaps the sewer wants to use fabric that is unique but remains undecided as to just what will do. Consider simple fabric stenciling. Stenciling is a decorative art and very old craft that comes to us from antiquity. The art of stenciling gained a surge in popularity at the turn of the twentieth century and is enjoyed even today.
The use of stencils dates back to a distant past. The many stencil techniques continue to be used around the world, frequently in industrial, commercial, art environments, home and other settings, including the military and government. Interestingly, the oldest surviving printed book in the world is a Chinese Buddhist text - the Diamond Sutra - printed in 868 C.E., printed using a wood-block technique, essentially the inverse of stenciling. The wood block technique used a relief matrix, where the areas to remain as background are cut away, leaving the characters or image to show as raised and leave their impression on the surface to be printed.
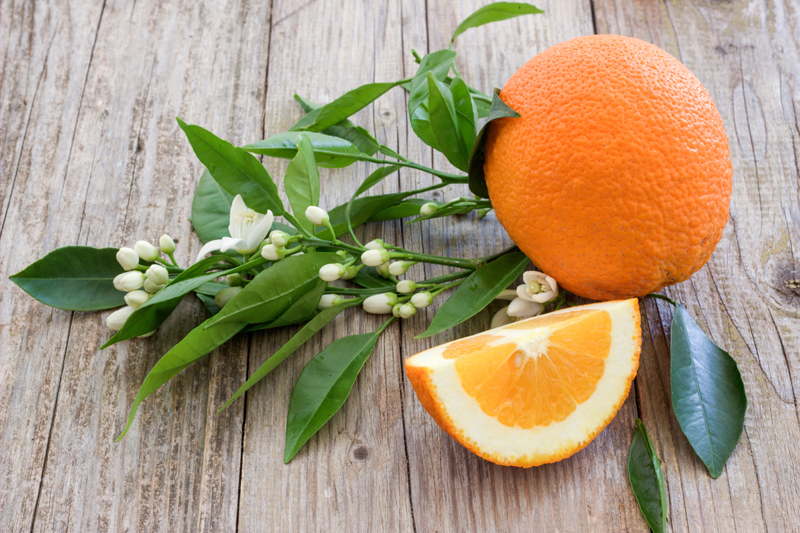
There are multitudes of ways to stencil fabrics. Stenciling is essentially a way to embellish any surface that will accept a stencil medium. Stencils make use of a re-usable template made by cutting a shape or image into a thin medium, such as cardboard, stiff coated paper, plastic, or metal. Stenciled designs can be created by daubing fabric paint, inks or dyes, or various enzymatic pastes, waxes, and washes, even the power of the sun, applied to the stencil template. When the template is removed, the resulting precise image will be visible on the underlying surface. The image may be reproduced over and over until a pleasing iterative effect is obtained. Alternatively, a template can be made using the cut-out shape itself. This kind of template produces a negative image. Interesting leaves found in nature make wonderful negative imprints for stenciling.
Mimeographs utilized a stencil technique. Once common in the classroom and offices, now an obsolete printing device, the stencil duplicator, or mimeo for short, pre-dates today’s photocopying technologies. It is sill in use in developing countries, as no power is needed.
Interestingly, tattoo and graffiti artists often use a variation of stenciling techniques as well.
Some things to consider when stenciling fabric:
Pre-wash fabric to remove any sizing, do not use fabric softener, and iron the fabric when dry. Also, natural fabrics work best; choose those types that are not stain resistant such as cottons, eco-friendly bamboo, silks, ramie and linen. Linen is made from flax, the first plant to be harvested then spun and woven into fabric.
A flat piece of cardboard to place underneath the fabric is useful as fabric paint can bleed through. If stenciling fabric that will be a clothing article, heat-set the finished painted design by ironing lightly on the back of the fabric or hover the iron for a few seconds over the painted design without touching the iron to the fabric so the heat of the iron penetrates the fabric paint.
Stenciling is a great way to utilize a timeless creative technique to customize clothing and accessories.
Stenciling tips from wikiHow
Sew happy, sew inspired.
The use of stencils dates back to a distant past. The many stencil techniques continue to be used around the world, frequently in industrial, commercial, art environments, home and other settings, including the military and government. Interestingly, the oldest surviving printed book in the world is a Chinese Buddhist text - the Diamond Sutra - printed in 868 C.E., printed using a wood-block technique, essentially the inverse of stenciling. The wood block technique used a relief matrix, where the areas to remain as background are cut away, leaving the characters or image to show as raised and leave their impression on the surface to be printed.
There are multitudes of ways to stencil fabrics. Stenciling is essentially a way to embellish any surface that will accept a stencil medium. Stencils make use of a re-usable template made by cutting a shape or image into a thin medium, such as cardboard, stiff coated paper, plastic, or metal. Stenciled designs can be created by daubing fabric paint, inks or dyes, or various enzymatic pastes, waxes, and washes, even the power of the sun, applied to the stencil template. When the template is removed, the resulting precise image will be visible on the underlying surface. The image may be reproduced over and over until a pleasing iterative effect is obtained. Alternatively, a template can be made using the cut-out shape itself. This kind of template produces a negative image. Interesting leaves found in nature make wonderful negative imprints for stenciling.
Mimeographs utilized a stencil technique. Once common in the classroom and offices, now an obsolete printing device, the stencil duplicator, or mimeo for short, pre-dates today’s photocopying technologies. It is sill in use in developing countries, as no power is needed.
Interestingly, tattoo and graffiti artists often use a variation of stenciling techniques as well.
Some things to consider when stenciling fabric:
Pre-wash fabric to remove any sizing, do not use fabric softener, and iron the fabric when dry. Also, natural fabrics work best; choose those types that are not stain resistant such as cottons, eco-friendly bamboo, silks, ramie and linen. Linen is made from flax, the first plant to be harvested then spun and woven into fabric.
A flat piece of cardboard to place underneath the fabric is useful as fabric paint can bleed through. If stenciling fabric that will be a clothing article, heat-set the finished painted design by ironing lightly on the back of the fabric or hover the iron for a few seconds over the painted design without touching the iron to the fabric so the heat of the iron penetrates the fabric paint.
Stenciling is a great way to utilize a timeless creative technique to customize clothing and accessories.
Stenciling tips from wikiHow
Sew happy, sew inspired.

Related Articles
Editor's Picks Articles
Top Ten Articles
Previous Features
Site Map
Content copyright © 2023 by Cheryl Ellex. All rights reserved.
This content was written by Cheryl Ellex. If you wish to use this content in any manner, you need written permission. Contact Cheryl Ellex for details.