
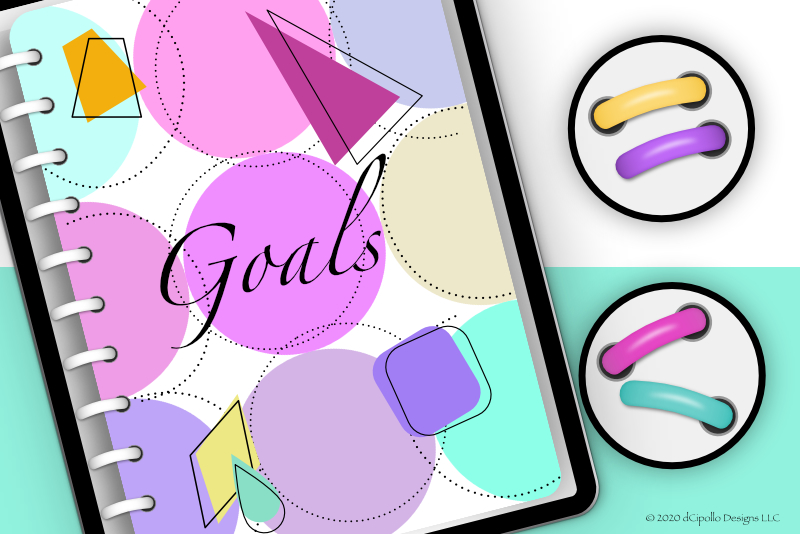
Digital Planner Ring Template - Color Variation
In the last two Design a Digital Planner in Affinity Suite tutorials, we built a planner ring for our digital planner. Now, let’s add some shadows and take a look at a variation in color. In this tutorial, you will learn the following.
Design a Digital Planner in Affinity Suite - Tutorial Series Index
More Affinity Suite Tutorials
Screenshots used by permission of Serif (Europe) Ltd. This article is not endorsed by Serif Ltd.
- Add Inner and Outer Shadow Layer Effects for realism
- Change the colors in the gradient to match your projects color palette
- Save your project in both the default .afdesign format and the .aftemplate template format
Add the Shadows
- Select the Ring layer and choose Outer Shadow and Inner Shadow in the Effects panel (see screenshot).
- Return to the Layers panel and click the fx icon on the Ring layer.
- Select the Outer Shadow Layer Effect in the dialog. Set the Radius to 7 pixels, Offset to 5 pixels and and keep the other default values (see screenshot).
- Select the Inner Shadow Layer Effect to open those controls. Set the Radius to 10 pixels and the Color to 83631E, which is the dark gold color that we used for the ring. Keep the other default values (see screenshot). Check the box for Scale with Object at the bottom of the window.
- Select the Highlight, Ring and both Hole layers in the Layers panel. Right-click and choose Group. Name the Group layer Complete Ring.
- Select the Complete Ring group layer. In the Transform panel, select the top left corner of the Anchor Point Selector.
- Set the Width value to 264 pixels, the Height to 80, the X and Y values to 4 pixels (see screenshot).
- In the Menu Bar, click File - Save History With Document and click Yes in the pop-up dialog. Next, click File - Save, name the file Digi Planner Ring and save the file in the native .afdesign format.
- From the Menu Bar, click File - New to open the New Document dialog. Click Templates on the left (see screenshot).
- Click the Add Folder button to open the file browser window. Browse to your favorite location for saving files. Give your new template folder a name, such as Templates. Click Create to close the window.
- Back in the Designer workspace, click File - Export as Template (see screenshot). Designer will open your new template folder. Let's keep the same name for our template as our working file, Digi Planner Ring. Click Save and the template will be stored in our template folder with the special template file extension .aftemplate.
Finally, we will center the contents of all the layers on the Canvas.
Let's save our working file. We will use the Save History with Document feature to save the step-by-step history of our work. This history will be available when we open the saved file, giving us the option to return to a previous step.
We can also save this file as an Affinity template in the .aftemplate format. If you haven't saved any templates yet, you first need to create a folder for storing the template files.
Now, we can save our template.
Note: To open your template for a new project, just click File - New and select the Templates button in the New Document dialog. Just select the Digi Planner Ring template thumbnail and click Create. Designer will open the template as a new untitled document (see screenshot).
How to Change Gradient Colors
This is my favorite variation. We will change the colors associated with the Gradient Color Stops and the Inner Shadow Layer Effect, giving the ring a whole new look (see screenshot).- Select the Ring layer in the Layers panel.
- From the Context Toolbar, click the Fill Color Swatch to open the dialog.
- On the Gradient tab, select the left Color Stop and its Color Swatch.
- Set the Hex Code to 9C2A75. Repeat for the right Color Stop (see screenshot).
- Select the center Color Stop and set the Hex Color Code to DD0593 (see screenshot).
- Still on the Ring layer in the Layers panel, click the fx icon to open the Layer Effects dialog. For the Inner Shadow Layer Effect, set the Color Swatch to 9C2A75. Close the dialog (see screenshot).
Design a Digital Planner in Affinity Suite - Tutorial Series Index
More Affinity Suite Tutorials
Screenshots used by permission of Serif (Europe) Ltd. This article is not endorsed by Serif Ltd.
Powered by Creative Market

Related Articles
Editor's Picks Articles
Top Ten Articles
Previous Features
Site Map
Content copyright © 2023 by Diane Cipollo. All rights reserved.
This content was written by Diane Cipollo. If you wish to use this content in any manner, you need written permission. Contact Diane Cipollo for details.


