
Full Digital Planner - Inside Page Master Page
Let's continue to work on our Inside Page master page for the Full Digi Planner PDF Template. As stated previously, the Inside Page master will have Picture Frame placeholders. In the first part of this tutorial, we added the first Picture Frame placeholder for the Endpaper design. Now we will add a layer above the Endpaper Placeholder layer for the page itself. The rectangle on this layer will be the full size of the inside page, as it will show from under the binder rings.
Back
Design a Digital Planner in Affinity Suite - Tutorial Series Index
More Affinity Suite Tutorials
Screenshots used by permission of Serif (Europe) Ltd. This article is not endorsed by Serif Ltd.
- With the Endpaper Placeholder layer selected, use the Rounded Rectangle tool to draw the background rectangle on to the Canvas. In the Transform panel, select the top left corner of the Anchor Point Selector. Set the following values.
- Set the Corner to Rounded and the Radius to 1%.
- In the Color panel, set the Fill and Stroke to white (ffffff).
- Name this new layer Inside Page Background - Set Fill & Stroke Color.
Add a Shadow Layer
Now we need to add a shadow under the edges of the Inside Page Background layer. This will give the illusion of depth for the tabs and binder rings. The easiest way to do this is to draw another rounded rectangle on a layer below the Inside Page Background layer. - Select the Endpaper Placeholder layer and draw the rectangle with the Rounded Rectangle tool. In the Transform panel, set the following values.
- Name this layer Page Shadow.
- In the Context Toolbar, set the Stroke to Black (000000) and the Stroke Width to 5 pt. Set the Fill to Null.
- In the Context Toolbar, set the Corner to Rounded and the Radius to 1%.
- Go to the Effects panel and select the Gaussian Blur effect (see screenshot). Go back to the Page Shadow layer and select the fx icon to open the Layer Effects window. For the Gaussian Blur set the Radius to 30. Check the box at the bottom of the window for Scale with Object (see screenshot).
- At the top of the Layers panel, set the Opacity to 100% and the Blend Mode to Multiply (see screenshot).
- With the Inside Page Background layer selected, draw another Picture Frame on the Canvas (see screenshot).
- Set the following values in the Transform panel.
- In the Color panel, set the Stroke and Fill to Null.
- Name the new Picture Frame layer Inside Page Placeholder - Place Image Here.
- In the Context Toolbar, set the Corner to Rounded and reduce the Radius to 1%.
- Select the Inside Page Placeholder layer. Click the Properties button in the Context Toolbar and choose the first option, Scale to Max Fit. Click the Replace Image button in the Context Toolbar and choose the .png.
- Click File - Save to save the working .afpub file.
Inside Page Solid Colored Background Layer
X to 42
Y to 76
Width to 2104
Height to 2792
The corners of the paper inside a planner is usually not as rounded as the covers. But setting the Corner Radius to Zero would make the corners too sharp. Let's reduce the Corner Radius just 1% so that the corners look realistic.
Note: For each planner, you can change the Fill and Stroke color of this rectangle to match your page design.
X to 42
Y to 64
Width to 2134
Height to 2808
Inside Page Design Picture Frame Placeholder Layer
Now let's add a new Picture Frame layer that will display the page design.Note: As the binder rings are already on the Master Page, we will not include them in the page design. Therefore, we will make the width of this Picture Frame a little smaller, so the it will begin at the edge of the binder rings and extend to the side tabs. Therefore the page design itself will only be 1976 pixels wide. When you create your page designs, include only the content on the page itself and omit the area for the binder rings.
X to 170
Y to 76
Width to 1976
Height to 2792
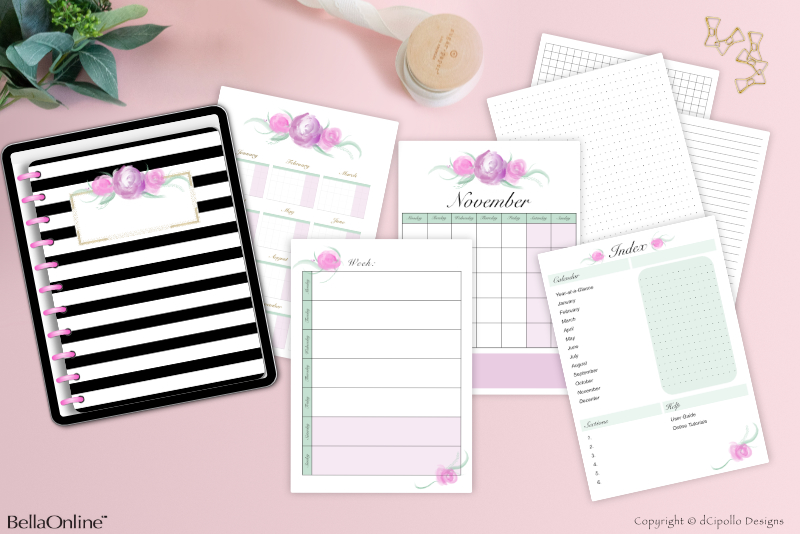
Our last step is to add the Inside Page Placeholder .png.
Back
Design a Digital Planner in Affinity Suite - Tutorial Series Index
More Affinity Suite Tutorials
Screenshots used by permission of Serif (Europe) Ltd. This article is not endorsed by Serif Ltd.
Powered by Creative Market

Related Articles
Editor's Picks Articles
Top Ten Articles
Previous Features
Site Map
Content copyright © 2023 by Diane Cipollo. All rights reserved.
This content was written by Diane Cipollo. If you wish to use this content in any manner, you need written permission. Contact Diane Cipollo for details.


