
Full Digi Planner PDF Template - Inside Page
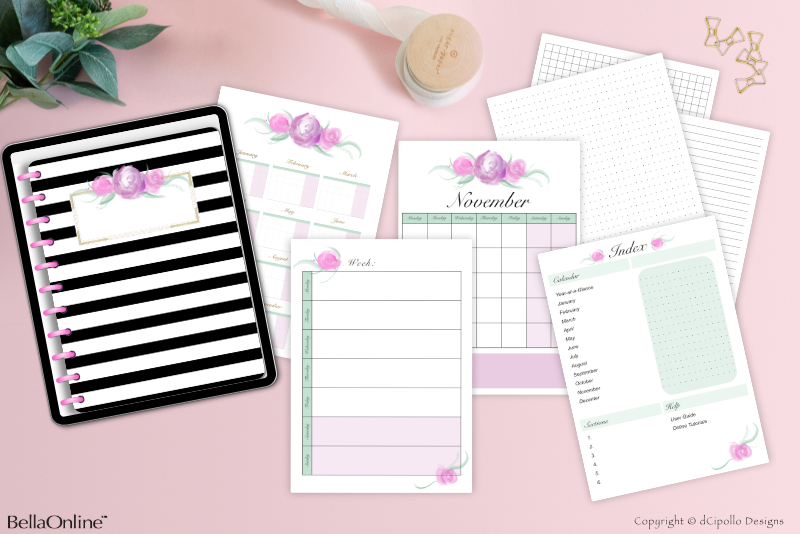
At this point in the Design a Digital Planner in Affinity Suite tutorial series, we will build the Master Page for the inside pages of our Full Digi Planner PDF Template. As we did for the Back Cover master page, we will start by duplicating the Front Cover master, to maintain the binder ring Symbols. Use the links below to download the two placeholder graphics for this tutorial.
Design a Digital Planner in Affinity Suite - Tutorial Series Index
More Affinity Suite Tutorials
Screenshots used by permission of Serif (Europe) Ltd. This article is not endorsed by Serif Ltd.
Let's Get Started
- Open your Full Digi Planner PDF .afpub working file.
- In the Master Pages panel, click on the Add Master icon at the top of the panel. Keep the settings in the Add Master window and click OK (see screenshot).
- Double-click the new thumbnail, to load that master page in to the canvas. Now right-click on the empty thumbnail and choose Apply Master from the pop-up menu. Set the following values in the Apply Master window (see screenshot).
- Rename the Master C thumbnail to Inside Page (see screenshot).
- Drag the Inside Page thumbnail to just below the Front Cover thumbnail.
- In the Layers panel, select the Front Cover Placeholder layer and click the Delete icon at the bottom of the panel. Repeat this to remove the Shadow layer.
- Select the Left Side Binder Rings group layer. In the Transform panel, select the top left corner of the Anchor Point Selector. Set the X value to -125, to move the rings to the left (see screenshot).
- With the Shadow 2 layer selected, use the Picture Frame Rectangle tool to draw a new Picture Frame on the Canvas for the Endpaper. In the Transform panel, set the following values.
- In the Color panel, set the Stroke and Fill to Null.
- Name the new Picture Frame layer Endpaper Placeholder - Place Image Here (see screenshot).
- In the Context Toolbar, set the Corner to Round and the Radius to 5%, which is the same radius given to the front and back covers.
- Right-click on the Shadow 2 layer and choose Duplicate. On the bottom duplicate layer, set the X value to zero to move the shadow to the left edge. Rename this layer to Shadow 3.
- Select the Endpaper Placeholder layer. Click the Properties button in the Context Toolbar and choose the first option, Scale to Max Fit. Click the Replace Image button in the Context Toolbar and choose the downloaded .png.
Apply Master: Front Cover
Replace Existing: Checked
You should see the content from the Front Cover master appear in the empty canvas. In the Layers panel, we have a group layer named (Front Cover) and the new thumbnail has been renamed to Master C (see screenshot).
We will keep only the Left Side Binder Rings group layer and the Shadow 2 layer.
For this inside page we only want half of the binder rings to show. We will move the rings to the left until only half of the rings are visible along the left edge. This will give us a little empty space on the right edge for the tabs.
You will notice that half of the binder rings now extend beyond the left edge of the Canvas. That's what we want. On export, the final PDF will show only the half of the binder rings that are still on the Canvas, giving the illusion that we are viewing an inside page. You can get a preview of this by clicking the Toogle Preview Mode icon (see screenshot) in the Toolbar.
Let's add the first Picture Frame that will hold the Endpaper Placeholder .png. The Shadow 2 layer should still be the bottom layer in the Layers panel.
X to Zero
Y to Zero
Width to 2244 pixels
Height to 2904 pixels.
The new Picture Frame should be on the layer just above the Shadow 2 layer and should cover the entire Canvas.
We already have a Shadow 2 shape under the right edge of the Endpaper Placeholder layer. This shadow helps the rounded corners display better against a white background. But we need the same shadow on the left edge.
Let's add the downloaded Endpaper Placeholder .png in to the Picture Frame.
Design a Digital Planner in Affinity Suite - Tutorial Series Index
More Affinity Suite Tutorials
Screenshots used by permission of Serif (Europe) Ltd. This article is not endorsed by Serif Ltd.
Powered by Creative Market

Related Articles
Editor's Picks Articles
Top Ten Articles
Previous Features
Site Map
Content copyright © 2023 by Diane Cipollo. All rights reserved.
This content was written by Diane Cipollo. If you wish to use this content in any manner, you need written permission. Contact Diane Cipollo for details.


