
Full Digi Planner PDF Template - Links on Pages
At this point in the Design a Digital Planner in Affinity Suite tutorial series, let's continue working on the links on the Index page. We have created the first hyperlink rectangle. Before we attach a hyperlink to that rectangle, let's add rectangles over the rest of the text links.
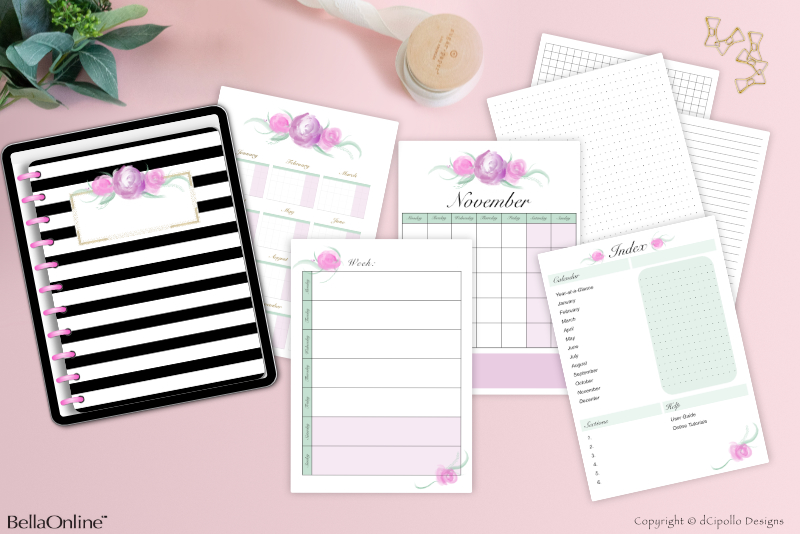
Design a Digital Planner in Affinity Suite - Tutorial Series Index
More Affinity Suite Tutorials
Screenshots used by permission of Serif (Europe) Ltd. This article is not endorsed by Serif Ltd.
- Right-click on the Yearly - Index Page layer and choose Duplicate.
- Select the bottom duplicate layer and rename the layer to January - Index Page.
- In the Transform panel, set the Y value to 625 px.
- Repeat these steps to add more layers (see screenshot), renaming the bottom duplicate layer for each link. Also in the Transform panel, set the Y value for each link. Use the list as a guide (see list).
Note: For the two external links, you will need to change both the X and Y values in the Transform panel.
Attach Hyperlinks on Index Page
Now we will attach a hyperlink to each rectangle and set the opacity of the rectangle to zero.- In the Layers panel, select the Yearly - Index Page layer. On the Canvas, right-click in the rectangle over the Year-at-a-Glance text and choose Interactive - Insert Hyperlink (see screenshot).
- In the Hyperlink Properties window, set the Hyperlink Type to Anchor and the Anchor to Yearly (see screenshot).
- In the Context Toolbar, set the Opacity of the Stroke color to 0%.
Repeat these steps for each hyperlink on the page, except for the two External Links. For those links, set the Hyperlink Type to URL and the URL to the external webpage url of your choice (see screenshot).
That completes the hyperlinks for the Index page (see screenshot).
Draw Rectangles on Year-at-a-Glance Page
Let's do the same for the Year-at-a-Glance page (Page 9), which has 12 small monthly calendar graphics and the name of the month above each. For this page we will make the following changes (see list).- In the Pages panel, double-click the thumbnail for Page 9, to load that page in to the Canvas.
- In the Layers panel, select the Yearly group layer.
- On the Canvas, draw a rectangle completely covering the January monthly name and the calendar graphic. In the Transform panel, set the Width to 520 px and the Height to 490 px. Then set the X and Y values using the list as a guide.
- With the rectangle still selected, set the Opacity of the Stroke color back to 100% in the Context Toolbar.
- In the Layers panel, name the rectangle layer to the name above the monthly graphic, in this case January - Yearly Page.
- Right-click on the January - Yearly Page layer and choose Duplicate. Change the layer name for the bottom duplicate layer to February - Yearly Page and set the correct values in the Transform panel.
- Repeat this 10 times, for the rest of the months on the page.
- Select all 12 layers, right-click and choose Group. Name the group layer Page Links.
Let's make some more rectangles. We need three rectangles in each of four rows (see screenshot). Use the list as a guide.
Before we add the hyperlinks, let's group all the link layers.
Month Hyperlinks on Year-at-a-Glance Page
As we did for the Index page, let's add a hyperlink to each rectangle and set the opacity of the rectangle to zero. You should still have Page 9 active.- In the Layers panel, select the January - Yearly Page layer. On the Canvas, right-click in the rectangle and choose Interactive - Insert Hyperlink.
- In the Hyperlink Properties window, set the Hyperlink Type to Anchor and the Anchor to January.
- In the Context Toolbar, set the Opacity of the Stroke color to 0%.
- Click File - Save to save our changes to the working .afpub file.
Repeat these steps for all of the monthly rectangles.
Design a Digital Planner in Affinity Suite - Tutorial Series Index
More Affinity Suite Tutorials
Screenshots used by permission of Serif (Europe) Ltd. This article is not endorsed by Serif Ltd.
Powered by Creative Market

Related Articles
Editor's Picks Articles
Top Ten Articles
Previous Features
Site Map
Content copyright © 2023 by Diane Cipollo. All rights reserved.
This content was written by Diane Cipollo. If you wish to use this content in any manner, you need written permission. Contact Diane Cipollo for details.


