
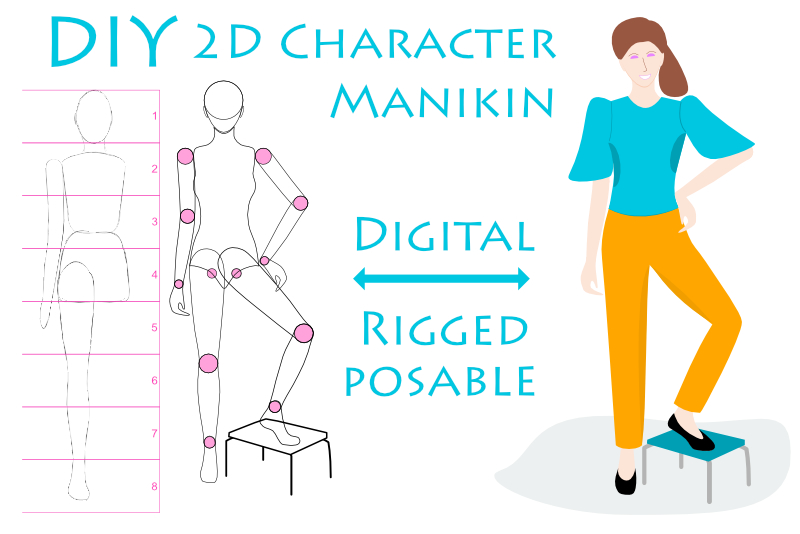
Digital Manikin - The Arm Joints
Now we will divide the arm in to three sections. First, we will separate the upper arm from the lower arm at the elbow joint.
Back
- Select the right arm layer and the Node tool. Imagine a horizontal line through the center of the elbow joint circle. If you wish you can draw a line. We need to add two new Nodes at the locations where the horizontal line crosses the line art. To add the first Node, click on the line art at right side of the elbow joint circle with the Node tool. Repeat this to add a second Node at the other side. (see screenshot)
- With the Node tool still selected, click on one of the Nodes that you just added. In the Actions section of the Context toolbar, click the Break Curve icon. Repeat this for the other new node (see screenshot).
- You now should have two layers in the Layers panel. Both layers will have the same name, which is right arm (see screenshot).
- Change the name of the top right arm layer to upper arm. Rename the lower right arm layer to lower arm.
- Turn off the visibility of the right lower arm layer (containing the lower arm and hand). Deselect this layer, by clicking on only the top right upper arm layer.
Now we will divide the arm in to sections, by breaking the vector path of the arm.
- While holding down the Shift key, select both of those same two Nodes, with the Node tool.
- Go back to the Actions section of the Context toolbar and click the Close Curve icon. You should see a new line connecting the two open points (see screenshot).
- To add a new Node, click on the center of the new line with the Node tool (in the center of the circle). While still holding down your mouse button, drag this new center Node to the outer edge of the circle. You will see two small lines in the shape of a "v" (see screenshot).
- Select the center of one of those small lines and drag the line outward and around the edge of the circle (see screenshot).
- Repeat the previous step for the left edge of the circle. If you need to adjust the shape of the line, click on one of the Nodes to get the Control Handles (see screenshot).
- Select the right lower arm layer. With the Node tool, select both of the Nodes at the open path and click the Close Curve icon.
- Add a new Node at the center of the new line and pull the line to the edge of the circle (see screenshot).
- Drag each line of the "v" shape and curve it around the edges of the circle (see screenshot).
- Repeat the entire process for the wrist circle joint (see screenshot).
- When you divide the lower arm from the hand, don't forget to rename one of the right lower arm layers to right hand (see screenshot).
Now, we will curve the line around the joint circle.
Now, we have completed the right upper arm and half of the elbow joint. But the right lower arm is still an open path and still needs the other half of the elbow joint. Let's fix that (see screenshot).
Back
INDEX - Artist Manikin in Affinity Designer
Screenshots used by permission of Serif (Europe) Ltd. This article is not endorsed by Serif Ltd.
Related Articles
Editor's Picks Articles
Top Ten Articles
Previous Features
Site Map
Content copyright © 2023 by Diane Cipollo. All rights reserved.
This content was written by Diane Cipollo. If you wish to use this content in any manner, you need written permission. Contact Diane Cipollo for details.


