
Photoshop Animation - Facebook Video Cover
In the next few Photoshop tutorials, we will create a Facebook video cover template for your clients. This Photoshop video template will use two photos and several layers of text. Using keyframes and the video timeline, we will create custom transitions to move and fade in/out these design elements. Finally, we will make the first and last frames identical, so that the video can loop on our Facebook page.
The Graphics
As this is a template, you will be using placeholder graphics, which we will convert to smart objects. You can replace the generic placeholder images with your client’s photos.
The Facebook video cover needs to be 820 x 462 pixels, with a 1080 resolution. As our two graphics will have one slanted edge on the left, we will need the placeholder graphics to be 920 x 462 pixels, which is 100 pixels wider than the screen.
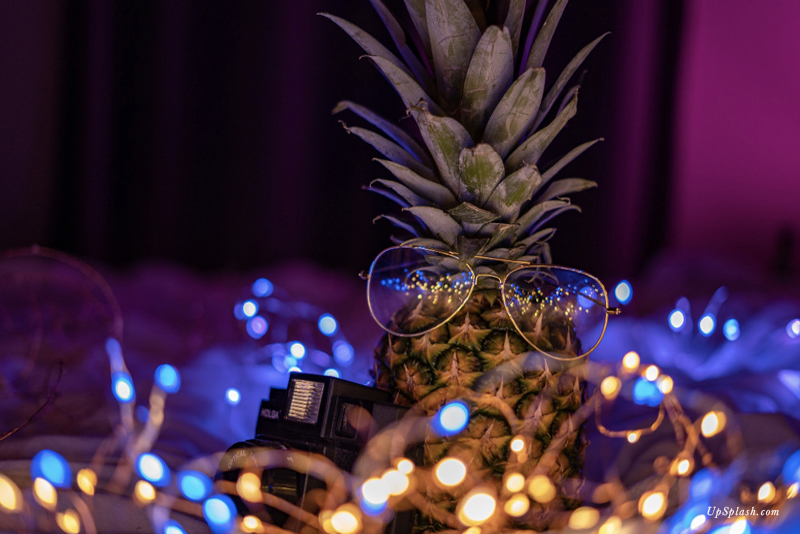
When choosing your client’s photos (see screenshot), they also need to be 920 x 462 pixels. Also, we will be placing text on the left side of these photos, so this area needs to have less detail. The photos used in our client example are from Upsplash (see links below).
Planning the Animation
Let’s get started.
Photos Used:
https://unsplash.com/photos/JlnZGMegZaI
https://unsplash.com/photos/iTFwsm6kb2g
Next
Copyright 2018 Adobe Systems Incorporated. All rights reserved. Adobe product screen shot(s) reprinted with permission from Adobe Systems Incorporated. Adobe, Photoshop is/are either [a] registered trademark[s] or a trademark[s] of Adobe Systems Incorporated in the United States and/or other countries.
The Graphics
As this is a template, you will be using placeholder graphics, which we will convert to smart objects. You can replace the generic placeholder images with your client’s photos.
The Facebook video cover needs to be 820 x 462 pixels, with a 1080 resolution. As our two graphics will have one slanted edge on the left, we will need the placeholder graphics to be 920 x 462 pixels, which is 100 pixels wider than the screen.
When choosing your client’s photos (see screenshot), they also need to be 920 x 462 pixels. Also, we will be placing text on the left side of these photos, so this area needs to have less detail. The photos used in our client example are from Upsplash (see links below).
Planning the Animation
- The first scene will begin with one photo already on the screen and end with the Business Name placeholder text fading on to the screen.
- The next scene begins with the placeholder text remaining on the screen and a second photo sliding on to the screen from the right, replacing the original photo. The scene will end with the placeholder text fading out.
- In the third scene, the second photo remains and the next group of placeholder text fade in, one line of text at a time. This text will be a tagline and a short list of the services offered by the business, such as catering, lighting and decorations. Lastly, we will add a call to action in the form of a phone number, email address or website url.
- During the forth and final scene, the placeholder text will fade out and the first photo will slide back on to the screen from the right. Ending the last scene with the same photo that was on the timeline on the first frame of the video will allow the video to loop smoothly.
Let’s get started.
Photos Used:
https://unsplash.com/photos/JlnZGMegZaI
https://unsplash.com/photos/iTFwsm6kb2g
Next
Copyright 2018 Adobe Systems Incorporated. All rights reserved. Adobe product screen shot(s) reprinted with permission from Adobe Systems Incorporated. Adobe, Photoshop is/are either [a] registered trademark[s] or a trademark[s] of Adobe Systems Incorporated in the United States and/or other countries.

Related Articles
Editor's Picks Articles
Top Ten Articles
Previous Features
Site Map
Content copyright © 2023 by Diane Cipollo. All rights reserved.
This content was written by Diane Cipollo. If you wish to use this content in any manner, you need written permission. Contact Diane Cipollo for details.


