InDesign Fixed Layout ePub Custom Motion Path

In this InDesign® tutorial, we will learn how to make custom motion paths for our fixed layout ePub project. We have already learned about motion paths in a few previous tutorials. Those motion paths were just a straight line, causing the object to move across the page.
But what if you wanted to have an object move along a curved motion path. That can be done by drawing our own motion path with the pencil or pen tool. That's exactly what we will do in this tutorial.
View Sample Project Page 9
The Animation
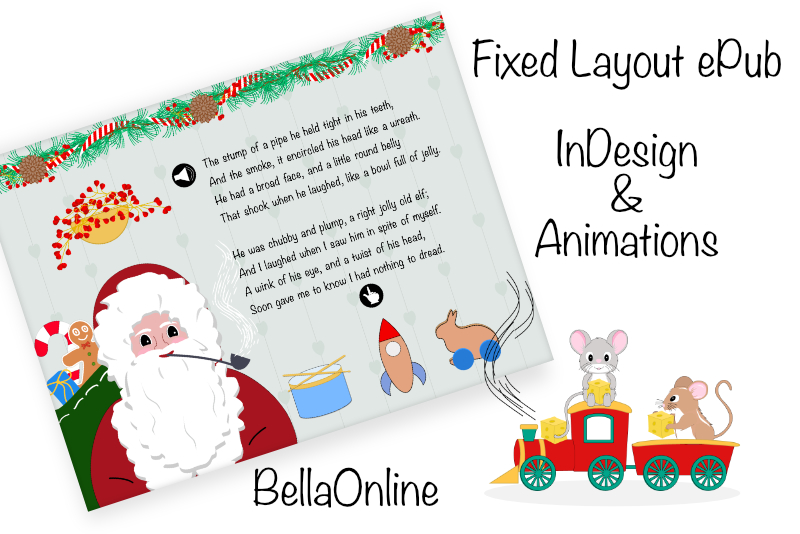
For this page, we will animate three toys, which are a rocket, a drum and a rabbit. They will appear to move from Santa's pack to an empty area on the page, after an interactive button is clicked.
The Graphics
As mentioned above, we will animate three toys. Besides the page-sized background image, which is already in place, we will need a png for each toy. We will place the toys by Santa's bag and make them appear to jump out of the bag and on to the page.
Index - InDesign Fixed Layout ePub
© 2024 Adobe Systems Incorporated. All rights reserved. Adobe® product screen shot(s) reprinted with permission from Adobe Systems Incorporated. Adobe, Photoshop, Illustrator, InDesign is/are either [a] registered trademark[s] or a trademark[s] of Adobe Systems Incorporated in the United States and/or other countries.
But what if you wanted to have an object move along a curved motion path. That can be done by drawing our own motion path with the pencil or pen tool. That's exactly what we will do in this tutorial.
View Sample Project Page 9
The Animation
For this page, we will animate three toys, which are a rocket, a drum and a rabbit. They will appear to move from Santa's pack to an empty area on the page, after an interactive button is clicked.
The Graphics
As mentioned above, we will animate three toys. Besides the page-sized background image, which is already in place, we will need a png for each toy. We will place the toys by Santa's bag and make them appear to jump out of the bag and on to the page.
- Open your project file and go to page 9.
- Click File - Place to add the three toy graphics to the page.
- Place each of them off of the left side of the page by Santa's bag (see screenshot).
- With the Pen tool, draw a curved line from one of the toys to the center of the empty area under the poem text.
- Select both the toy and the motion path that you just drew. In the Animation panel, click the Convert to Motion Path icon at the bottom of the panel (see screenshot).
- Repeat the previous steps for the other two toy graphics (see screenshot).
- Place the button graphic on to the page in the empty area under the poem text.
- With the button graphic still selected, open the Buttons and Forms panel.
- Set the Type to Button and name the button toyButton (see screenshot).
- Select the rocket toy and open the Animation panel.
- Check the box for Hide Until Animated.
- Turn off On Page Load and click the icon next to the list.
- Your mouse should turn to a circle cursor. Click the button graphic with your mouse (see screenshot).
- Repeat the previous steps for the other two toys.
- Test the animation. Click the button and you should see the three toys enter the page and land under the poem text area.
Now we will draw the custom motion paths for each toy.
Now we will add the button that will trigger the animations.
Index - InDesign Fixed Layout ePub
© 2024 Adobe Systems Incorporated. All rights reserved. Adobe® product screen shot(s) reprinted with permission from Adobe Systems Incorporated. Adobe, Photoshop, Illustrator, InDesign is/are either [a] registered trademark[s] or a trademark[s] of Adobe Systems Incorporated in the United States and/or other countries.

Related Articles
Editor's Picks Articles
Top Ten Articles
Previous Features
Site Map
Content copyright © 2023 by Diane Cipollo. All rights reserved.
This content was written by Diane Cipollo. If you wish to use this content in any manner, you need written permission. Contact Diane Cipollo for details.


