
How to Add Text to Silhouette Print and Cut Design
In this tutorial, we will use the Print and Cut feature of the Silhouette Cameo®. Our first step will be to draw the cut lines for the design or open the SVG cut file. Next, we will add the text to the design and print the text on our cardstock. Then, we will load the paper into the Silhouette machine and cut the design. For our example, we will be printing a business name on the front of a 3.5 x 2 inches business card.
- Load your paper into your printer.
- Open the Silhouette Studio® software. Turn on your printer and the Silhouette machine.
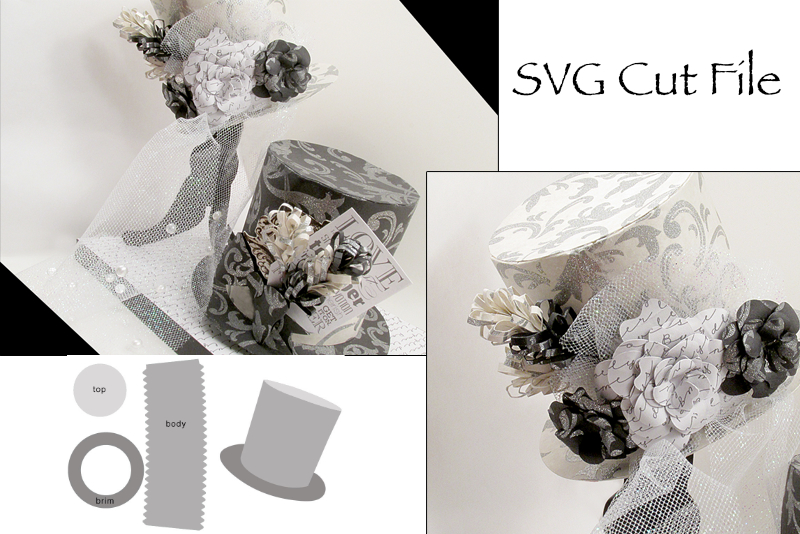
- If you are using an SVG cut file, click File - Open to open the SVG file into Silhouette.
- Click the Page/Paper/Mat Tools icon to open the Page pane. Set the paper size for your 8 1/2 x 11 inches printer paper and check the boxes next to Show Print Border and Show Cut Border. Set the page orientation, rotate view and cutting mat for your Silhouette machine.
- If the registration marks are not visible in the Drawing Area, click the Registration Marks icon to open the pane on the right of the workspace. If the Style pane is set to Off, change the setting to either Type 1 or Type 2, depending on which Silhouette machine.
- Drag the SVG image inside the registration marks and deselect the image.
If you are not using an SVG cut file, you can draw your own cut lines. In the Silhouette Drawing Area, use the Rectangle tool to draw a 3.5 x 2 inches rectangle within the registration marks. This will become our cutting line for the business card. Deselect the rectangle shape.
At this point, we are ready to add the text to the business card. Let's add the text to a second layer, so that we can tell the Silhouette to NOT cut the text layer when it cuts the business card layer. - From the bottom left menu, click the Layers Pane icon.
- You will see the Layers pane appear on the right, with one layer labeled Layer 1. On this layer, is our Polygon - the cut line for the business card. Let's rename this layer to "card". Click the box next to the layer name to lock the layer.
- Click the Plus icon at the bottom of the pane to add a new layer to the Layers pane. Rename this layer "text".
- In an empty area of the workspace, use the Text tool to create your text for your business name. Use the controls in the Text Style pane to set the Font Style, Justification, Text Size, Character Spacing, Line Spacing and Kerning for your design. If you like, you can add a tagline under your business name. You should see that a sublayer has been added to the Layers pane, which indicates that text has been added to the text layer.
At this point, the text is in outline. Let’s fill the text with color. - Select all text and click the Fill Color icon to open the Fill Color pane.
- Select the color of your choice for the printed text. The text on the Drawing Area should change color indicating it is now filled with color.
- Deselect the text. Switch back to the Select tool.
- With the Select tool, drag the text in to position within the cutting line.
- Holding down the Shift key, drag the corner to scale the text to fit on the business card. Deselect the text.
Now we will tell Silhouette to NOT cut the text and to CUT just the business card. - Click the Cut Settings icon to open that Cut Settings pane.
- Select the Advanced option. We will be using the Cut By Layer feature. Click on the Layer tab. You will see both the card and text layers listed in the Layer column.
- Because we will not be cutting the business card cut line in this step, uncheck the box for the card layer.
- Check the box for the text layer. With the text layer selected, choose the Material Type from the list below.
Now we are ready to print. - Click the Send to Printer icon in the top left menu to open your printer pane. Set the print options and click the button to complete printing. Your printer will print both the registration marks and your text.
- Place the paper on to the cutting mat and load the mat into the Silhouette machine.
- The Cut Settings pane should still be open with your cut settings. Uncheck the box for the text layer and check the box for the card layer.
- With the card layer selected, set the Material Type to Copy Paper or the media of your choice.
- Click the Send to Silhouette button at the bottom of the pane.
- Wait for the Silhouette to read the Registration marks and then cut your card.
- Remove the paper from the Silhouette.

Related Articles
Editor's Picks Articles
Top Ten Articles
Previous Features
Site Map
Content copyright © 2023 by Diane Cipollo. All rights reserved.
This content was written by Diane Cipollo. If you wish to use this content in any manner, you need written permission. Contact Diane Cipollo for details.


