
Designing A Logo With The Logo Creator - I

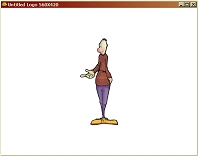
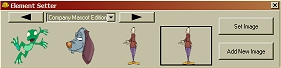
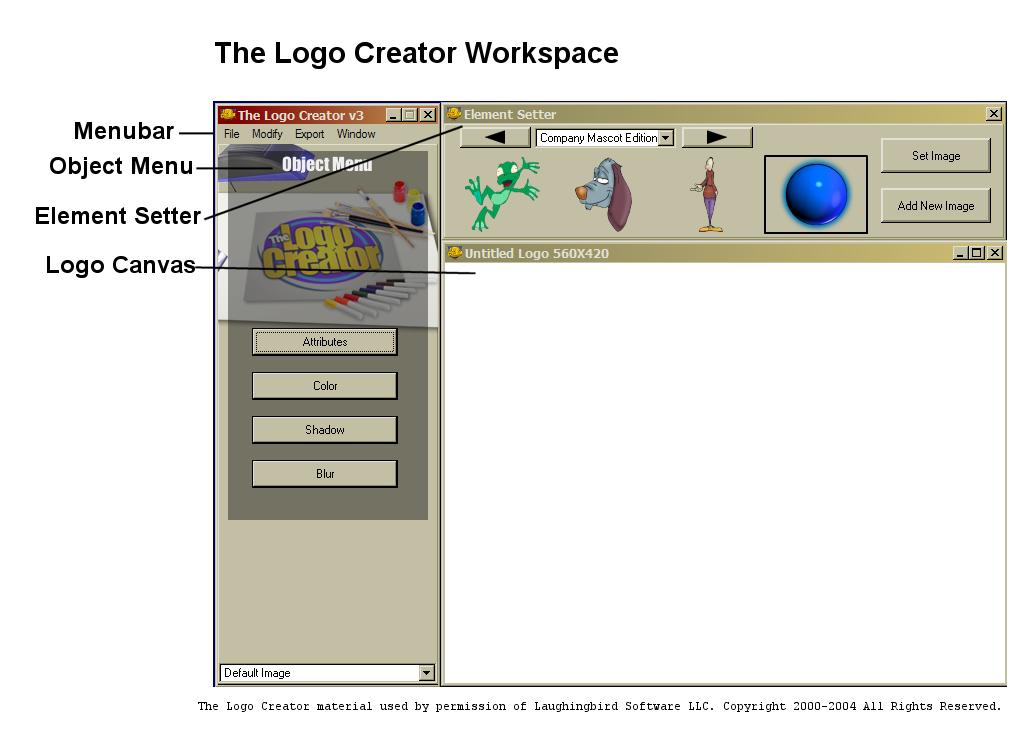
| Project Information: • Skill level: Basic • The Logo Creator by Laughingbird Software - Company Mascot and Cartoon Editions • Diagram of The Logo Creator Workspace • Inkjet Printer (optional) • Blank stationary and business card paper (optional) Recently my friend Nancy asked me to suggest software that she could use to make a logo for her website. My friend creates beautiful customized dog collars. But when it comes to computer graphics she is all thumbs. So she needed a program that had preinstalled art that she could use to build her own professional logo. You might be thinking that there are many clipart software packages on the market. But Nancy wanted to be able to copyright the logo that she created for her business. So I went searching on the web for a software program that not only came with art preinstalled but also allowed the user to copyright the finished images created with the software. I found a great program called The Logo Creator from Laughingbird Software LLC. After working with the program for less than an hour, Nancy was able to create a great looking logo. We were so impressed with The Logo Creator that I decided to write this two part how-to tutorial for creating a logo with this software. When you have finished the tutorial you can save your logo in bitmap format. This will allow you to import the image into other programs such as MicrosoftR Outlook and Word. You can also save the image in the jpg format for the web. Finally you can print business cards and stationery with your logo directly from The Logo Creator program. Let's get started.  Step 1. Start a logo. After you install the software you can open the program by clicking on the icon on your desktop. You can start a new logo project by clicking File > New Logo on the Menubar. This will open a blank logo canvas and the Element Setter. Step 2. Modify the canvas. The default size of the canvas is 560 by 420 pixels. That's a good size for our project so let's keep that as is. But we do want to change the canvas color to white. From the main Menubar click Modify > Set Canvas Color to open the Canvas Color dialog box. Click on the small white square in the upper left corner of the color chart to set the canvas color to white. Now you can click Done to close the dialog box. Step 3. Add your first element. The first element in this logo design is a Company Mascot character called Simmie. Of course you are free to use any elements you prefer instead of the elements that I have used in this project. Click Modify > New Image Element to open the Element Setter. You will see a blue orb that is the default element. We will now replace this. You will find the Simmie character that we plan to use in the Company Mascot Edition library so choose this library from the drop-down Object Libraries list. Click on the arrow to move along the element list until you see the Simmie character. Click on the character to place it in the input box. Click the Set Image button to replace the orb with this character.
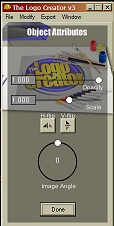
Step 4. Give him a new head. This character is cute already but I decided to give him a dog's head called Ruff. Go back to the Element Setter and use the arrows to move along until you find the Ruff head in the Company Mascot library. When you have placed this in the input box, click Add New Image. The dog's head is very large. Let's scale it down. Click on the Attributes button on the Object Menu. Use the Scale slider again to resize the head to .218 and click Done. Finally click and drag the head onto the character's body.
The Logo Creator material used by permission of Laughingbird Software LLC. Copyright ©2000-2004 All Rights Reserved. | |||

This site needs an editor - click to learn more!

Editor's Picks Articles
Top Ten Articles
Previous Features
Site Map
Content copyright © 2023 by Diane Cipollo. All rights reserved.
This content was written by Diane Cipollo. If you wish to use this content in any manner, you need written permission. Contact
BellaOnline Administration
for details.

