
Digital Planner Cover Template Affinity Suite
In this Design a Digital Planner in Affinity Suite tutorial, we will begin building a template for assembling a digital planner cover in Affinity Suite. In other tutorials in this series, you will learn how to create the designer graphics for customizing this GoodNotes planner template. This template will accept those graphic files, position the graphics as needed in the layout and add the realistic touch with a drop shadow. If you don't have the cover and binder ring design graphics prepared yet, don't worry. You won't need them to complete the template.
This is a great tutorial for learning how to use the new Affinity Suite software. You will learn the following.
Many planner companies in the physical world offer interchangeable covers for their planners. Replacing the cover is a quick and easy way to change the look of your planner for the holidays, seasons, important occasions and much more. This is also true for digital planners. Digital fans will use the same planner several times and just add a different cover each time. Many digital designers sell these additional cover PDFs with different color palettes, title text and more.
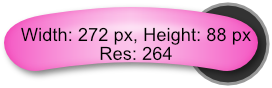
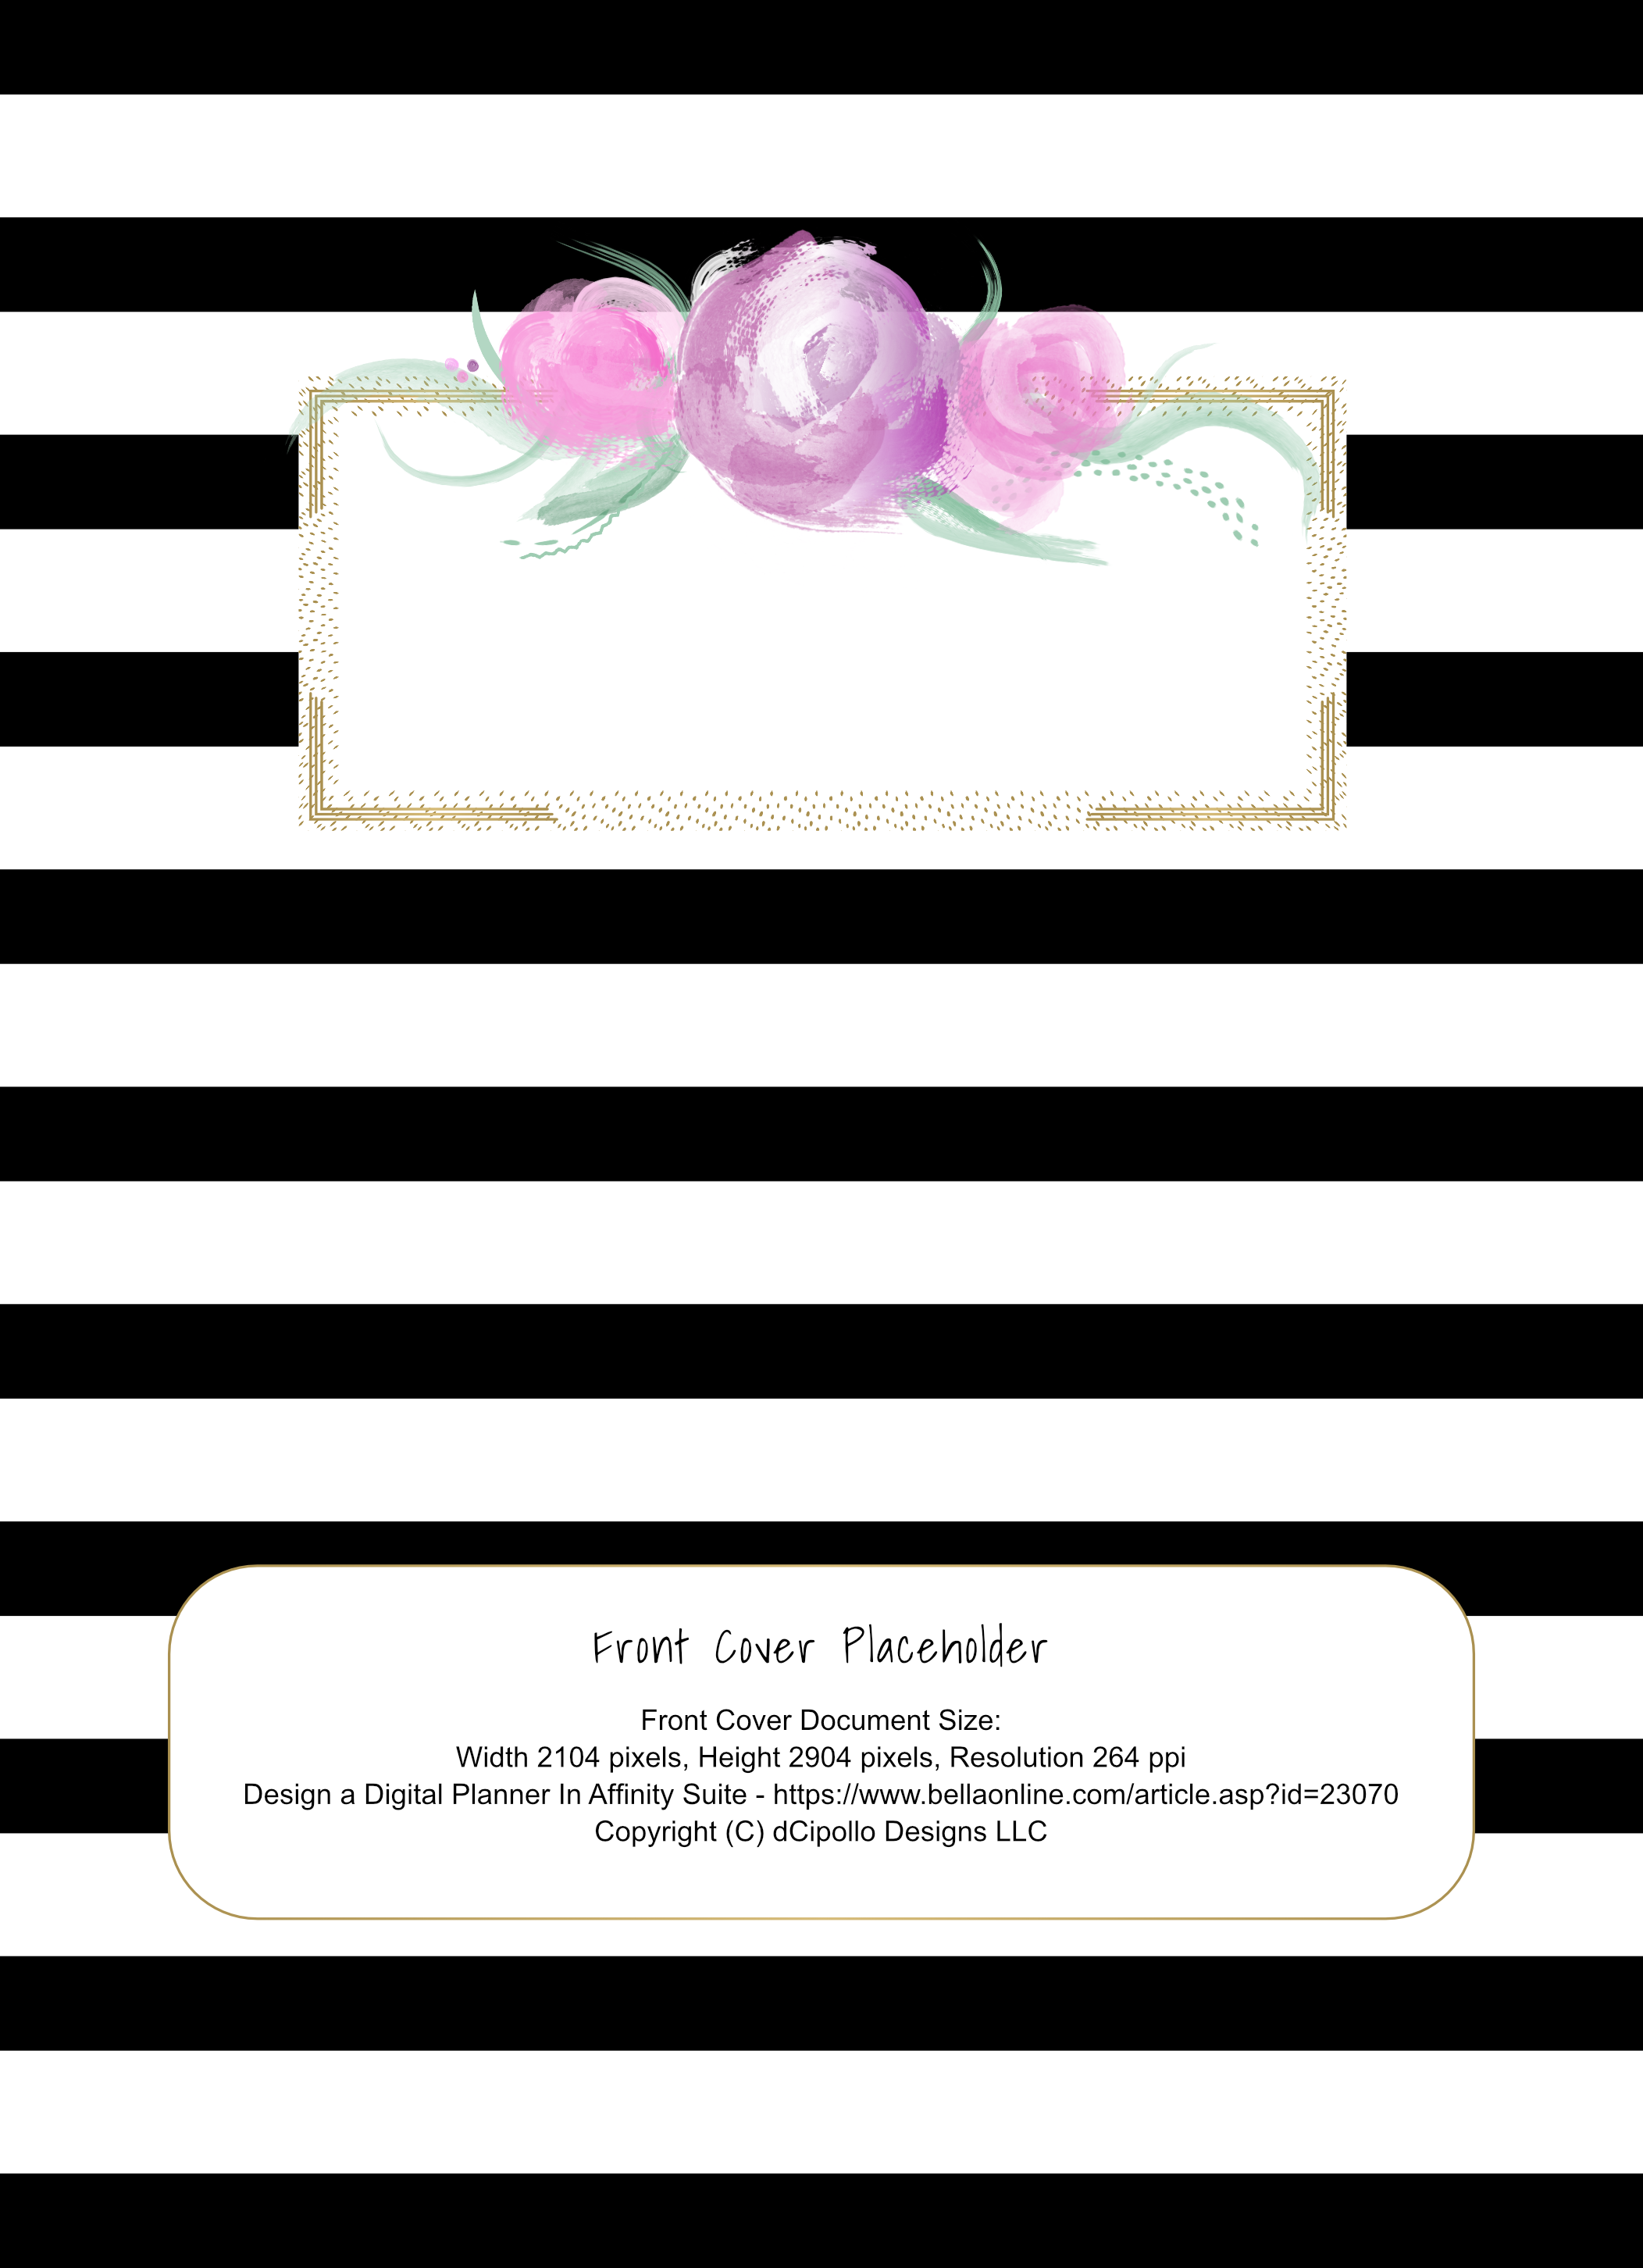
This cover page layout uses two Picture Frame placeholders. I have provided some generic graphics for these placeholders. Click the links below and save them to your desktop. For each new cover design, you will replace these generic placeholder graphics with your designer planner cover and binder ring graphics. We will be using the Scale to Fit feature that will scale your designer graphics to fit inside the Picture Frame placeholders. However, to work best, your design graphics should have the width and height pixel dimensions listed on the placeholder pngs (see screenshot). As with all tutorials in this series, we are building a planner for the GoodNotes Letter portrait template size and at the iPad resolution of 264 pixels per inch (ppi).
Binder Ring Placeholder
Front Cover Placeholder
Next
Design a Digital Planner in Affinity Suite - Tutorial Series Index
More Affinity Suite Tutorials
Screenshots used by permission of Serif (Europe) Ltd. This article is not endorsed by Serif Ltd.
This is a great tutorial for learning how to use the new Affinity Suite software. You will learn the following.
- Create and save a custom preset for digital planner projects
- Set Publisher to work in whole pixels
- Set User Interface Preferences with pixels and points to zero
- Lock a layer in the Layers panel to preserve an object, group or layer
- Manage and organize your design in the Layers panel
- Work with Publisher's Layout tools and Picture Frame placeholders
- Use the Transform panel for setting precise dimensions and placement of objects on the Canvas
- Set Stroke and Fill options such as color, opacity, width and style for vector objects
- Add corners to a cover object using the Corner style and Radius controls
Many planner companies in the physical world offer interchangeable covers for their planners. Replacing the cover is a quick and easy way to change the look of your planner for the holidays, seasons, important occasions and much more. This is also true for digital planners. Digital fans will use the same planner several times and just add a different cover each time. Many digital designers sell these additional cover PDFs with different color palettes, title text and more.
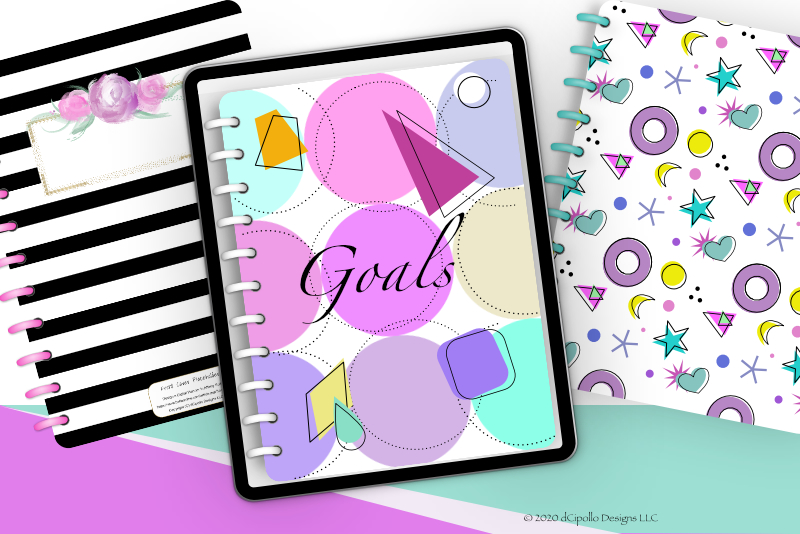
How This Template Works
We will begin by designing the cover page layout for our digital planner template and then use those new skills to design the inside page layouts for the template. When finished with the Digital Planner Cover PDF Template section, you will be able to use this template to create interchangeable PDF covers to sale in your shop (see screenshot).This cover page layout uses two Picture Frame placeholders. I have provided some generic graphics for these placeholders. Click the links below and save them to your desktop. For each new cover design, you will replace these generic placeholder graphics with your designer planner cover and binder ring graphics. We will be using the Scale to Fit feature that will scale your designer graphics to fit inside the Picture Frame placeholders. However, to work best, your design graphics should have the width and height pixel dimensions listed on the placeholder pngs (see screenshot). As with all tutorials in this series, we are building a planner for the GoodNotes Letter portrait template size and at the iPad resolution of 264 pixels per inch (ppi).
Binder Ring Placeholder
Front Cover Placeholder
Let's Get Started
- Open Affinity Publisher and start a new document. Click File - New to open the New Document dialog. Select Presets on the left, select the Devices option at the top and then select the iPad 12.9 inches Retina thumbnail. Change the settings to the following for the GoodNotes Letter planner size (see screenshot).
- Click the Plus icon at the top of the dialog.
- You will get a new untitled preset thumbnail in the My Presets list (see screenshot).
- Right-click on the thumbnail and choose Rename Preset.
- Name your new preset Digi Planner Cover and click OK (see screenshot).
- Go back to the Layout settings and click the Create bottom at the bottom right to open your new project into Publisher.
- From the Toolbar, click the Snapping icon (Magnet), click the arrow to the right of the icon to open the menu and set the following options. Keep the other default settings (see screenshot).
- From the Affinity Publisher menu, click Preferences - User Interface. In the Decimal Places for Unit Types section, set the Pixels and Points to zero (see screenshot).
- With the Master A layer selected in the Layers panel, click the Lock icon (see screenshot).
- Select the Picture Frame Rectangle tool from the Tools panel. Draw a Picture Frame on the Canvas (see screenshot). In the Transform panel, click on the upper left corner of the Anchor Point Selector. Then, set the Width to 2104 pixels, the Height to 2904 pixels, the X position to 136 pixels and the Y position to Zero. This will leave an empty space on the left for the binder rings.
- In the Layers panel, double-click the layer name and rename this layer Front Cover Placeholder - Place Image Here.
- In the Color panel, set the Stroke and Fill to Null.
- In the Context Toolbar, set the Corner to Rounded and the Radius to 5% (see screenshot).
- Lock the layer.
Layout Tab
Document Units: Pixels
Page Preset: Custom
Page Width: 2244 pixels
Page Height: 2904 pixels
DPI: 264
Orientation: Portrait
Actual Size Zoom: iPad (Retina)
Image Placement Policy: Prefer Embedded
Number of Pages: 1
Default Master: Checked
Pages Tab
Facing Pages: Unchecked
Color Tab
Color Format: RGB/8
Color Profile: sRGB IEC61966-2.1
Transparent Background: Checked
Margins and Bleed Tabs
Set all to Zero
Let's save this as a custom preset.
Let's set up Publisher to work in whole pixels.
Enable Snapping - checked
Preset: UI Design
Move By Whole Pixels - checked
You should have a Page 1 in the Pages panel, a blank Canvas and one Master layer in the Layers panel. We will not be using the Master A layer, so let's lock this layer.
Our next step is to add a Picture Frame placeholder for the cover design.
Let's add rounded corners to the cover. We will use a small radius percentage for the rounded corner. But for each new cover design you can increase or decrease the radius or set it to Zero for square corners.
Next
Design a Digital Planner in Affinity Suite - Tutorial Series Index
More Affinity Suite Tutorials
Screenshots used by permission of Serif (Europe) Ltd. This article is not endorsed by Serif Ltd.
Powered by Creative Market

Related Articles
Editor's Picks Articles
Top Ten Articles
Previous Features
Site Map
Content copyright © 2023 by Diane Cipollo. All rights reserved.
This content was written by Diane Cipollo. If you wish to use this content in any manner, you need written permission. Contact Diane Cipollo for details.


