
Symbols and Radial Symmetry in Affinity Designer
In this Affinity® Designer tutorial, we will learn how to use radial symmetry and Symbols in Affinity Designer, to create a template for making designs. With this template you can create anything from snowflakes to mandalas. What do snowflakes and mandalas have in common? They have a circular and repeatable design with radial symmetry.
We will start with a square 1000 by 1000 pixel document at 144 dpi for web/mobile or 300 dpi for print. Then we will create our template, which will have 6 sections around the circle. We will turn these sections into repeatable symbols, making it easy to create a circular design.
Optional: Turn off the visibility for the star layer in the Layers panel, to remove the black lines.
Now that you know how make a template, you are ready to create your mandala or snowflake designs (see link below).
You can repeat this process to create templates that have 8, 10, or 12 symbols. Just use the values below.
8 symbols
Draw a star with 8 points
Set the Rotation (R) to 45
10 symbols
Draw a star with 10 points
Set the Rotation (R) to 36
12 symbols
Draw a star with 12 points
Set the Rotation (R) to 30
Index - How to Draw a Holiday Theme Collection of Elements
Affinity Designer screenshots used by permission of Serif (Europe) Ltd. This article is not endorsed by Serif Ltd.
We will start with a square 1000 by 1000 pixel document at 144 dpi for web/mobile or 300 dpi for print. Then we will create our template, which will have 6 sections around the circle. We will turn these sections into repeatable symbols, making it easy to create a circular design.
- Open Affinity Designer and start a new document at 1000 x 1000 pixels at 144 or 300 dpi.
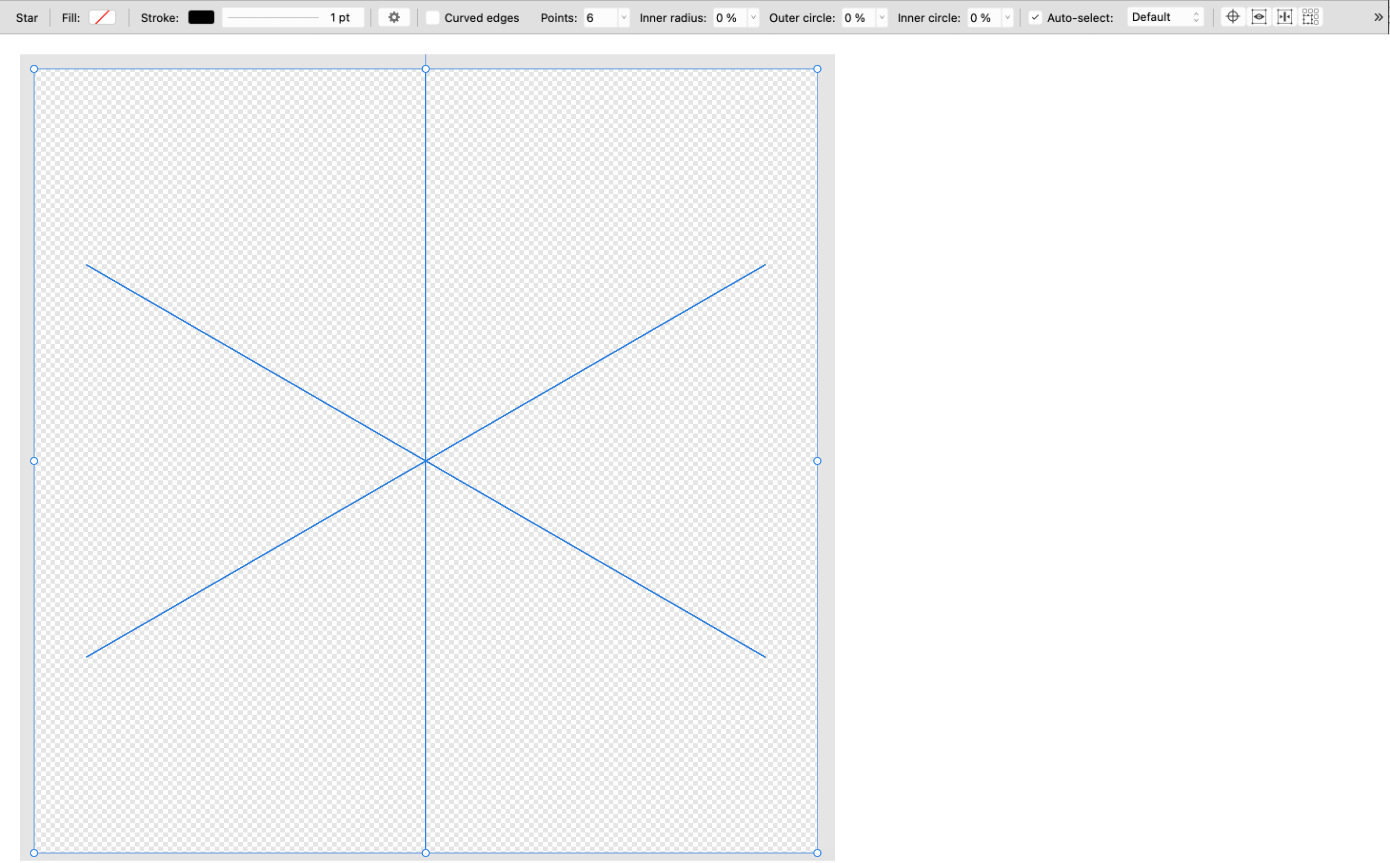
- Select the Star shape tool and, while holding down the Shift key, draw a star over the entire canvas.
- In the Transform panel, set the Width and Height of the star to 1000 pixels.
- With the star selected, set the following in the Context toolbar (see screenshot).
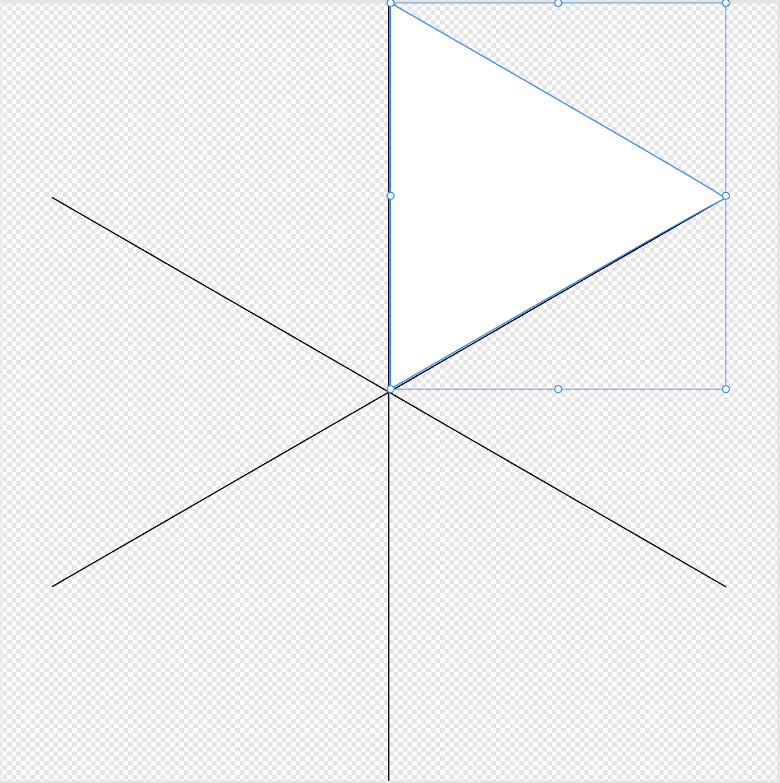
- With the Pen tool, set the Fill to white and Stroke to null.
- Draw a triangle in the space between the two lines at the top of the canvas (see screenshot).
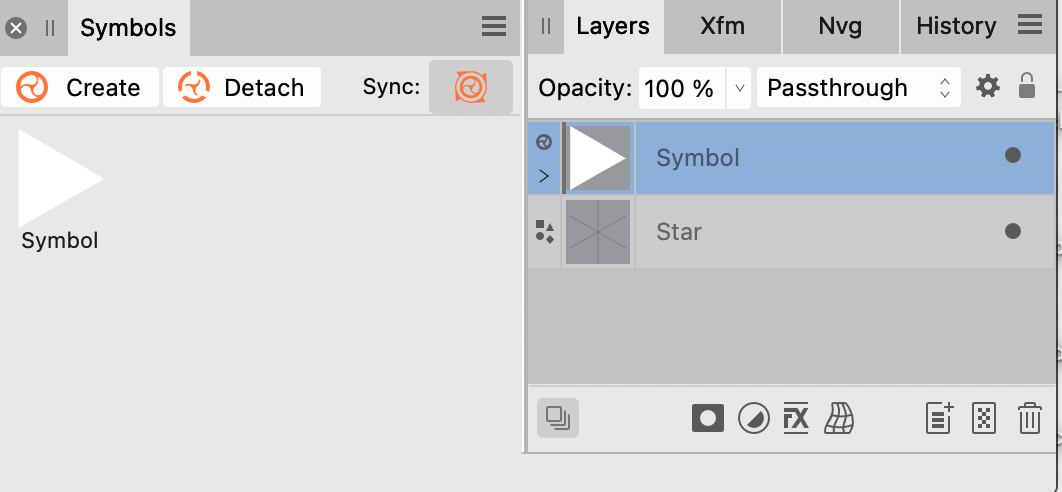
- From the top menu, click Window - Symbols to open the Symbols panel.
- With the white triangle selected, click the Create button in the Symbols panel.
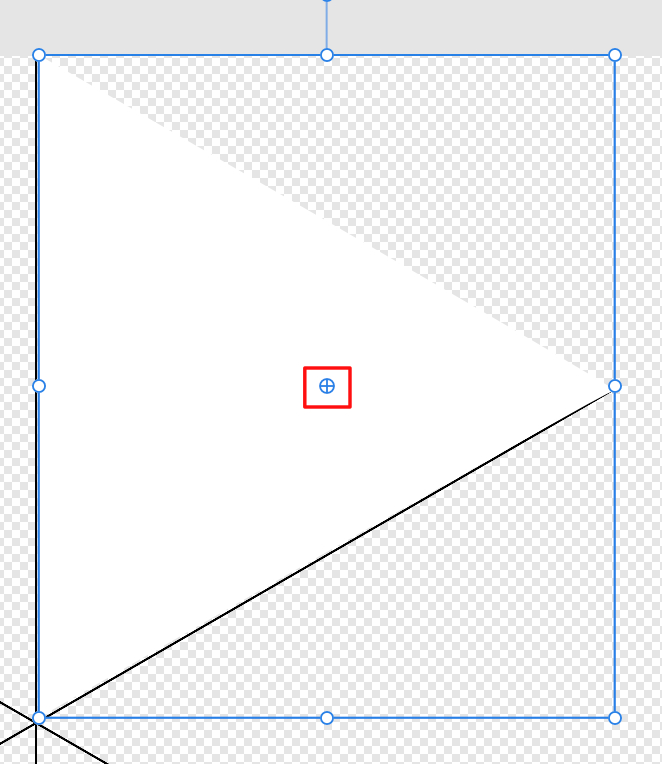
- With the triangle shape selected, click the Enable Transform Origin icon on the Context toolbar.
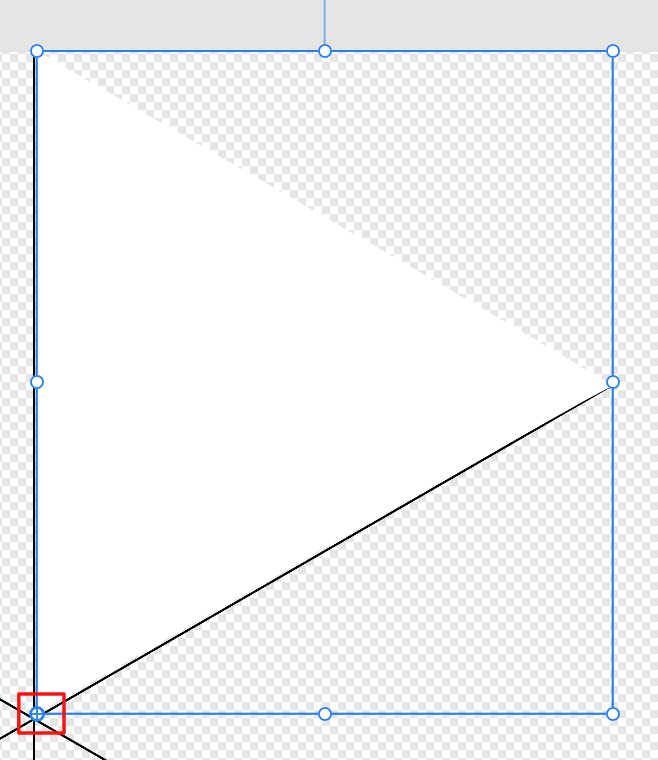
- Click on the origin point and drag it to the center of the star (see screenshot).
- In the Layers panel, right-click on the symbol layer and choose Duplicate.
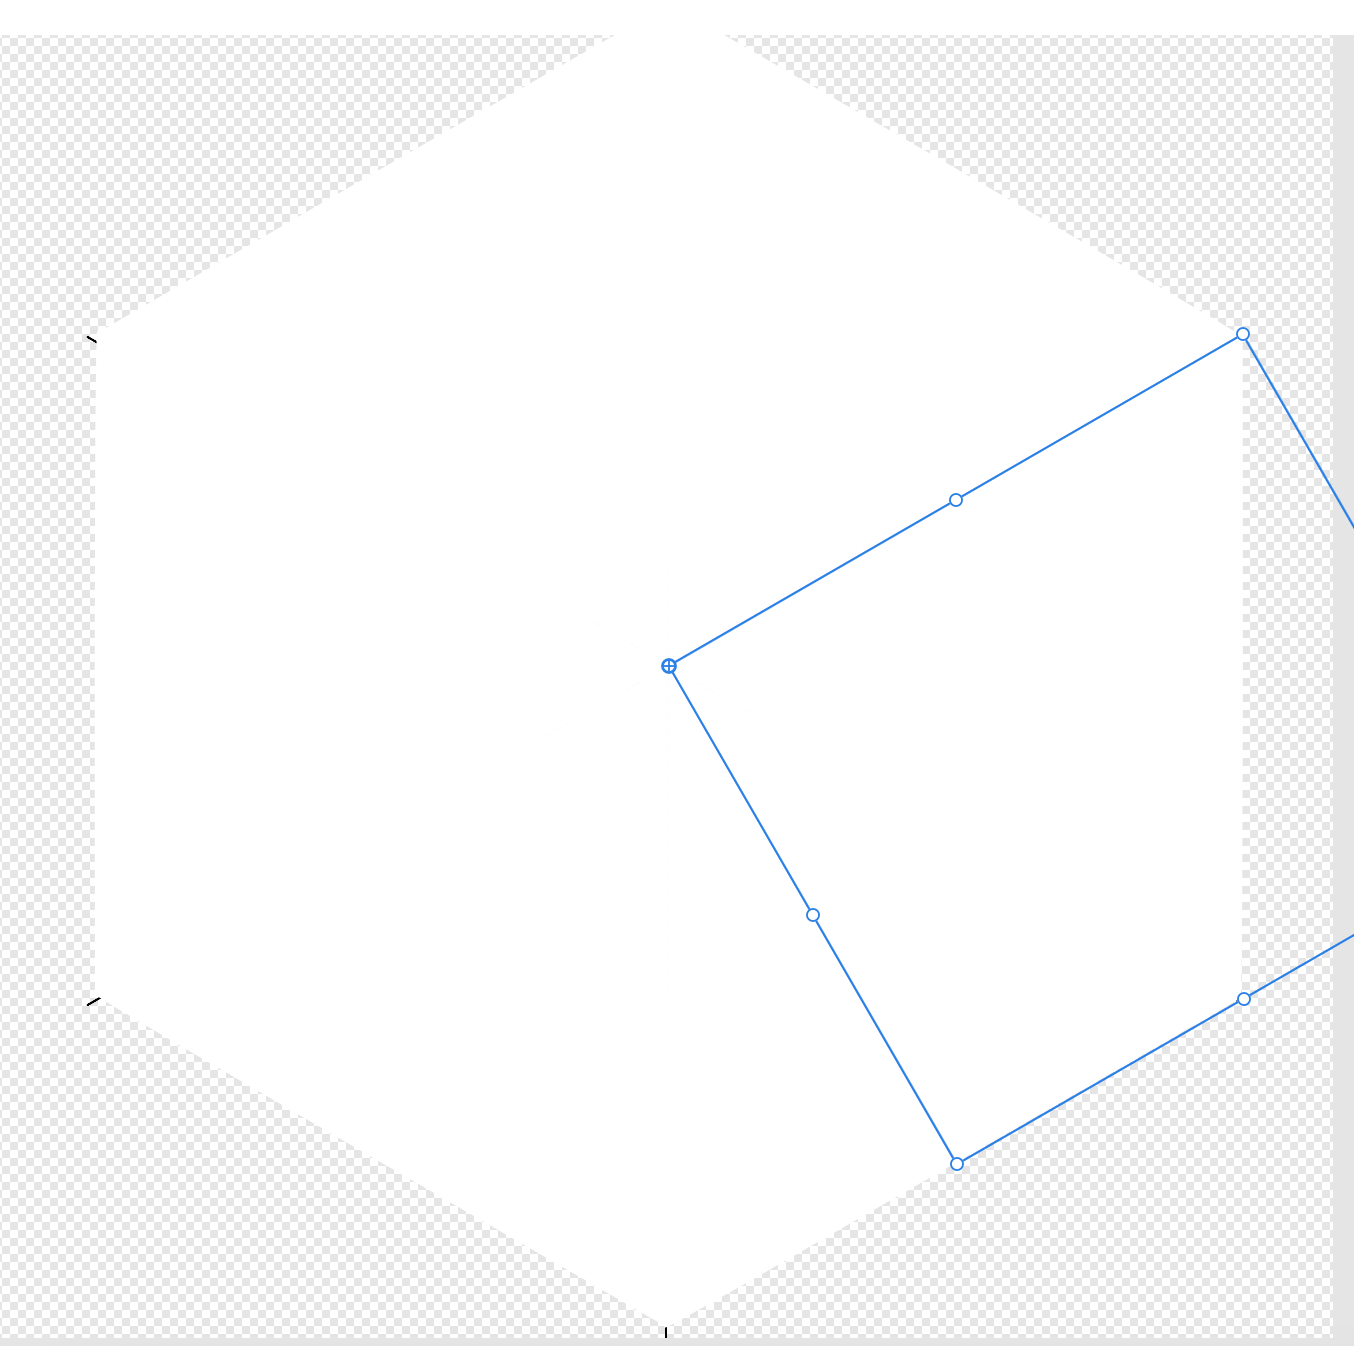
- Select the top symbol layer. In the Transform panel, set the Rotation (R) to 60.
- From the Menubar, click Edit - Duplicate to automatically create a new symbol.
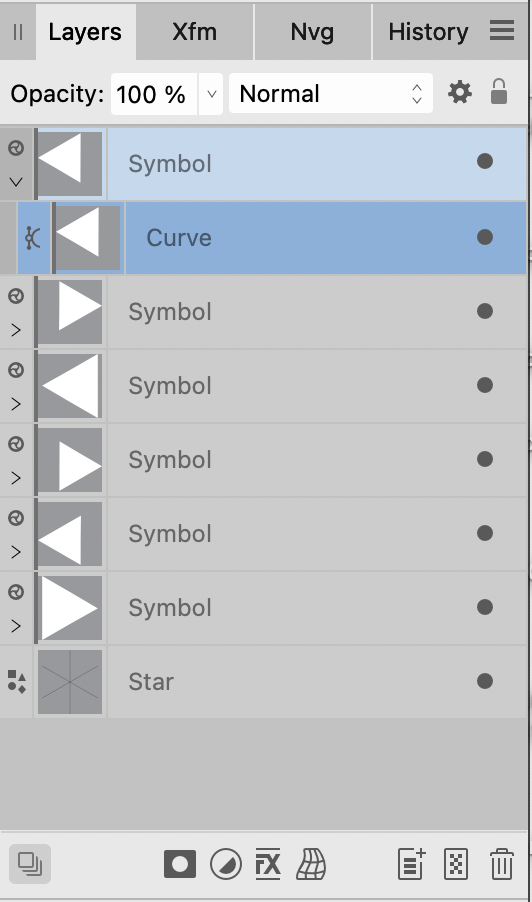
- Click Edit - Duplicate three more times to create six symbols total (see screenshot).
- With the top symbol layer selected in the Layers panel, open the group layer to see the curve layer inside (see screenshot). Select the curve layer and set the Fill to null in the Context toolbar.
To start the template, we will use the Star shape tool to draw a six pointed star. We will use the lines from the star as a guide when adding the sections to our template. Then we will use the Symbols feature in Affinity Designer to convert the sections into symbols. These symbols, along with radial symmetry, will make it easy and fun to create many different circular designs.
Fill to null
Stroke to black
Stroke Width to 1 pt.
Points to 6
Inner Radius to zero
You should see just the lines from the six pointed star on the canvas. Now we will draw a triangle between these lines.
This triangle will become our first symbol.
You should see a symbol added in the Symbols panel. Also the name of the layer in the Layers panel has changed from curve to the group layer named symbol (see screenshot).
Before we can duplicate and rotate the symbol, we need to move the Origin point for the triangle to the center of the star. This will make it easy to rotate each section of the template.
You should see a small Origin point appear at the center of the triangle bounding box (see screenshot). We need to move this point to the center of the star.
Now we will duplicate the triangular symbol and rotate it to fill the space between the neighboring two lines.
Now we need to make four more symbols. We will use the Power Duplicate feature to do this.
At this point, we no longer need to keep the white fill for the symbols.
Optional: Turn off the visibility for the star layer in the Layers panel, to remove the black lines.
Now that you know how make a template, you are ready to create your mandala or snowflake designs (see link below).
You can repeat this process to create templates that have 8, 10, or 12 symbols. Just use the values below.
8 symbols
Draw a star with 8 points
Set the Rotation (R) to 45
10 symbols
Draw a star with 10 points
Set the Rotation (R) to 36
12 symbols
Draw a star with 12 points
Set the Rotation (R) to 30
Index - How to Draw a Holiday Theme Collection of Elements
Affinity Designer screenshots used by permission of Serif (Europe) Ltd. This article is not endorsed by Serif Ltd.

Related Articles
Editor's Picks Articles
Top Ten Articles
Previous Features
Site Map
Content copyright © 2023 by Diane Cipollo. All rights reserved.
This content was written by Diane Cipollo. If you wish to use this content in any manner, you need written permission. Contact Diane Cipollo for details.


