
Honeycomb Xmas Ornament SVG Cut Design
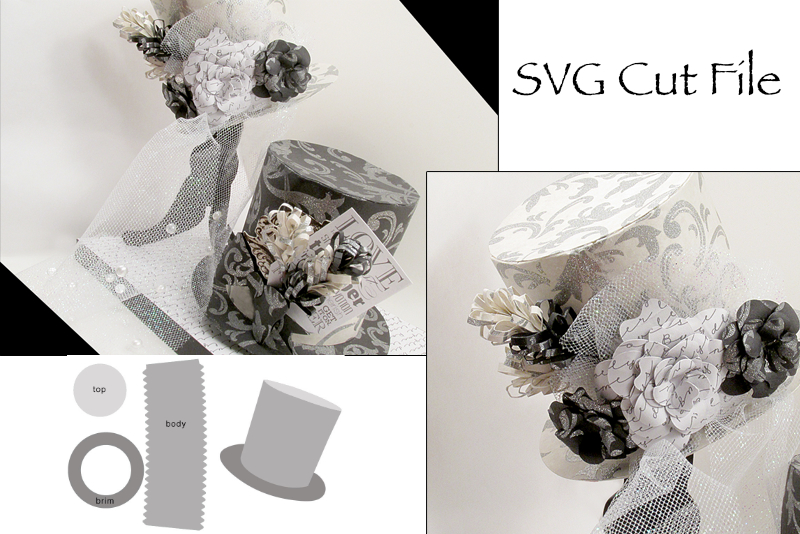
The honeycomb style Christmas ornament makes a great paper craft and the cut file for an ornament is easy to design. In this tutorial, we will create an SVG cut file for the Silhouette Cameo® that will make a 2.5 inches high paper ornament.
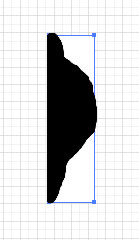
The first step is to draw the basic shape. I confess that, when drawing anything, I go back to my old friend Photoshop®. I can’t draw a good line, so I build the ornament shape using various shapes from the Custom Shape tool. I just keep adding and overlapping shapes until I get a very rough "sketch" of my ornament. I only need to draw one half of the ornament.
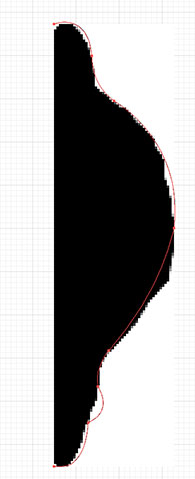
Once I’m happy with the rough shape, I copy/paste the shape into Illustrator® and draw the final cut line with the Pen tool. Because the rough drawing was created at 300 dpi, I can be sure that it will be the correct size in the 300 dpi Illustrator document.
Silhouette, Silhouette Studio, Silhouette Connect, PixScan, Silhouette CAMEOR and Silhouette Portrait are either registered trademarks or trademarks of Silhouette America, Inc. Product screen shot(s) reprinted with permission from Silhouette America, Inc.
The first step is to draw the basic shape. I confess that, when drawing anything, I go back to my old friend Photoshop®. I can’t draw a good line, so I build the ornament shape using various shapes from the Custom Shape tool. I just keep adding and overlapping shapes until I get a very rough "sketch" of my ornament. I only need to draw one half of the ornament.
Once I’m happy with the rough shape, I copy/paste the shape into Illustrator® and draw the final cut line with the Pen tool. Because the rough drawing was created at 300 dpi, I can be sure that it will be the correct size in the 300 dpi Illustrator document.
- Open Illustrator and start a new document at 300 dpi. and paste the rough sketch in the Artboard. Lock this layer. You will be deleting this layer before you save the .svg file for the Silhouette.
- I like to use the grid when I draw. Click View - Show Grid.
- Add a new layer and zoom in to about 400% using the menu at the bottom left of the workspace.
- Select the Pen tool and set the Fill to null, Stroke Color to #000001 and the Stroke Weight to .1 pts.
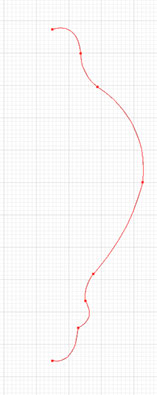
- Draw a smooth curved path for one half of the ornament following the image as a guide. Leave the beginning (top) point and the ending (bottom) point open. Do not close the path.
- Turn off the visibility of the image layer, so that you can see the path. If necessary, use the Smooth tool to soften the curves.
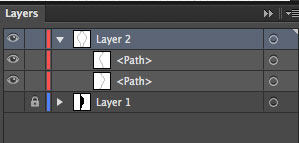
- Select the path with the Selection tool and click Edit - Copy and Edit - Paste in Place. You now have two identical paths overlaid on the Artboard but only the top path is selected.
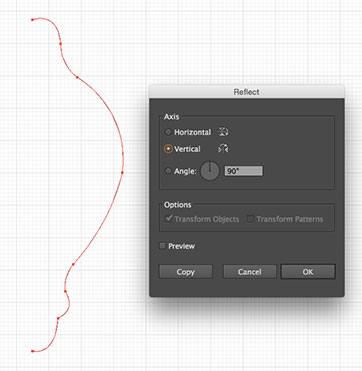
You should see two paths in the Layers panel. Now we will flip one of the paths to make the other side of the ornament. - With the top path still selected, click Object - Transform - Reflect to open that dialog box. Set the Axis to Vertical and click OK.
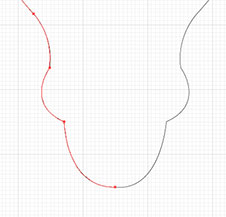
- Use the direction arrows on your keyboard to move the path to the left until the end points are matching. You may want to zoom in to see the anchor points.
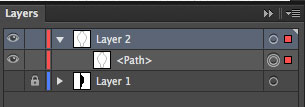
- With the Selection tool, click and drag to select both paths. Then, click Object - Path - Join.
You should now have only one path in the Layers panel. - Before we save the file as an SVG cut file, let’s save it in the .ai Illustrator format just in case we wish to make adjustments later.
- Before we save the file again in the .svg format, we need to delete the image layer. Rename the path layer to Ornament and save the file in the .svg format. This will be the SVG cut file for the Silhouette.
Silhouette, Silhouette Studio, Silhouette Connect, PixScan, Silhouette CAMEOR and Silhouette Portrait are either registered trademarks or trademarks of Silhouette America, Inc. Product screen shot(s) reprinted with permission from Silhouette America, Inc.

Related Articles
Editor's Picks Articles
Top Ten Articles
Previous Features
Site Map
Content copyright © 2023 by Diane Cipollo. All rights reserved.
This content was written by Diane Cipollo. If you wish to use this content in any manner, you need written permission. Contact Diane Cipollo for details.


