
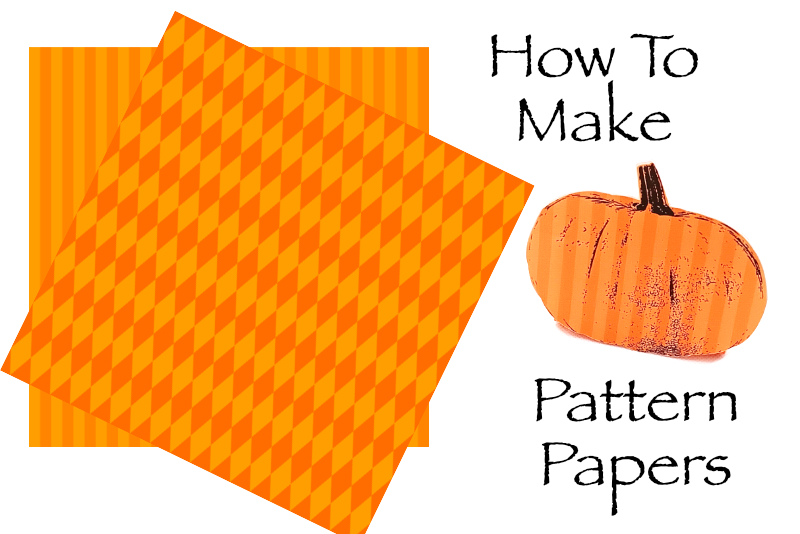
How to Make Halloween Pattern Papers
In this Affinity® Designer tutorial, we will create digital scrapbooking paper for your Halloween or Fall project. The paper will be a simple striped design in shades of orange. As digital scrapbooking paper is 12 x 12 inches and 300 dpi, we will start with a new document in Affinity Designer with those dimensions.
Variation: Let's make a second patterned paper with diamonds instead of stripes.
Silhouette Print and Cut Pumpkin
Affinity® Designer screenshots used by permission of Serif® (Europe) Ltd. This article is not endorsed by Serif Ltd.
- Open Affinity Designer and create a new document at 3600 x 3600 pixels and 300 dpi.
- Draw a rectangle over the entire canvas area and set the Fill color to a medium orange (#ff8500). (see screenshot)
- Draw a second thinner rectangle that is 3600 pixels high by 100 pixels wide.
- Set the Fill color to a lighter orange (#ff9e00).
- In the Transform panel, set the X value and Y value to zero. (see screenshot)
- With the thinner rectangle still selected, click Edit - Duplicate to duplicate the rectangle.
- Drag the new rectangle to the right until the X value is 200.
- Click Edit - Duplicate and another stripe should be created and spaced with an X value of 400 (200 pixels to the right).
- Repeat the previous step until you fill the canvas.
- Save your work in the .afdesign file format.
- Export the paper in the .jpg format.
Now we will use the Power Duplicate feature to duplicate the rest of the stripes.
Variation: Let's make a second patterned paper with diamonds instead of stripes.
- Start the project as before and add the solid colored layer covering the entire canvas (#ff6d00).
- With the Diamond tool, draw a diamond at the top left corner of the canvas.
- Set the Fill color to #ff9e00.
- In the Transform panel, set the Width to 200 pixels, Height to 450 pixels and X and Y values to zero.
- Select the diamond and click Edit - Duplicate, to duplicate the diamond.
- Drag the second diamond under the first diamond with the tips touching.
- Click Edit - Duplicate again for the third diamond.
- Repeat the previous step until you have 8 diamonds vertically in a column and the height of the canvas.
- Select all 8 diamonds and click Layer - Group.
- In the Transform panel, the X and Y values should be zero, as this column of diamonds should be at the left edge of the canvas. (see screenshot)
- With the column selected, click Edit - Duplicate and drag the second column to the right until the tips of the diamonds are touching.
- In the Transform panel, the X value should be 200 and the Y value should be zero.
- Click Edit - Duplicate again to create another column of diamonds.
- Repeat the previous step to fill the canvas.
- Save your work in the .afdesign file format.
- Export the paper as a .jpg format.
You should get a new diamond below the second. (see screenshot)
You should have 18 columns to cover the canvas.
Silhouette Print and Cut Pumpkin
Affinity® Designer screenshots used by permission of Serif® (Europe) Ltd. This article is not endorsed by Serif Ltd.

Related Articles
Editor's Picks Articles
Top Ten Articles
Previous Features
Site Map
Content copyright © 2023 by Diane Cipollo. All rights reserved.
This content was written by Diane Cipollo. If you wish to use this content in any manner, you need written permission. Contact Diane Cipollo for details.


