Draw a Pine Cone in Illustrator CS6

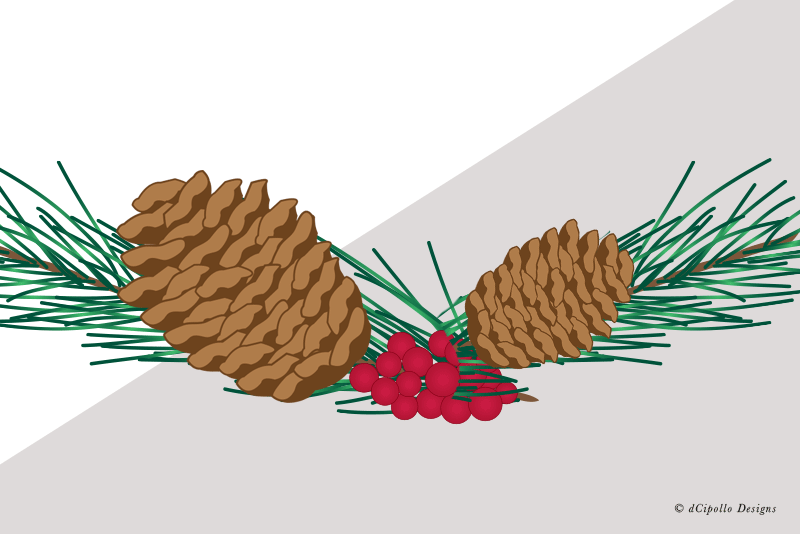
In this tutorial, we will draw a pine cone in Illustrator®. There are several ways to draw a pine cone but this method breaks the design down to the simplest element, which is the scale or leaf of the pine cone.
Pine cone scales can vary depending on the type of pine cone. So, I started with a picture of a pine cone to get the basic shape for a scale. Each scale has two parts. There is the body of the scale and the lighter colored tip.
Note: If the top of your pine cone is a little flat, just add one scale at the top.
Copyright 2018 Adobe Systems Incorporated. All rights reserved. Adobe product screen shot(s) reprinted with permission from Adobe Systems Incorporated. Adobe, Illustrator is/are either [a] registered trademark[s] or a trademark[s] of Adobe Systems Incorporated in the United States and/or other countries.
Pine cone scales can vary depending on the type of pine cone. So, I started with a picture of a pine cone to get the basic shape for a scale. Each scale has two parts. There is the body of the scale and the lighter colored tip.
- With the Pen tool, draw the basic shape for your scale. Set the Fill to a medium brown color.
- On the next layer, draw over just the tip of the scale. Set the Fill in a lighter brown color and the Stroke to the same medium brown color.
- Group these layers together so that we can work with them as one object.
We will repeat this two more times, so that we have three variations of our scale. We will alternate between each variation as we build the pine cone. This will add a little realism to the illustration.
Now that we have our three scales, let's start building the pine cone. We will start at the top and work our way downward, so that each scale slightly overlaps the previous scale. - Let's place the first scale at the top of the cone. Rotate the scale group to match the angle of the scale in the photograph.
- Select and copy a different scale variation. Paste the scale in place and rotate as needed to match the scale in the photo. The second scale should overlap the first.
Our first row has two scales. The next row will have three. - Start the next row of scales by placing a third scale centered under the first two.
- Place the next two scales on each side of the third, to complete the row.
For the third row, we will add two scales on each side first and the center scale last. Alternating in this way adds a little variety.
To create even more variety, occasionally flip the scale horizontally before adding it to a row. - To flip the scale horizontally, select the group and click Object - Transform - Reflect - Vertical.
Note: If the top of your pine cone is a little flat, just add one scale at the top.
Copyright 2018 Adobe Systems Incorporated. All rights reserved. Adobe product screen shot(s) reprinted with permission from Adobe Systems Incorporated. Adobe, Illustrator is/are either [a] registered trademark[s] or a trademark[s] of Adobe Systems Incorporated in the United States and/or other countries.

Related Articles
Editor's Picks Articles
Top Ten Articles
Previous Features
Site Map
Content copyright © 2023 by Diane Cipollo. All rights reserved.
This content was written by Diane Cipollo. If you wish to use this content in any manner, you need written permission. Contact Diane Cipollo for details.


