
Wix Website from Scratch - Add a Strip
In this tutorial we will continue working on our Wix website which we are building from scratch. We will add our first strip on the page.
You can think of a Strip in the Wix Editor as an html div element that spans the width of the webpage. You can add an image, video, text, gallery or other elements to the strip. Just as a div in html, anything added inside this strip will become enclosed in the strip and treated as one element.
Let's add our first strip to the page and add a background image and some text to the strip. Finally, we will set the scrolling effect settings.
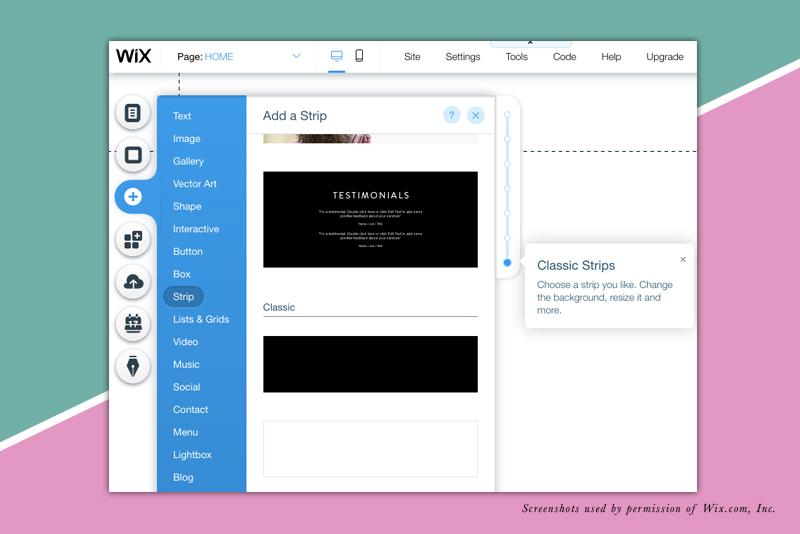
- Click the Plus icon in the left menu and select Strip from the list.
- Click the Classic Black strip.
Let's change the color to pink, which is the main color in our background image. - Right-click on the strip and choose Change Strip Background. In the Strip Background window, click Settings.
- Click the color box to open the Color Picker. Click Add Color and type in #deb0bf or the html color code of your choice. Close the window.
- From the top menu of the Wix Editor, click Tools and then click Toolbar.
- Select the strip and set the height to 400 px in the Toolbar.
Now we can add our background image. - Right-click on the strip and choose Change Strip Background.
- Click the Image button to open the Media Manager. Select your image and click Change Background.
- Return to the Strip Background window and click Settings.
Let's adjust the position of the image in the strip. - Use the nine square grid at the bottom of the Image Setting window to choose the best position of the image. For example, I wanted to use the open space at the upper left of the image for a text overlay. So I used the upper left square on the grid.
Let's add the Parallax Scroll effect. - In the Scroll Effects section, select the Parallax option.
- Click the Plus icon and choose Text. In the Text menu, choose Large Heading.
- Drag the text box to the upper left corner or the position best for your design. You should see the Attach to Strip pop up message.
- Change the default text to your own text.

Related Articles
Editor's Picks Articles
Top Ten Articles
Previous Features
Site Map
Content copyright © 2023 by Diane Cipollo. All rights reserved.
This content was written by Diane Cipollo. If you wish to use this content in any manner, you need written permission. Contact Diane Cipollo for details.


