
Digital Planner Template Kit Grid of Dots
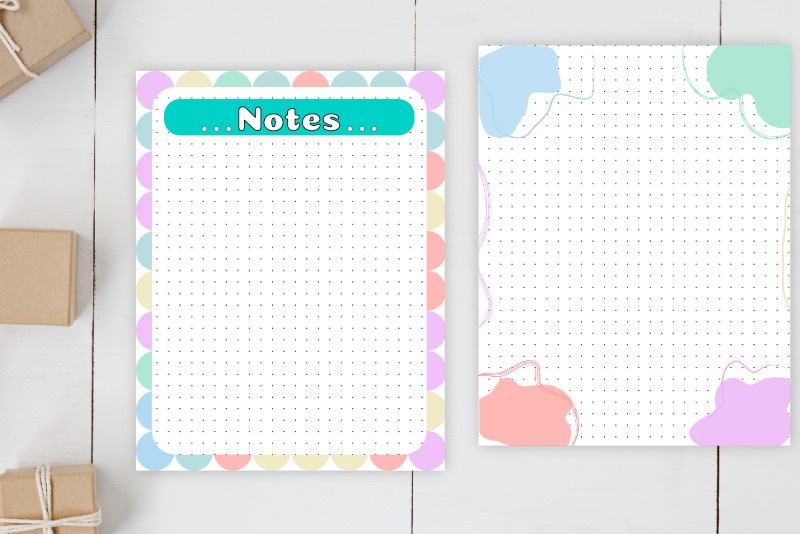
The last filler paper that we will add to our template kit will be the dotted grid. Basically it's the same process that we used for the other filler paper elements, except we will add dots over the artboard.
Open 002_digitalPlannerTemplateKit in to Affinity® Designer.
Create a Digital Planner Template Kit - Series Index
Screenshots used by permission of Serif (Europe) Ltd. This article is not endorsed by Serif Ltd.
Screenshots used by permission of Time Base Technology Limited.
Open 002_digitalPlannerTemplateKit in to Affinity® Designer.
- Select the fillerPapers artboard and the Square Grid 16 layer in the Layers panel (see screenshot).
- In the Context toolbar, set the Fill to black and the Stroke to Null.
- On the fillerPapers artboard canvas, draw a circle with the Ellipse tool.
- In the Transform panel, set the Width and Height to 1 pixel and the X and Y values to 16.
- In the Layers panel, duplicate the circle. On the Canvas, drag the circle to the right of the first.
- In the Transform panel, set the X value to 32 and keep the Y value at 16 pixels.
- From the Menu, click Edit - Duplicate and drag the dot to the right 16 pixels.
- Click Edit - Duplicate again to use the Power Duplicate feature.
- In the Layers panel, select all of the circle layers and group them. Name this group layer row of dots.
- Still in the Layers panel, duplicate the row of dots layer. On the Canvas, drag the duplicate row below the first.
- In the Transform panel, set the Y value to 32.
- Click Edit - Duplicate until the artboard is filled with dots.
- In the Layers panel, select all of the row of dots layers and group them. Name the new group grid of dots (see screenshot).
This is the first dot in our grid of dots. We will now duplicate the dot across the artboard.
Repeat this step until the row of dots across the artboard is complete.
Create a Digital Planner Template Kit - Series Index
Screenshots used by permission of Serif (Europe) Ltd. This article is not endorsed by Serif Ltd.
Screenshots used by permission of Time Base Technology Limited.

Related Articles
Editor's Picks Articles
Top Ten Articles
Previous Features
Site Map
Content copyright © 2023 by Diane Cipollo. All rights reserved.
This content was written by Diane Cipollo. If you wish to use this content in any manner, you need written permission. Contact Diane Cipollo for details.


