Affinity Designer DIY Vector Brush - Paw Print

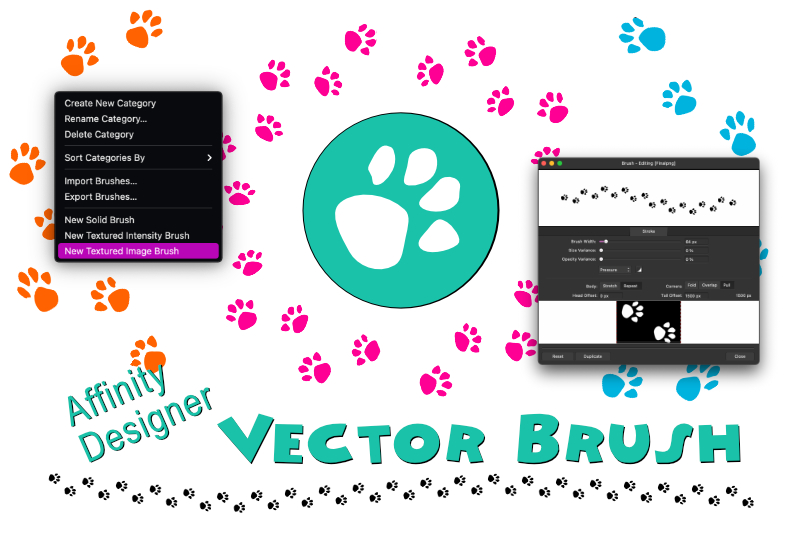
In this tutorial, we will create a custom vector brush in Affinity Designer from scratch and take a look at the Brushes panel and other tools we can use to customize and style our brush.
Affinity Designer has three types of vector brushes.
Now we will use this paw print image to build our vector brush.
Next
Screenshots used by permission of Serif (Europe) Ltd. This article is not endorsed by Serif Ltd.
Affinity Designer has three types of vector brushes.
- Solid Brush - Based on a solid vector stroke
- Textured Intensity Brush - Based on the Opacity values of a raster image
- Textured Image Brush - Based on the Color values of a raster image
Creating the Image for a Textured Image Brush
In this tutorial, we will be making the third type of vector brush - the Textured Image Brush. The base image will be made up of a group of vector shapes on a transparent layer. We will create these vector shapes in Affinity Designer and export them as a .png raster image. This is the image we will use to create our brush.- The example brush will be used to create a line of footprints, or paw prints, that will follow the path that we draw with the Vector Brush tool.
- We will first create a custom category for our brushes.
- To create the paw print, we need to draw five ovals with the Ellipse tool and convert the shapes to curves (Layer - Convert to Curves).
- Next we will reshape each oval in to the pads of the cat's paw.
- We need both a right and left paw print.
- When complete, we will export the paw print as a .png.
Creating a New Brush Category
- In the Brushes panel, click the Panel Preferences icon in the upper right corner, to open the menu. Choose Create New Category (see screenshot). You will see a new Brushes category created.
- Open the menu again but this time choose Rename Category (see screenshot).
- Give your brush category a name (see screenshot).
Creating a New Brush
Now that we have our own brush category, let's make our paw print brush.- Using the Ellipse tool, draw one large and four small ovals on the Canvas (see screenshot). When you draw the small ovals, space them evenly along the right side of the large oval.
- Select the large oval with the Move tool and click Layer - Convert to Curves from the top Menubar.
- Select each of the four Nodes with the Node tool and reshape the oval to look more like the large pad on the bottom of the cat's paw (see screenshot).
- Repeat this for the four smaller ovals.
- For the outside ovals, rotate these ovals slightly outward and move them closer to the larger oval (see screenshot).
- Select all five layers in the Layers panel. Right-click and choose Group from the menu.
- Name the new Group layer Paw Print.
- In the Transform panel, make a note of the Height and Width of the Group layer. In the working example, the Height and Width are both 500 pixels.
Now we will use this paw print image to build our vector brush.
Next
Screenshots used by permission of Serif (Europe) Ltd. This article is not endorsed by Serif Ltd.

Related Articles
Editor's Picks Articles
Top Ten Articles
Previous Features
Site Map
Content copyright © 2023 by Diane Cipollo. All rights reserved.
This content was written by Diane Cipollo. If you wish to use this content in any manner, you need written permission. Contact Diane Cipollo for details.


