
Style an Alphabet in Affinity Designer
In the last tutorial, we drew all of the uppercase letters for your alphabet. Now it's time that we have some fun. Let's apply some brushes to the vector paths of the letters. It's quick and easy to do, by applying different stroke options to the sketch alpha group layer.
Back
Screenshots used by permission of Serif (Europe) Ltd. This article is not endorsed by Serif Ltd.
- To quickly apply a style to all the letters, select the sketch alpha group layer.
- To open the Brushes panel, click View - Studio - Brushes.
- Open your favorite brush category and click on a thumbnail image for your first brush.
Note: Whatever styles that we apply to the sketch alpha group layer will also be applied to all the letter's paths within this group (i.e. every letter in the alphabet).
- Markers Brush (see screenshot)
- Pencils Brush (see screenshot)
Stroke Color - Black
Stroke Width - 33 pixels
Stroke Color - Black
Stroke Width - 100
- Open the sketch alpha group layer.
- Select the A group layer.
- In the Context Toolbar, click the Stroke Color box and choose a new color for the letter.
- Repeat this for each letter.
Note: Whatever styles that we apply to an individual letter's group layer will only be applied to this one letter in the alphabet.
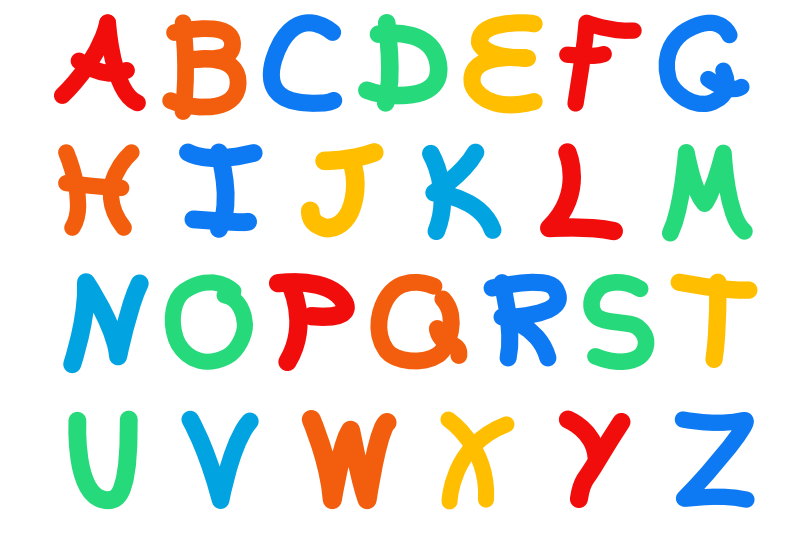
- Acrylics Brush (see screenshot)
Stroke Color - your choice
Stroke Width - 128 pixels
- Go back to the sketch alpha group layer and select that layer in the Layers panel.
- Open the Stroke panel again in the Context Toolbar.
- At the top, click the Dashed Line Style icon.
- At the bottom, add the number 5 into the first two boxes.
Note: The number placed in the first box will set the length of a dash. The number placed in the second box will set the length of the empty space between dashes.
- Dashed Line Style (see screenshot)
Stroke Color - your choice
Stroke Width - 17 pixels
Dash Size - 5 pixels
Space Between Dashes - 5 pixels
Back
Screenshots used by permission of Serif (Europe) Ltd. This article is not endorsed by Serif Ltd.

Related Articles
Editor's Picks Articles
Top Ten Articles
Previous Features
Site Map
Content copyright © 2023 by Diane Cipollo. All rights reserved.
This content was written by Diane Cipollo. If you wish to use this content in any manner, you need written permission. Contact Diane Cipollo for details.


