
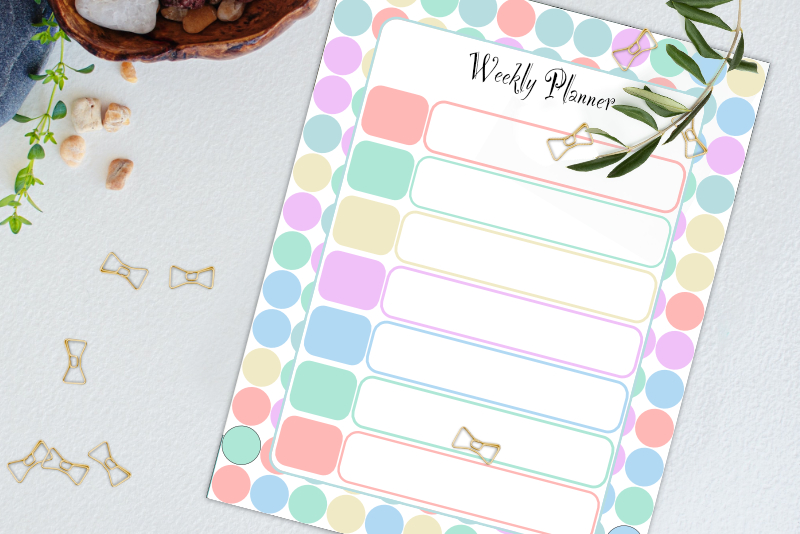
Planner Template Kit - Weekly Layout Template
In this Affinity Designer tutorial, we will create a weekly planner layout template for our digital planner template kit. We will start by duplicating the two column artboard.
Screenshots used by permission of Serif (Europe) Ltd. This article is not endorsed by Serif Ltd.
Screenshots used by permission of Time Base Technology Limited.
- Open the 002_digitalPlannerTemplateKit template in to Affinity® Designer.
- In the Layers panel, select and duplicate the twoColumnLayout artboard. Drag the artboard layer under the notesLayout artboard layer and rename it weeklyLayout (see screenshot).
- On the canvas, drag the duplicate artboard under the twoColumnLayout artboard.
- In the Layers panel, open the weeklyLayout group layer and delete the Equal Columns Layout group layer.
- Still in the Layers panel, select the Unequal Columns Layout group layer. In the Transform panel, set the Height to 72 pixels (see screenshot).
- Set the Y value to 168 pixels.
- In the Layers panel, rename the Unequal Columns Layout to Sunday (see screenshot).
- In the Layers panel, select and duplicate the Sunday group layer. Drag this new group layer below the Sunday layer and rename it Monday.
- With the Monday group layer selected, set the Y value to 248 in the Transform panel (see screenshot).
- In the components artboard, copy the title placeholder.
- In the weeklyLayout artboard, paste the title placehoulder.
- In the Transform panel, the X value should be 204 pixels and the y value should be 72 pixels (see screenshot).
We will be using the Unequal Columns Layout group layer. At this point, the column is 464 pixels wide and 648 pixels in height. Let's reduce the height of these rectangles for one week day in the layout (see screenshot).
Now let's move this row down just a little to leave a place for the title.
This will be the row for the first day of the week, which in this project is Sunday.
Let's duplicate this row for Monday.
Repeat the previous steps to create five more rows for Tuesday through Saturday (see screenshot).
Row Tuesday Y value is 328 pixels.
Row Wednesday Y value is 408 pixels.
Row Thursday Y value is 488 pixels.
Row Friday Y value is 568 pixels.
Row Saturday Y value is 648 pixels.
You should have seven rows of rectangles, with one row for each day of the Week. Let's add a title placeholder at the top.
Click File - Export as Template to save your work.
Screenshots used by permission of Serif (Europe) Ltd. This article is not endorsed by Serif Ltd.
Screenshots used by permission of Time Base Technology Limited.

Related Articles
Editor's Picks Articles
Top Ten Articles
Previous Features
Site Map
Content copyright © 2023 by Diane Cipollo. All rights reserved.
This content was written by Diane Cipollo. If you wish to use this content in any manner, you need written permission. Contact Diane Cipollo for details.


