
How to Draw Candy Canes in Affinity Designer
In this Affinity® Designer tutorial, we will draw a candy cane for our holiday motifs collection. We will use the Pen tool and the Boolean Subtract operation to create our candy cane.
Open Affinity Designer and let's get started.
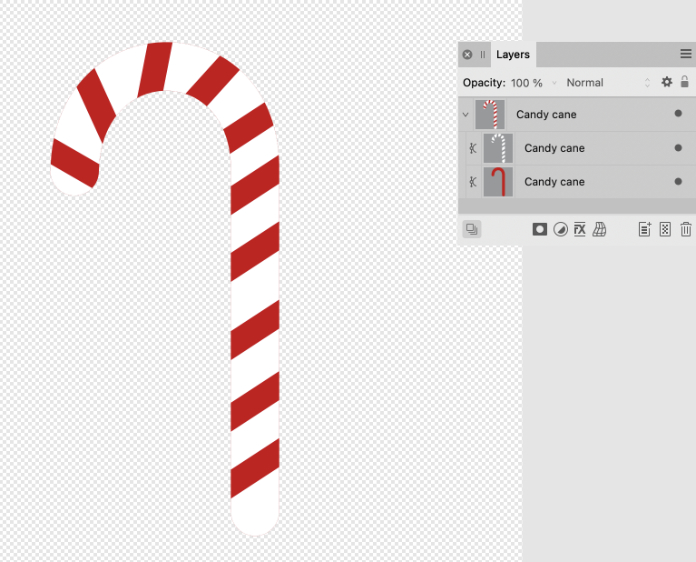
Add the candy cane motif to your holiday graphic elements collection (see screenshot). Use it as the main motif in a design or as a repeatable pattern icon.
Index - How to Draw a Holiday Theme Collection of Elements
Screenshots of Affinity(R) Designer used by permission of Serif (Europe) Ltd. This article is not endorsed by Serif Ltd.
Open Affinity Designer and let's get started.
- Open a new document in Affinity Designer that is 1000 x 1000 pixels and 144 dpi for web/mobile or 300 dpi for print.
- Select the Pen tool and set the Fill to null and the Stroke to dark red (CB0012) in the Context toolbar.
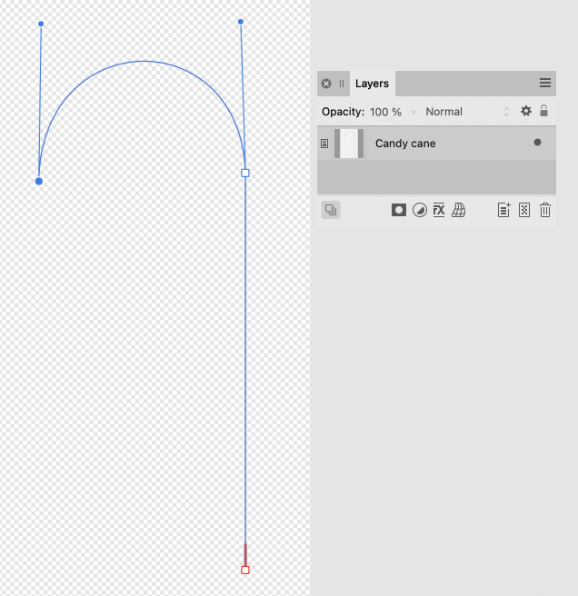
- Draw a candy cane shape on the canvas. Name the layer Candy cane in the Layers panel. (see screenshot)
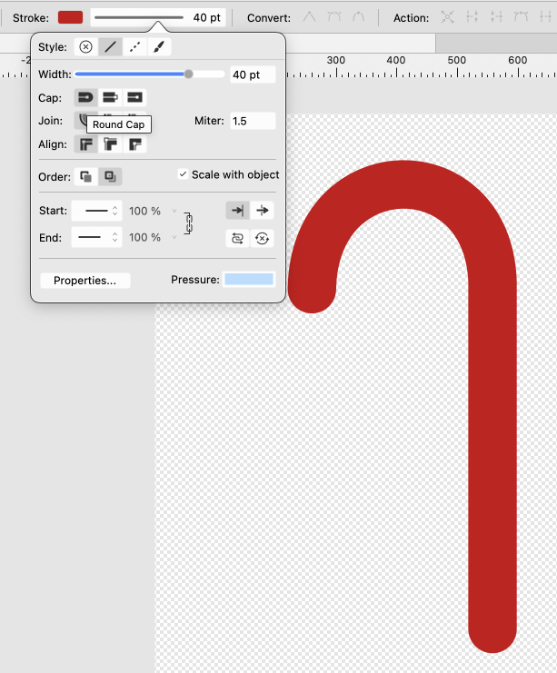
- Set the Stroke Width to 40 pt (see screenshot).
- Click on the Stroke Width box on the Context toolbar to open the pop-up panel.
- In the Panel, set the Cap to Round Cap (see screenshot).
- With the stroke still selected, click Layer - Expand Stroke from the top menu.
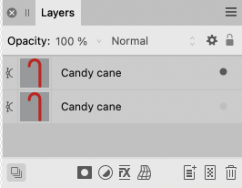
- Right-click on the Candy cane layer in the Layers panel and choose Duplicate (see screenshot).
- Click the Visibility icon at the right to hide this bottom Candy cane layer.
- Select the top Candy cane layer and change the Fill to White.
- Deselect the candy cane on the canvas and select the Pen tool. The Stroke color should still be set to Dark Red (CB0012).
- Starting at the bottom of the candy cane, draw the first slanted red line.
- Set the Stroke Width down to 20 pt.
- Click Layer - Expand Stroke again.
- Duplicate this line in the Layers panel. On the canvas, drag the line up a little, leaving a white space between the two red lines.
- Repeat this until you reach the curved part of the candy cane. Try of leave the same amount of white space between each red line.
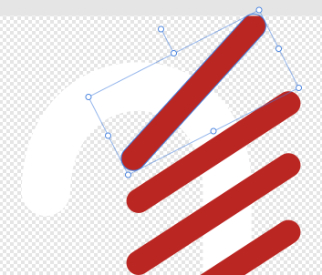
- Duplicate a new red line and rotate it a little to match the curve of the candy cane. (see screenshot)
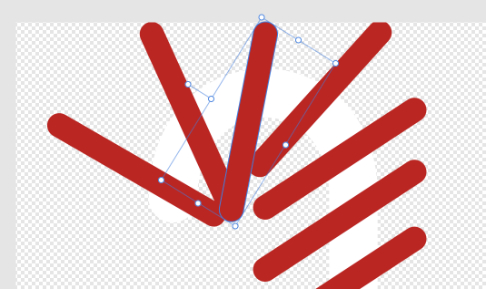
- Repeat the previous step until you reach the end of the candy cane (see screenshot).
- In the Layers panel, select all of the red line layers and the white Candy cane layer.
- From the Toolbar, click the Subtract icon in the Boolean section.
- Turn on the Visibility of the bottom Candy cane layer.
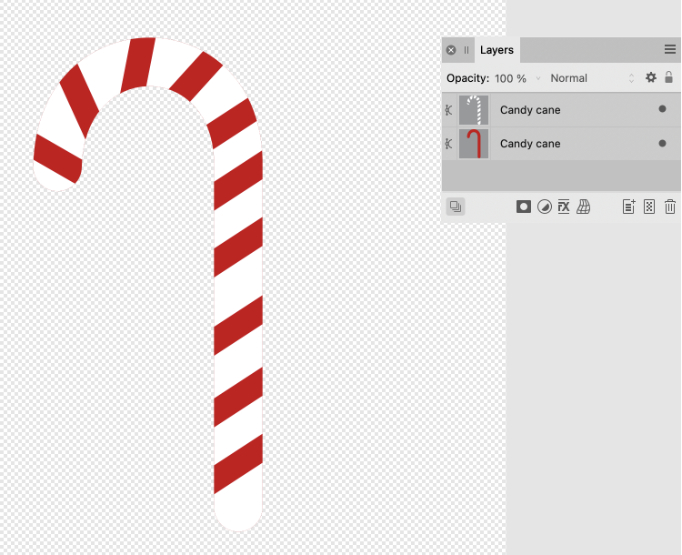
- Select the two layers and right-click. Choose Group from the pop up menu. Name the group layer to Candy cane. (see screenshot)
Our first step is to draw the candy cane shape with the Pen tool.
You should have a candy cane shape with rounded ends on the canvas. We will use this shape as part of the Boolean operation that will cut away the parts of the candy cane that create the red stripes. But we need to save a copy for later. So let's duplicate this shape.
Now we are ready to draw the red lines for the candy cane. (see screenshot)
Now we will need to rotate the next red line to follow the curve.
Now we are ready to cut away the parts of the white candy cane shape that are under the red lines.
You should now have only the two Candy cane layers in the Layers panel. The solid red one on the bottom layer and the cutout white one on the top layer. (see screenshot)
Add the candy cane motif to your holiday graphic elements collection (see screenshot). Use it as the main motif in a design or as a repeatable pattern icon.
Index - How to Draw a Holiday Theme Collection of Elements
Screenshots of Affinity(R) Designer used by permission of Serif (Europe) Ltd. This article is not endorsed by Serif Ltd.

Related Articles
Editor's Picks Articles
Top Ten Articles
Previous Features
Site Map
Content copyright © 2023 by Diane Cipollo. All rights reserved.
This content was written by Diane Cipollo. If you wish to use this content in any manner, you need written permission. Contact Diane Cipollo for details.


