
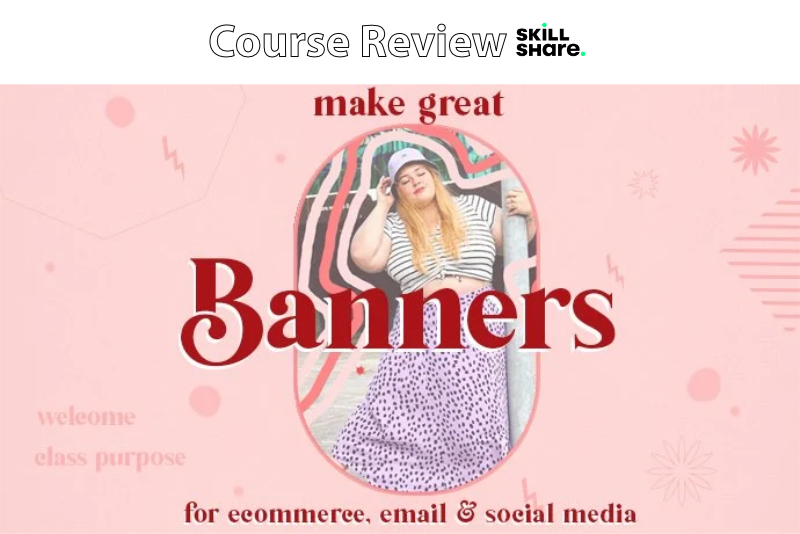
Animated Banners in Photoshop by Andrea Anzai
In this thirty minute long Skillshare course, entitled Boost Your Online Brand: Make Creative Animated Banners in Adobe Photoshop, Andrea Anzai teaches her students how to create simple animations in Photoshop. The class project is to create an animated banner for your favorite brand. This course is good for those wanting to learn how to create animation for social media or websites. It is also good for those with little experience in Photoshop®.
You can't create a banner ad for a brand, if you don't know anything about the brand. So Anzai starts with a walk through for how to build a brand guidelines manual for your project in Photoshop. She also discusses the purpose of the guidelines and what to include in your manual.
Once the brand guidelines are set, Anzai is ready to build the banner. She discusses the design elements, as well as the purpose for the banner, and how it can be used for various occasions from announcements to social media.
Moving into Photoshop, Anzai takes the class step-by-step through the process of creating an animation using the timeline feature. Her example project is an animated banner for Instagram®. She starts with the background photo and then adds text. The animation is created by duplicating the text several times and changing the properties of the text, such as the color.
Once the design elements are in place, Anzai begins working on the animation using the timeline. She creates a new frame for each text color. You will learn how to set the duration for these animation frames and the number of repeats in the animation. She also discusses a second example for this technique that animates the background instead of the text.
Stop motion is a second animation technique. Anzai shows how she took the photographs and manipulated the photos on the timeline to create the stop motion effect.
Finally, it is time to export your animation. Anzai discusses several ways to export the banner project for both animated gifs and video. She discusses the importance of file size and the ways to balance file size with quality by making the correct decisions during the creation of the animation.
Anzai includes three downloadable pdfs including a File Size Guide, Brand Guidelines Template and Size Guides for Gifs and Videos.
Andréa Anzai is a fashion designer from Brazil. She has several years experience in digital marketing, consumer psychology and e-commerce for her own fashion brand.
Boost Your Online Brand: Make Creative Animated Banners in Adobe Photoshop by Andrea Anzai
Disclosure: As a participant in the Skillshare affiliate program, some of the links in this article are affiliate links. However, my opinions are completely my own based on my experience.
Screenshots used by permission of Skillshare .

Related Articles
Editor's Picks Articles
Top Ten Articles
Previous Features
Site Map
Content copyright © 2023 by Diane Cipollo. All rights reserved.
This content was written by Diane Cipollo. If you wish to use this content in any manner, you need written permission. Contact Diane Cipollo for details.


