
Intro Design a Digital Planner in Affinity Suite
Serif recently released their next generation of professional creative software called Affinity Publisher, which revolutionizes their Affinity Suite of designer apps. You will like how fast and responsive the software is compared to the bloated Adobe apps. With the StudioLink and the compatibility of Affinity native files, these three apps, Publisher, Photo and Designer, are a great combination for designing digital planners. In this series of tutorials, we will do just that.
While designing a digital planner, you will learn how to use the Affinity Suite software, as well as build several reusable templates that can be used to create any number of planners. This series is divided in to two sections. In one section, you will learn how to use Affinity Designer's and Publisher's design and layout tools to build templates, master page by master page, which can ease your workflow when creating digital planners to sell on Etsy and other marketplaces. Using Publisher's hierarchical master-on-master feature, we will progressively build our templates. Once complete, we will save our document as an Affinity template. In section two, you will learn how to use the design aids and vector and raster tools to design the individual assets for the planner, such as the cover, planner rings, dashboard, dividers, tabs, pages, stickers, washi tape and more.
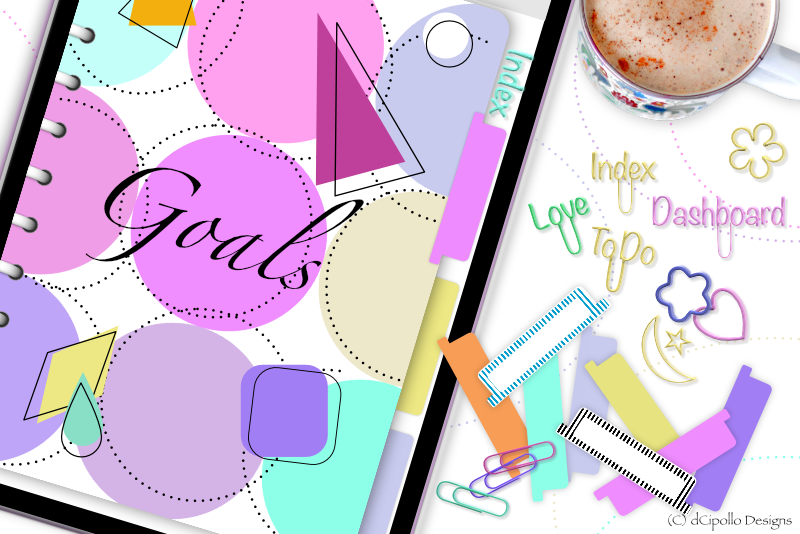
The first page of the template will be a digital cover with planner rings, which we will save as a one-page template. Then we will use this template as a starting point for building a more complete planner template including several inside page layouts. We will create dashboard and divider pages with blank customizable tabs and basic page layouts, such as blank, dot grid, square grid, lined, weekly, monthly, yearly and more. Then, we will use Publisher's drawing tools, Advanced Typography tools and OpenType font features, to design custom stickers. Finally, in the Design a Digital Planner in Affinity Suite User Guide, you will learn how to customize your templates with your own digital designs and export the final project as a PDF for GoodNotes.
Also GoodNotes has several planner sizes. We will be designing for the GoodNotes Portrait Letter planner. As suggested by GoodNotes support, I exported a page from GoodNotes as an image and opened it in to Affinity Designer. The image had a height of 2904 pixels and width of 2244 pixels.
Design a Digital Planner in Affinity Suite - Tutorial Series Index
More Affinity Suite Tutorials
Screenshots used by permission of Serif (Europe) Ltd. This article is not endorsed by Serif Ltd.
While designing a digital planner, you will learn how to use the Affinity Suite software, as well as build several reusable templates that can be used to create any number of planners. This series is divided in to two sections. In one section, you will learn how to use Affinity Designer's and Publisher's design and layout tools to build templates, master page by master page, which can ease your workflow when creating digital planners to sell on Etsy and other marketplaces. Using Publisher's hierarchical master-on-master feature, we will progressively build our templates. Once complete, we will save our document as an Affinity template. In section two, you will learn how to use the design aids and vector and raster tools to design the individual assets for the planner, such as the cover, planner rings, dashboard, dividers, tabs, pages, stickers, washi tape and more.
The first page of the template will be a digital cover with planner rings, which we will save as a one-page template. Then we will use this template as a starting point for building a more complete planner template including several inside page layouts. We will create dashboard and divider pages with blank customizable tabs and basic page layouts, such as blank, dot grid, square grid, lined, weekly, monthly, yearly and more. Then, we will use Publisher's drawing tools, Advanced Typography tools and OpenType font features, to design custom stickers. Finally, in the Design a Digital Planner in Affinity Suite User Guide, you will learn how to customize your templates with your own digital designs and export the final project as a PDF for GoodNotes.
GoodNotes Portrait Letter Planner
At this time, there isn't a standard size or resolution for digital planners, as there is for printables. A very common size/resolution for printables is the easy to remember 8.5 x 11 inches at 300 dpi. When designing digital planners for GoodNotes on the iPad, many designers use a 150 dpi. However, when I created the graphics for an iBooks Author book, I used the iPad Retina resolution of 264 ppi and I liked how the graphics looked on the iPad with both Retina and older screens. So this template will use the 264 ppi resolution.Also GoodNotes has several planner sizes. We will be designing for the GoodNotes Portrait Letter planner. As suggested by GoodNotes support, I exported a page from GoodNotes as an image and opened it in to Affinity Designer. The image had a height of 2904 pixels and width of 2244 pixels.
Design a Digital Planner in Affinity Suite - Tutorial Series Index
More Affinity Suite Tutorials
Screenshots used by permission of Serif (Europe) Ltd. This article is not endorsed by Serif Ltd.
Powered by Creative Market

Related Articles
Editor's Picks Articles
Top Ten Articles
Previous Features
Site Map
Content copyright © 2023 by Diane Cipollo. All rights reserved.
This content was written by Diane Cipollo. If you wish to use this content in any manner, you need written permission. Contact Diane Cipollo for details.


