On the Fly Keyhole Scarf

In the Northern Hemisphere, the weather is getting warmer, but scarves are still functional accessories. Below the equator, of course, autumn is beginning, and scarves will become more and more useful as the season continues. In any case, rectangular neckwear makes a nice change from more complex projects, and scarves are wonderful for using up stash yarn. Adding a keyhole so that one end will slide through ensures that the piece will stay put around the neck at a shorter length. The opening is not difficult to execute and will add some style to a simple piece.
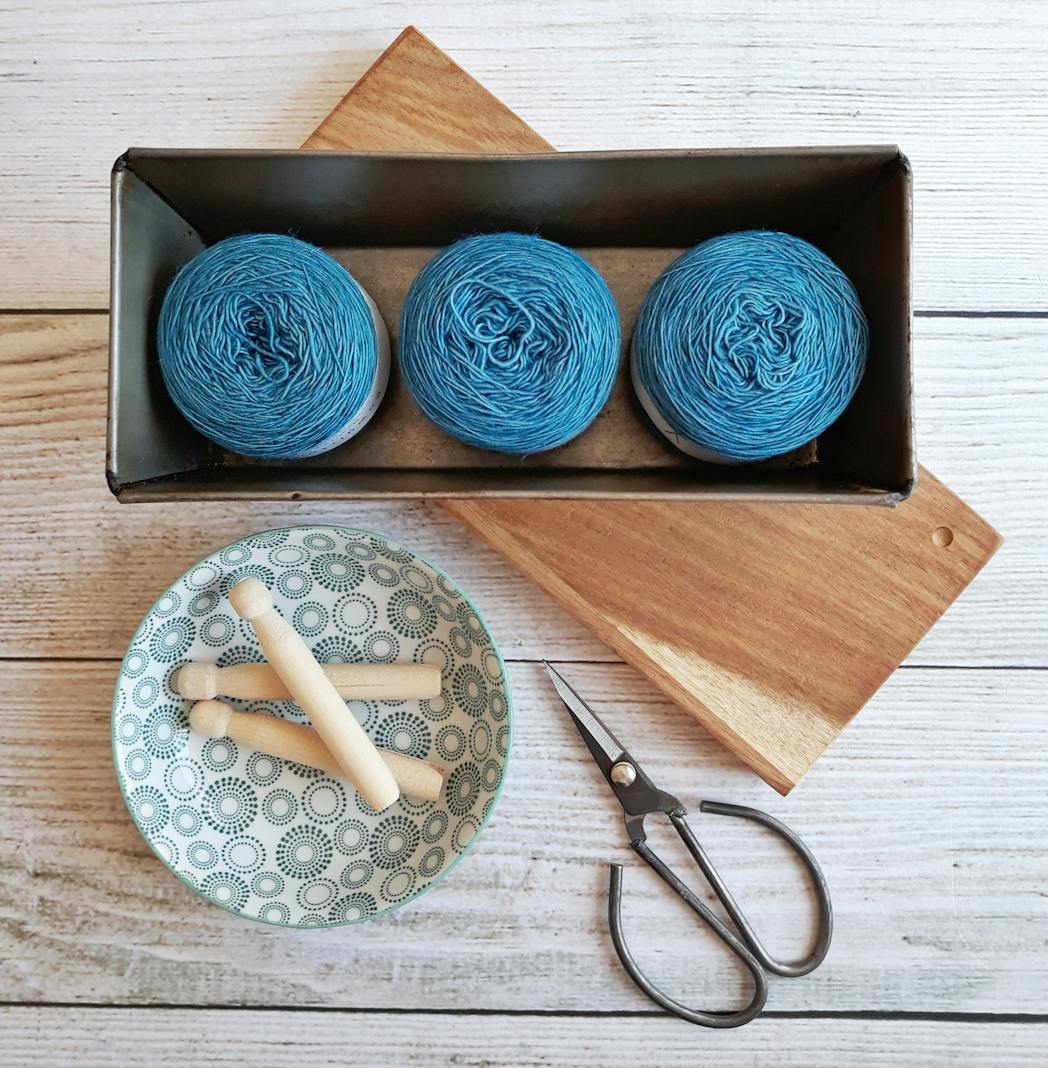
Because the exact dimensions do not matter, you are not tied to making a traditional gauge swatch. However, take the time to play with the yarn, as you want to create a piece with enough drape to lie comfortably around the neck. Use a circular needle a size larger than recommended on the ball band, and cast on something in the vicinity of thirty stitches. Garter or seed stitch are good choices for your first keyhole adventure.
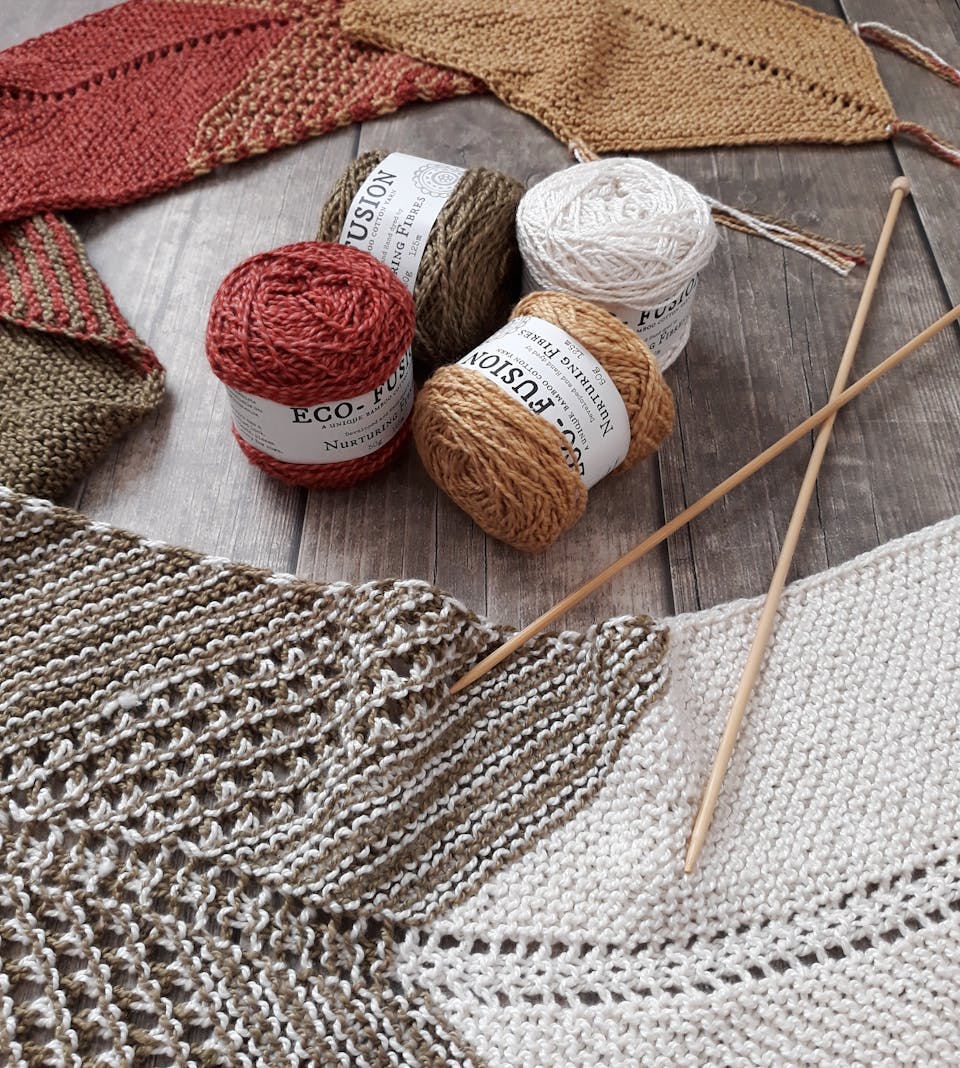
Knit a few rows and see if you like the way the fabric looks, ripping back and changing needle sizes until satisfied. Now you can determine the final stitch count for the finished piece, which involves some very simple math: you will multiply the gauge you are getting by the approximate number of inches you desire for the width. If the yarn is knitting at six stitches to the inch, for example, and you want the finished edge to be seven inches wide, that entails a cast-on of forty-two inches.
Once the width is determined, cast on for real. Keep knitting until the scarf is long enough to wrap around your neck to a comfortable circle. This is where you will add in the keyhole. The easiest way to do this is to determine the midpoint of the width and bind off an inch or two in the middle of the scarf, balancing each side. Using the above example, the midpoint of the scarf is after twenty-one inches, and a keyhole of an inch and a half would use nine stitches. Therefore, to put the keyhole in the middle, I would knit seventeen stitches, bind of eight, and then knit seventeen more (to the end of the scarf). I now have a hole in the middle of the scarf that?s balanced between the two sides and almost an inch and a half across. On the next row, I will knit seventeen stitches, cast on the eight to replace the ones I bound off, and then knit the seventeen stitches needed to get to the end of the row. Voila! A keyhole!
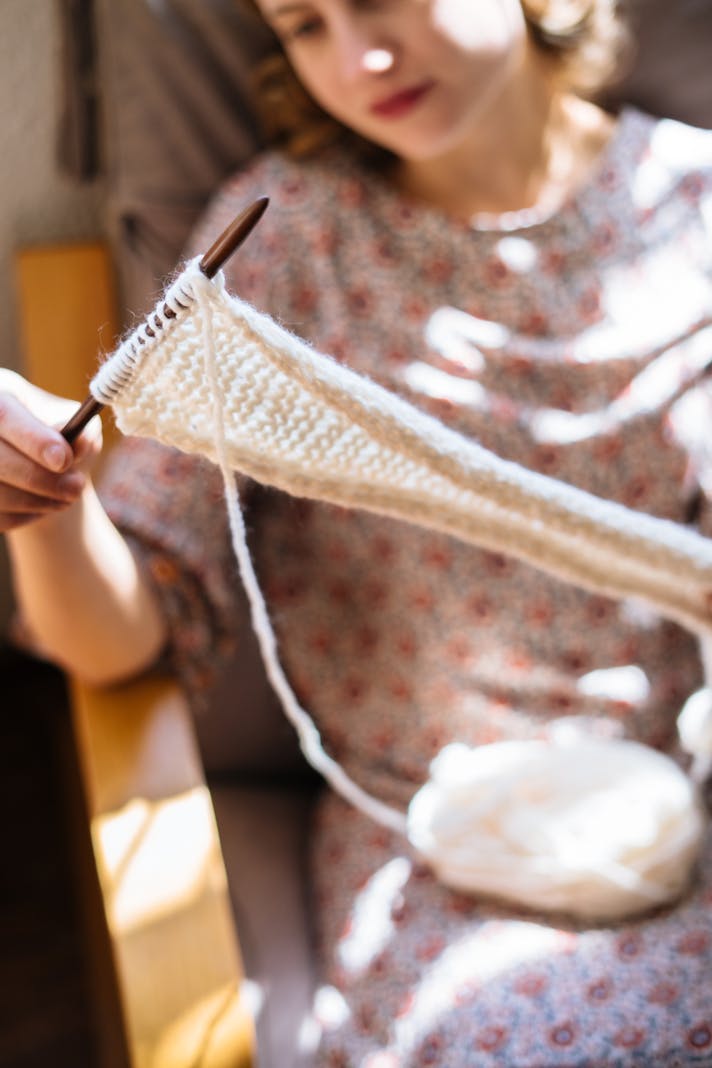
Once the opening is finished, continue in pattern to complete the edge. You want the finished scarf to have balanced ends below the keyhole and enough circle above it to wrap loosely around your neck and hang well. Try it on by slipping the live stitches to a piece of scrap yarn and see if the edges are long enough. When you are happy with the length, bind off!
It?s also possible to knit a vertical keyhole if you prefer the way they look. To do this, you?ll need to use two separate balls of yarn. Knit to where you want the keyhole, then divide the number of stitches in half. Knit each side separately for the desired length of the opening, and then re-join the stitches to close the gap.
You might want to Ravelry keyhole scarf patterns, either for inspiration or for a stress-free project. You may find something that takes your breath away, a pattern that you are more than happy to follow. If not, you now know how to knit a keyhole scarf on the fly! Once you have the hang of it, you can experiment with other stitch patterns, with stripes, or with other color effects. Why not knit a few of these and get some of your holiday gifts done early?
Disclaimer: I am a Ravelry member. I have purchased patterns with my own funds.
Because the exact dimensions do not matter, you are not tied to making a traditional gauge swatch. However, take the time to play with the yarn, as you want to create a piece with enough drape to lie comfortably around the neck. Use a circular needle a size larger than recommended on the ball band, and cast on something in the vicinity of thirty stitches. Garter or seed stitch are good choices for your first keyhole adventure.
Knit a few rows and see if you like the way the fabric looks, ripping back and changing needle sizes until satisfied. Now you can determine the final stitch count for the finished piece, which involves some very simple math: you will multiply the gauge you are getting by the approximate number of inches you desire for the width. If the yarn is knitting at six stitches to the inch, for example, and you want the finished edge to be seven inches wide, that entails a cast-on of forty-two inches.
Once the width is determined, cast on for real. Keep knitting until the scarf is long enough to wrap around your neck to a comfortable circle. This is where you will add in the keyhole. The easiest way to do this is to determine the midpoint of the width and bind off an inch or two in the middle of the scarf, balancing each side. Using the above example, the midpoint of the scarf is after twenty-one inches, and a keyhole of an inch and a half would use nine stitches. Therefore, to put the keyhole in the middle, I would knit seventeen stitches, bind of eight, and then knit seventeen more (to the end of the scarf). I now have a hole in the middle of the scarf that?s balanced between the two sides and almost an inch and a half across. On the next row, I will knit seventeen stitches, cast on the eight to replace the ones I bound off, and then knit the seventeen stitches needed to get to the end of the row. Voila! A keyhole!
Once the opening is finished, continue in pattern to complete the edge. You want the finished scarf to have balanced ends below the keyhole and enough circle above it to wrap loosely around your neck and hang well. Try it on by slipping the live stitches to a piece of scrap yarn and see if the edges are long enough. When you are happy with the length, bind off!
It?s also possible to knit a vertical keyhole if you prefer the way they look. To do this, you?ll need to use two separate balls of yarn. Knit to where you want the keyhole, then divide the number of stitches in half. Knit each side separately for the desired length of the opening, and then re-join the stitches to close the gap.
You might want to Ravelry keyhole scarf patterns, either for inspiration or for a stress-free project. You may find something that takes your breath away, a pattern that you are more than happy to follow. If not, you now know how to knit a keyhole scarf on the fly! Once you have the hang of it, you can experiment with other stitch patterns, with stripes, or with other color effects. Why not knit a few of these and get some of your holiday gifts done early?
Disclaimer: I am a Ravelry member. I have purchased patterns with my own funds.

Related Articles
Editor's Picks Articles
Top Ten Articles
Previous Features
Site Map
Content copyright © 2023 by Korie Beth Brown, Ph.D.. All rights reserved.
This content was written by Korie Beth Brown, Ph.D.. If you wish to use this content in any manner, you need written permission. Contact Korie Beth Brown, Ph.D. for details.