
Foundation Paper Piecing Tutorial - Part 3 of 4

| Step 22: Stitch along the line between Section 4 and Section 5, starting above the line and ending past the line. Turn the pattern over to the fabric side, flip the light blue fabric over and press the seam. |
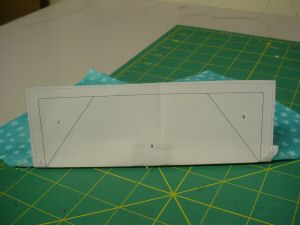
| Step 23: With the printed side down, fold the pattern along the line between Section 6 and Sections 1, 2, and 4. |
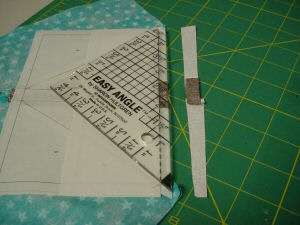
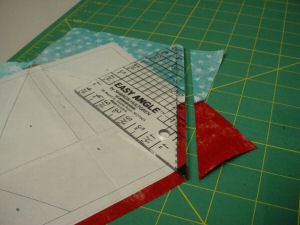
| Step 24: Turn the pattern over so that the fabric side is down and fold the paper back along the line between Section 6 and Sections 1, 2, and 4. Using a ruler and a rotary cutter, trim the white/brown/white fabric 1/4" above the edge of the folded pattern. Discard the excess fabric. Unfold the paper pattern. |
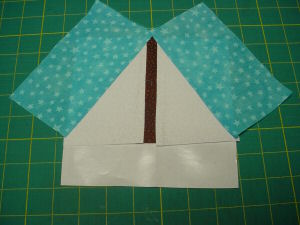
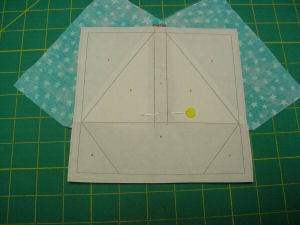
| Step 25: With right sides together, layer a red rectangle on the trimmed edge of the white/brown/white fabric. |
| Step 26: Holding the red fabric in place, flip the pattern over and pin in place. |
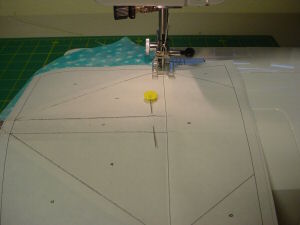
| Step 27: Stitch along the line between Section 6 and Sections 1, 2, and 4, starting above the line and ending past the line. |
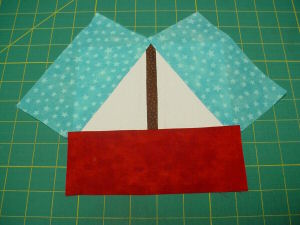
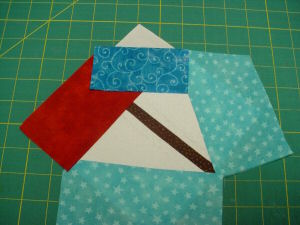
| Step 28: Turn the pattern over to the fabric side, flip the red fabric over and press the seam. |
| Step 29: With the printed side down, fold the pattern along the line between Section 6 and Section 7. |
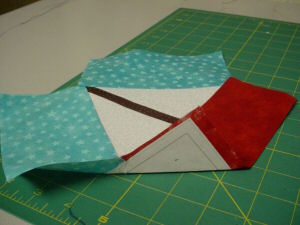
| Step 30: Turn the pattern over so that the fabric side is down and fold the paper back along the line between Section 6 and Section 7. Using a ruler and a rotary cutter, trim the red/light blue fabric 1/4" above the edge of the folded pattern. Discard the excess fabric. Unfold the paper pattern. |
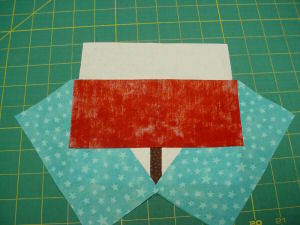
| Step 31: With right sides together, layer a dark blue rectangle on the trimmed edge of the red fabric. |
You Should Also Read:
FPP Tutorial - Part 4
FPP Tutorial - Part 2
FPP Tutorial - Part 1

Related Articles
Editor's Picks Articles
Top Ten Articles
Previous Features
Site Map
Content copyright © 2023 by Kim Noblin. All rights reserved.
This content was written by Kim Noblin. If you wish to use this content in any manner, you need written permission. Contact Judie Bellingham for details.

