
Foundation Paper Piecing Tutorial

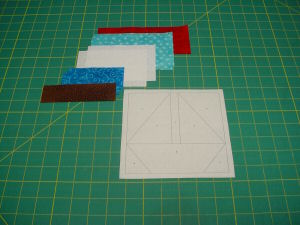
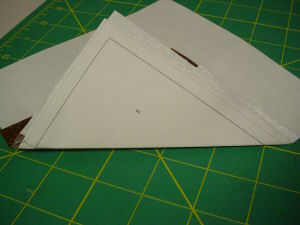
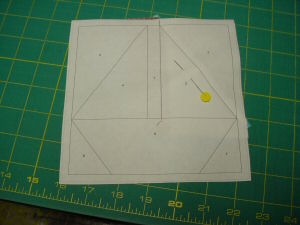
| Step 1: Print out the Sailboat paper-piecing foundation pattern here. (This is a PDF file and you will need to have Adobe Acrobat Reader installed on your computer to print and view the file.) Trim around the foundation just outside of the dotted lines of the seam allowance. Step 2: Cut out the following pieces from fabric:
|
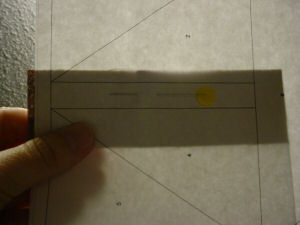
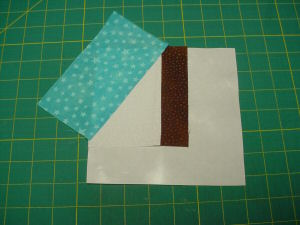
| Step 3: With right sides together, place a white rectangle on top of the brown rectangle. With the printed side of the paper foundation facing you, position the fabric layers as shown by holding the pattern up to a light. Make sure that the upper edge is 1/4" above the line between Section 1 and Section 2. Pin in place. |
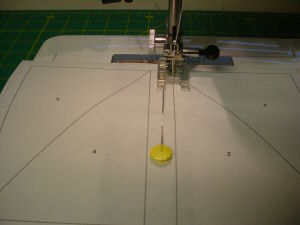
| Step 4: Using a very short stitch length setting on your sewing machine, stitch along the line between Section1 and Section 2. Begin stitching at the dotted line of the seam allowance and continue stitching until you are about 1/4" past the end of the line. |
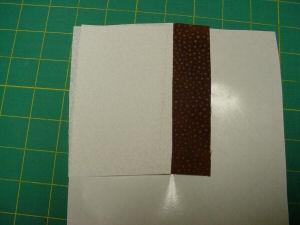
| Step 5: Turn the pattern over to the fabric side, flip the white fabric over and press the seam. |
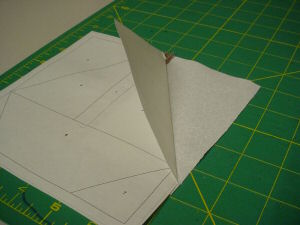
| Step 6: With the printed side down, fold the pattern along the line between Section 2 and Section 3. |
| Step 7: Turn the pattern over so that the fabric side is down and fold the paper back along the line between Section 2 and Section 3, |
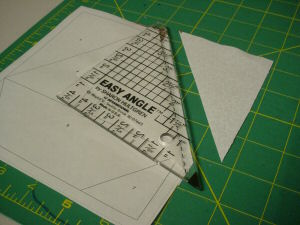
| Step 8: Using a ruler and a rotary cutter, trim the white fabric 1/4" above the edge of the folded pattern. Discard the excess fabric (or save for another project). Unfold the paper pattern. |
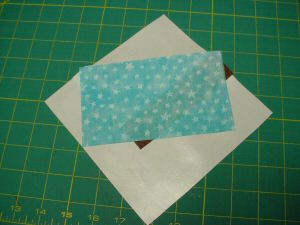
| Step 9: With right sides together, layer a light blue rectangle on the trimmed edge of the white fabric. |
| Step 10: Holding the light blue fabric in place, flip the pattern over and pin in place. |
| Step 11: Stitch along the line between Section 2 and Section 3, starting above the line and ending past the line. Turn the pattern over to the fabric side, flip the light blue fabric over and press the seam. |
You Should Also Read:
FPP Tutorial - Part 2
FPP Tutorial - Part 3
FPP Tutorial - Part 4

Related Articles
Editor's Picks Articles
Top Ten Articles
Previous Features
Site Map
Content copyright © 2023 by Kim Noblin. All rights reserved.
This content was written by Kim Noblin. If you wish to use this content in any manner, you need written permission. Contact Judie Bellingham for details.

