
How to Draw Gingerbread Cookies in Designer

In this Affinity® Designer tutorial, we will create a gingerbread man cookie graphic for your Xmas elements collection. We will start by tracing the gingerbread man cookie from a reference photo. Once we have the basic shape, we will clean up the line art, add color and details.
We will be using a photo of a gingerbread man cookie from Unsplash.com (see link below). Open Affinity Designer and let's get started.
https://unsplash.com/photos/brown-bear-figurine-beside-clear-drinking-glass-ew3sTx9Y3IA
Index - How to Draw a Holiday Theme Collection of Elements
Affinity Designer screenshots used by permission of Serif (Europe) Ltd. This article is not endorsed by Serif Ltd.
We will be using a photo of a gingerbread man cookie from Unsplash.com (see link below). Open Affinity Designer and let's get started.
- Start a new document that is 1000 x 1000 px at 144 dpi for mobile/web or 300 dpi for print.
- Open the reference photo in to Affinity Designer.
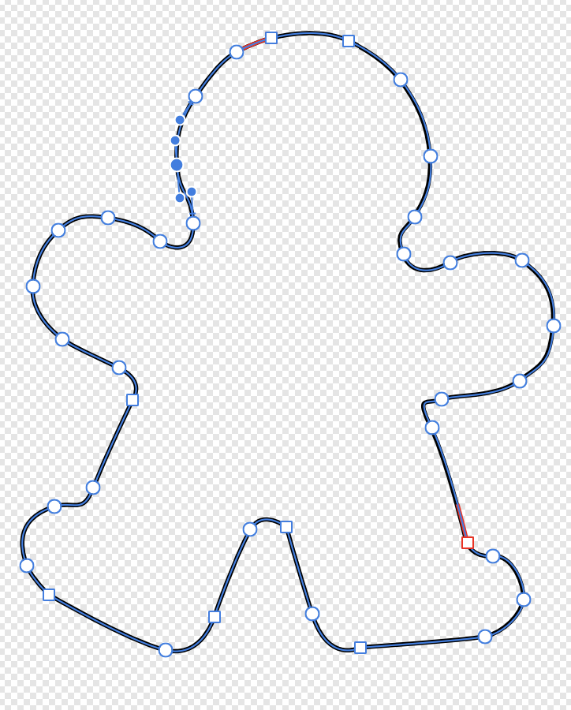
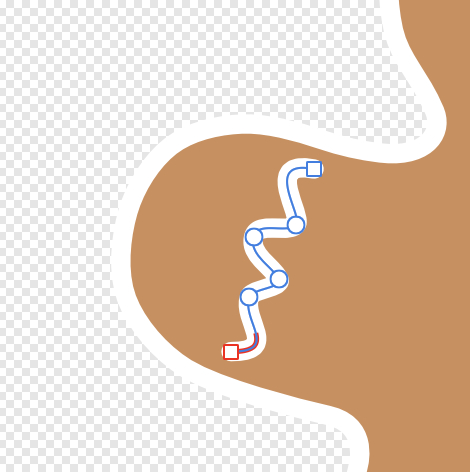
- Using the Pen tool, make a tracing of the of the gingerbread man cookie (see screenshot).
- Clean up your tracing as needed (see screenshot).
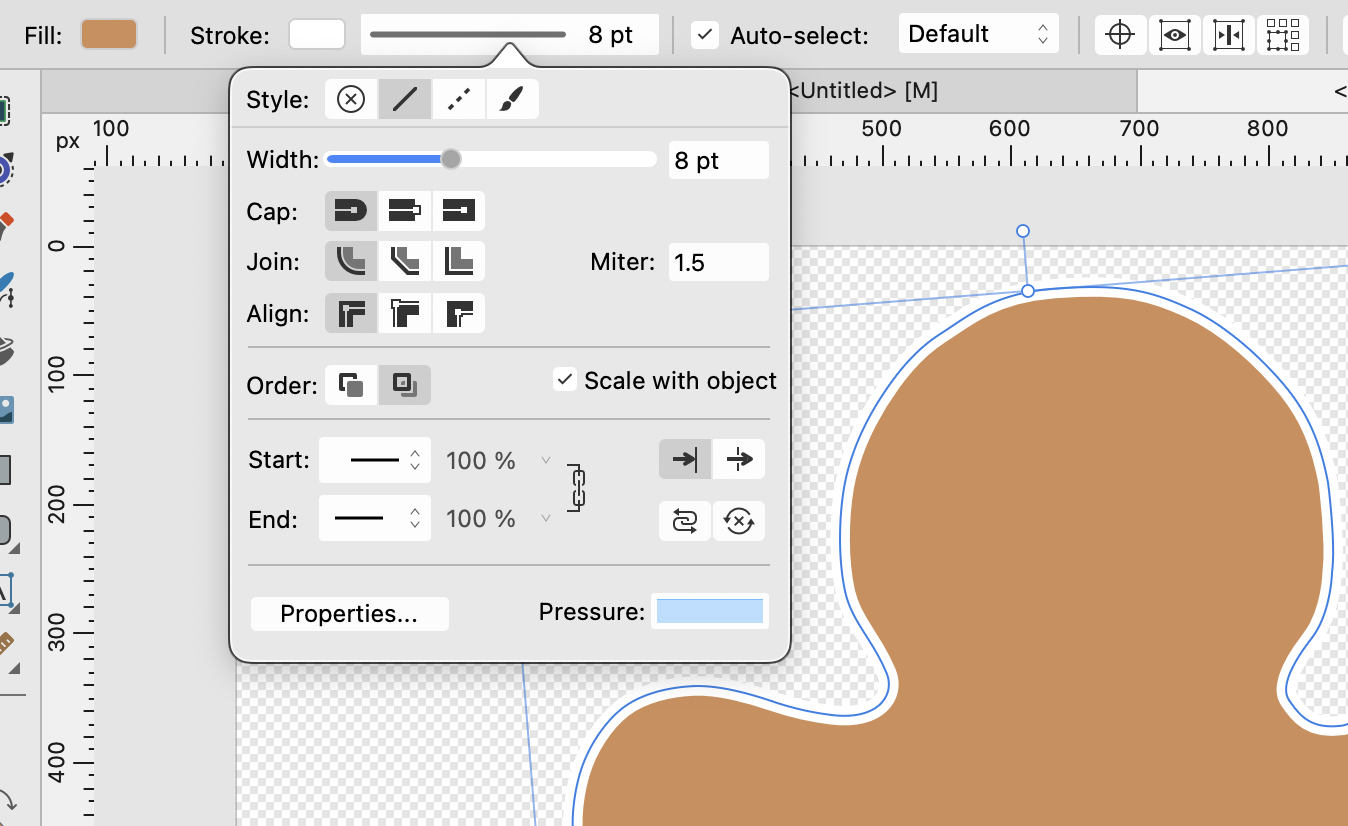
- In the Context toolbar, set the Fill to D08D58 for the gingerbread color and the Stroke to white for the icing. Set the Stroke Width to 8 pt (see screenshot).
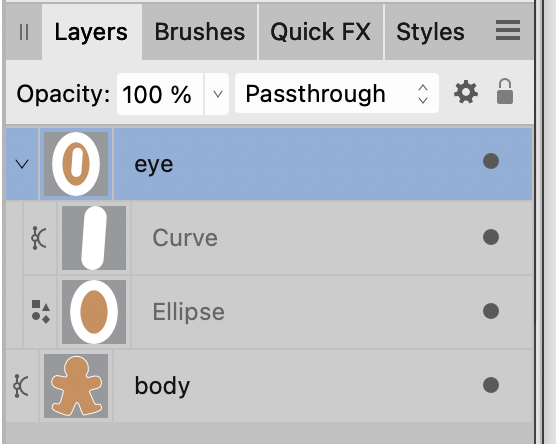
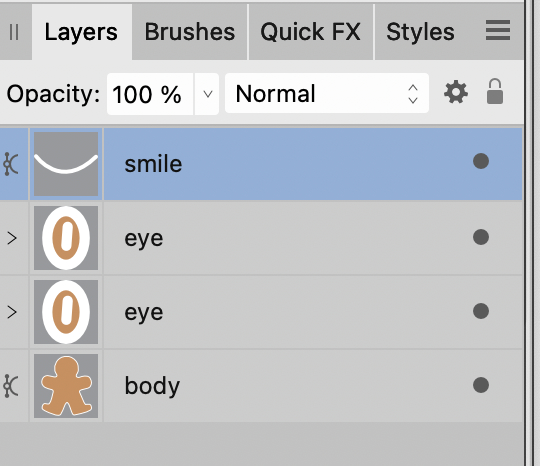
- In the Layers panel, name this layer body (see screenshot).
- Using the Ellipse tool, draw a small oval for the eye. Switch to the Pen tool and add a line inside the oval.
- In the Layers panel, select both of these layers, right-click and choose Group.
- Name this group layer eye (see screenshot).
- Right-click the eye layer and choose Duplicate.
- On the canvas, drag the duplicate eye next to the original eye. Center the two eyes on the face.
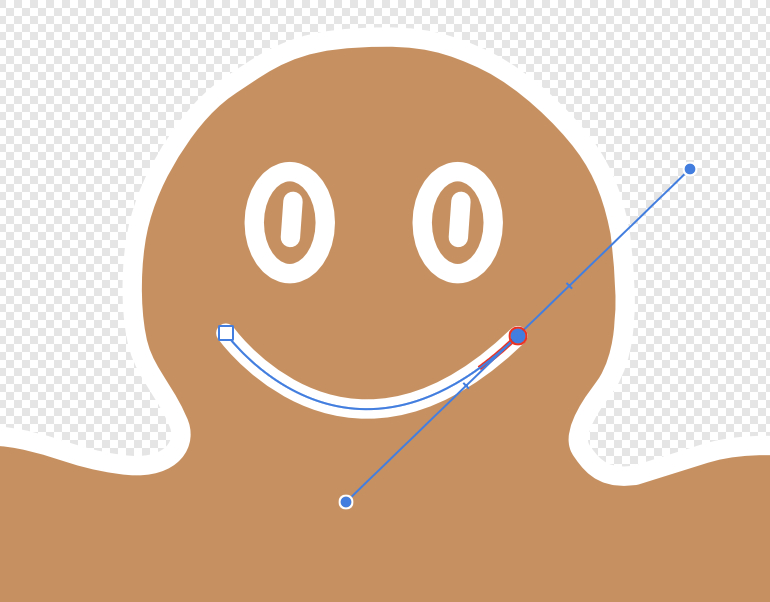
- Using the Pen tool, draw a curved line for the smile (see screenshot).
- Name the new layer smile (see screenshot).
- Select the Pencil tool and keep the default settings. Set the Width to 8 pts (see screenshot).
- Draw a line with several curves on one of the arms of the gingerbread man (see screenshot).
- Name this new layer icing.
- Repeat the previous steps for the other arm and both legs (see screenshot).
- In the Context toolbar set the Fill to CC4E35 and the Stroke to 913725.
- With the Ellipse tool, draw three small circles on the front of the body (see screenshot).
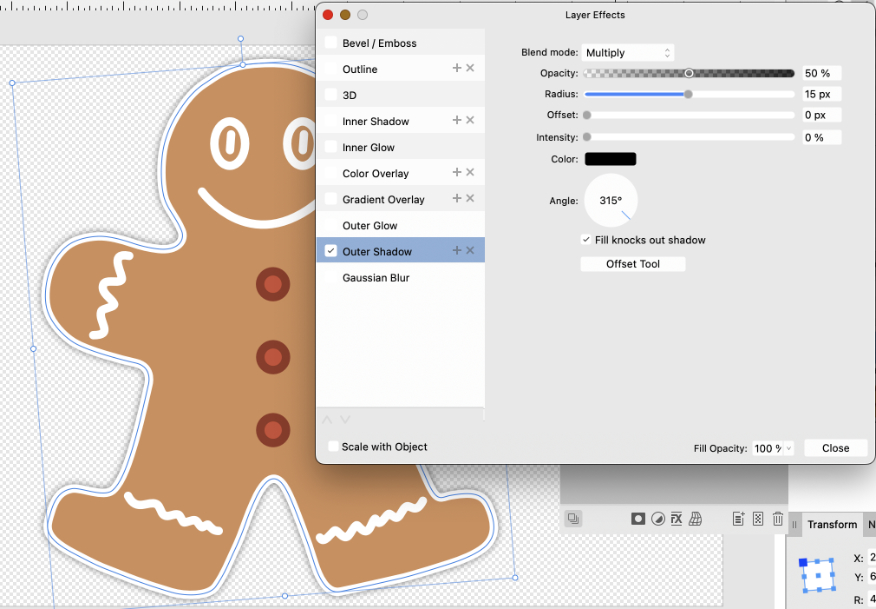
- Select the body layer in the Layers panel. Click the Layer Effects ion at the bottom of the panel.
- In the Layers Effects window, check the box next to Outer Shadow. Set the Radius to 15 px (see screenshot).
Now that we have the basic shape, we will fill the shape with color and add a few strokes that will represent the icing on the cookie.
Next we will add some more icing on the face for the eyes and mouth (see screenshot).
Now we will use the Pencil tool to draw more icing on the arms and legs of the gingerbread man.
We will give the gingerbread man some red buttons.
The next step is optional. We will add a shadow to the gingerbread man.
This technique can be used to make gingerbread cookies in other shapes, to include in your holiday elements collection (see screenshot). Use the Shape tool to draw some other cookie shapes such as a star or heart. Set the Fill and Stroke colors and design the icing as you like.
https://unsplash.com/photos/brown-bear-figurine-beside-clear-drinking-glass-ew3sTx9Y3IA
Index - How to Draw a Holiday Theme Collection of Elements
Affinity Designer screenshots used by permission of Serif (Europe) Ltd. This article is not endorsed by Serif Ltd.

Related Articles
Editor's Picks Articles
Top Ten Articles
Previous Features
Site Map
Content copyright © 2023 by Diane Cipollo. All rights reserved.
This content was written by Diane Cipollo. If you wish to use this content in any manner, you need written permission. Contact Diane Cipollo for details.


