Affinity Suite How-Tos and Questions

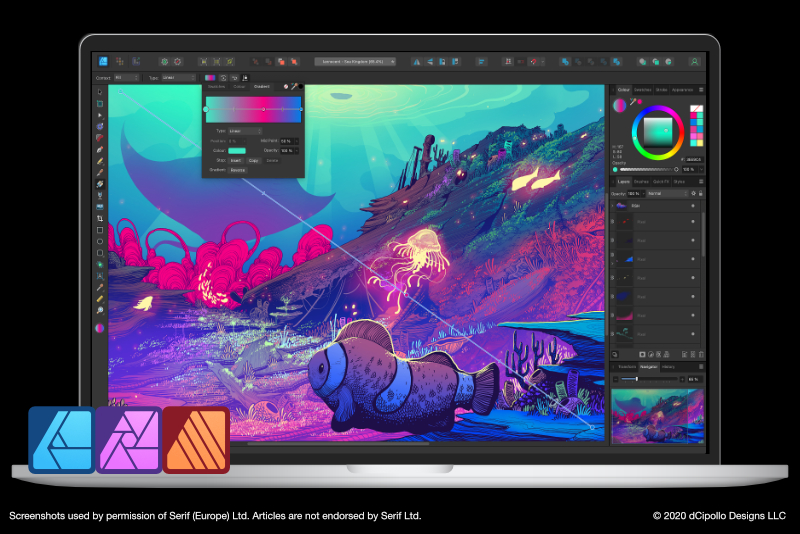
With the release of Affinity Publisher and the StudioLink, the Affinity Suite of creative apps is becoming very popular. So, here is a list of the questions that I most often receive for Affinity Publisher, Affinity Designer and Affinity Photo.
StudioLink
- StudioLink in Publisher allows you to change the Publisher’s workspace tools to Designer’s or Photo’s tools. It’s like opening your project in to Designer or Photo without leaving Publisher.
- Cick the Designer Persona icon to get those tools
- Click the Photo Persona icon to get those tools
- Click the Publisher Persona icon to return to the Publisher workspace
With Publisher open, you well have three icons in the Persona Toolbar.
Symbols
- Use the Symbols feature to control several design elements simultaneously by linking them together as Symbols.
- From the Menu Bar, click View - Studio - Symbols, to open the Symbols panel
- With the object that is to become a symbol selected, click the Create icon in the Symbols panel
- With the symbol object selected, duplicate the object on the Canvas or in the Layers panel
- Drag a thumbnail of the Symbol from the Symbols panel on to the Canvas
- With the Symbol or Symbol Instance selected, click the Sync icon in the Symbols panel
- Select the Symbol on the Canvas or in the Layers panel
- Click the Detach icon in the Symbols panel
- Right-click on the Symbol thumbnail in the Symbols panel
- Choose Delete Symbol
Creat a Symbol
Create a Symbol Instance
Do one of the followingTurn off Synchronization
Detach Symbol
Delete a Symbol
How did you get the lighter interface
- From the Menu Bar, click Affinity Publisher - Preferences
- In the Preferences window, click the User Interface button
- Set the Font UI Size to Large (optional)
- Set the UI Style to Light
- Close Preferences window
Snapping
- From the Menu Bar, select View - Snapping Manger
- In the Snapping window, check the box for Enable Snapping
- Set the Preset drop-down menu to UI Design
- Under Force Pixel Alignment, check Move by Whole Pixels
- Click Close to save the settings
This will activate the Snapping icon in the Context Toolbar. You can use this icon to toggle snapping on and off.
Show Rulers or Change Units
- From the Menu Bar, click View - Show Rulers
- Right-click the Ruler's corner at the top left of the Ruler
- Choose a Unit type from the pop-up menu
Save History with Document
- From the Menu Bar, click File - Save History With Document
- Click Yes in the pop up box
Reset Preferences Back to Defaults
- This will work on all three apps
- Start the app while holding down the control key
- In the Clear User Data window, click Select All and then Clear

Related Articles
Editor's Picks Articles
Top Ten Articles
Previous Features
Site Map
Content copyright © 2023 by Diane Cipollo. All rights reserved.
This content was written by Diane Cipollo. If you wish to use this content in any manner, you need written permission. Contact Diane Cipollo for details.


