Using SVG Cut Files In Silhouette Designer Ed

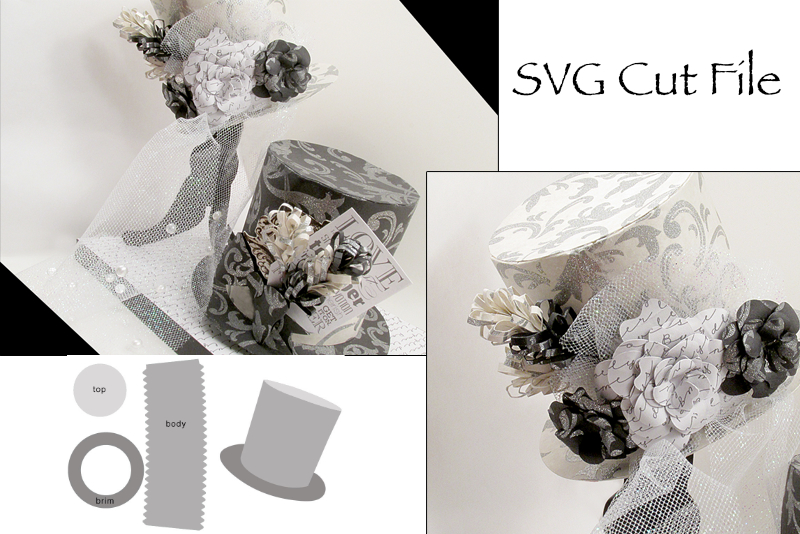
The Silhouette Studio Designer Edition® software is much like Adobe® Illustrator®. The big difference is that the Silhouette software turns the SVG vector lines and shapes into cutting lines for the Silhouette cutting machine. Below are a few basic tips for using downloadable SVG cutting files with your Silhouette Cameo® machine.
Setting Your Silhouette To Use SVGs
Let’s set up the Silhouette Preferences for importing SVGs into the workspace. We will tell Silhouette to place the SVG image centered on the workspace. From there, we can move it to any location as needed.
How To Open SVG Cut Files Into Silhouette
There are many places on the web where you can purchase downloadable SVG cut designs. In order for your downloaded SVG files to work in your Silhouette machine, you will need to upgrade from the basic Silhouette Studio to the Silhouette Studio Designer Edition. Also, keep in mind that you do not want to import the SVGs into your Silhouette Library. If you do, the SVGs will not work correctly. You will need to open the SVGs into the Silhouette workspace using the File menu.
How To Scale Your SVG Cut Files In Silhouette
Once you have opened the SVG into the Silhouette Drawing Area, the image should be at the correct size for the design. However, you may wish to enlarge or decrease the dimensions of the design. To do this, you will use the Scale pane.
Setting Your Silhouette To Use SVGs
Let’s set up the Silhouette Preferences for importing SVGs into the workspace. We will tell Silhouette to place the SVG image centered on the workspace. From there, we can move it to any location as needed.
- Open the Silhouette software. If the Silhouette Studio® screen appears, click Design.
- Click Silhouette Studio - Preferences to open the Preferences pane.
- Click the Import Options tab to open the pane. Find the When Importing SVG section with the import SVG settings.
- If not already checked, check the Centered option box.
- Click Apply to close the dialog box and accept the changes.
How To Open SVG Cut Files Into Silhouette
There are many places on the web where you can purchase downloadable SVG cut designs. In order for your downloaded SVG files to work in your Silhouette machine, you will need to upgrade from the basic Silhouette Studio to the Silhouette Studio Designer Edition. Also, keep in mind that you do not want to import the SVGs into your Silhouette Library. If you do, the SVGs will not work correctly. You will need to open the SVGs into the Silhouette workspace using the File menu.
- Open the Silhouette software. If the Silhouette Studio screen appears, click Open. You will have an empty workspace, displaying the Drawing Area.
- Click File - Open and the drop-down file browser will open.
- Double-click on the SVG file or select the file name and click the OK button.
- If the cut lines are difficult to see, you may wish to lighten the grid lines. Click the Grid icon from the upper right Toolbar. In the Color section of the pane, drag the pointer of the shade slider at the right of the color picker to the bottom of the slider. This will lighten the color of the grid lines.
- The SVG cut file will be loaded onto the Drawing Area, usually at the correct size needed for the design. Unless expressly instructed to do so, do not resize the SVG image.
- Click the Select tool. Place your cursor over the SVG image until you see the hand cursor. Depending on your paper media settings, the Drawing Area indicates the cutting area. Drag the image to any position on the Drawing Area.
Note: If you are using Registration Marks for Print and Cut, position the SVG image within the Registration Marks.
How To Scale Your SVG Cut Files In Silhouette
Once you have opened the SVG into the Silhouette Drawing Area, the image should be at the correct size for the design. However, you may wish to enlarge or decrease the dimensions of the design. To do this, you will use the Scale pane.
- Select the SVG image in the Drawing area.
- From the top right menu, click the Scale icon to open the Scale pane. As you can see, we can choose to set the scale to a preset percentage. This will automatically scale the image while maintaining the width and height proportions.
- The Custom slider will also scale the image proportionally.
- If you wish to resize the image to specific width and height dimensions, use the input boxes or the slider in the Specify Dimensions section. Check the box to Lock Aspect Ratio to maintain proportions.
- Once you have chosen the new dimensions, click the Apply button to set the changes.

Related Articles
Editor's Picks Articles
Top Ten Articles
Previous Features
Site Map
Content copyright © 2023 by Diane Cipollo. All rights reserved.
This content was written by Diane Cipollo. If you wish to use this content in any manner, you need written permission. Contact Diane Cipollo for details.


