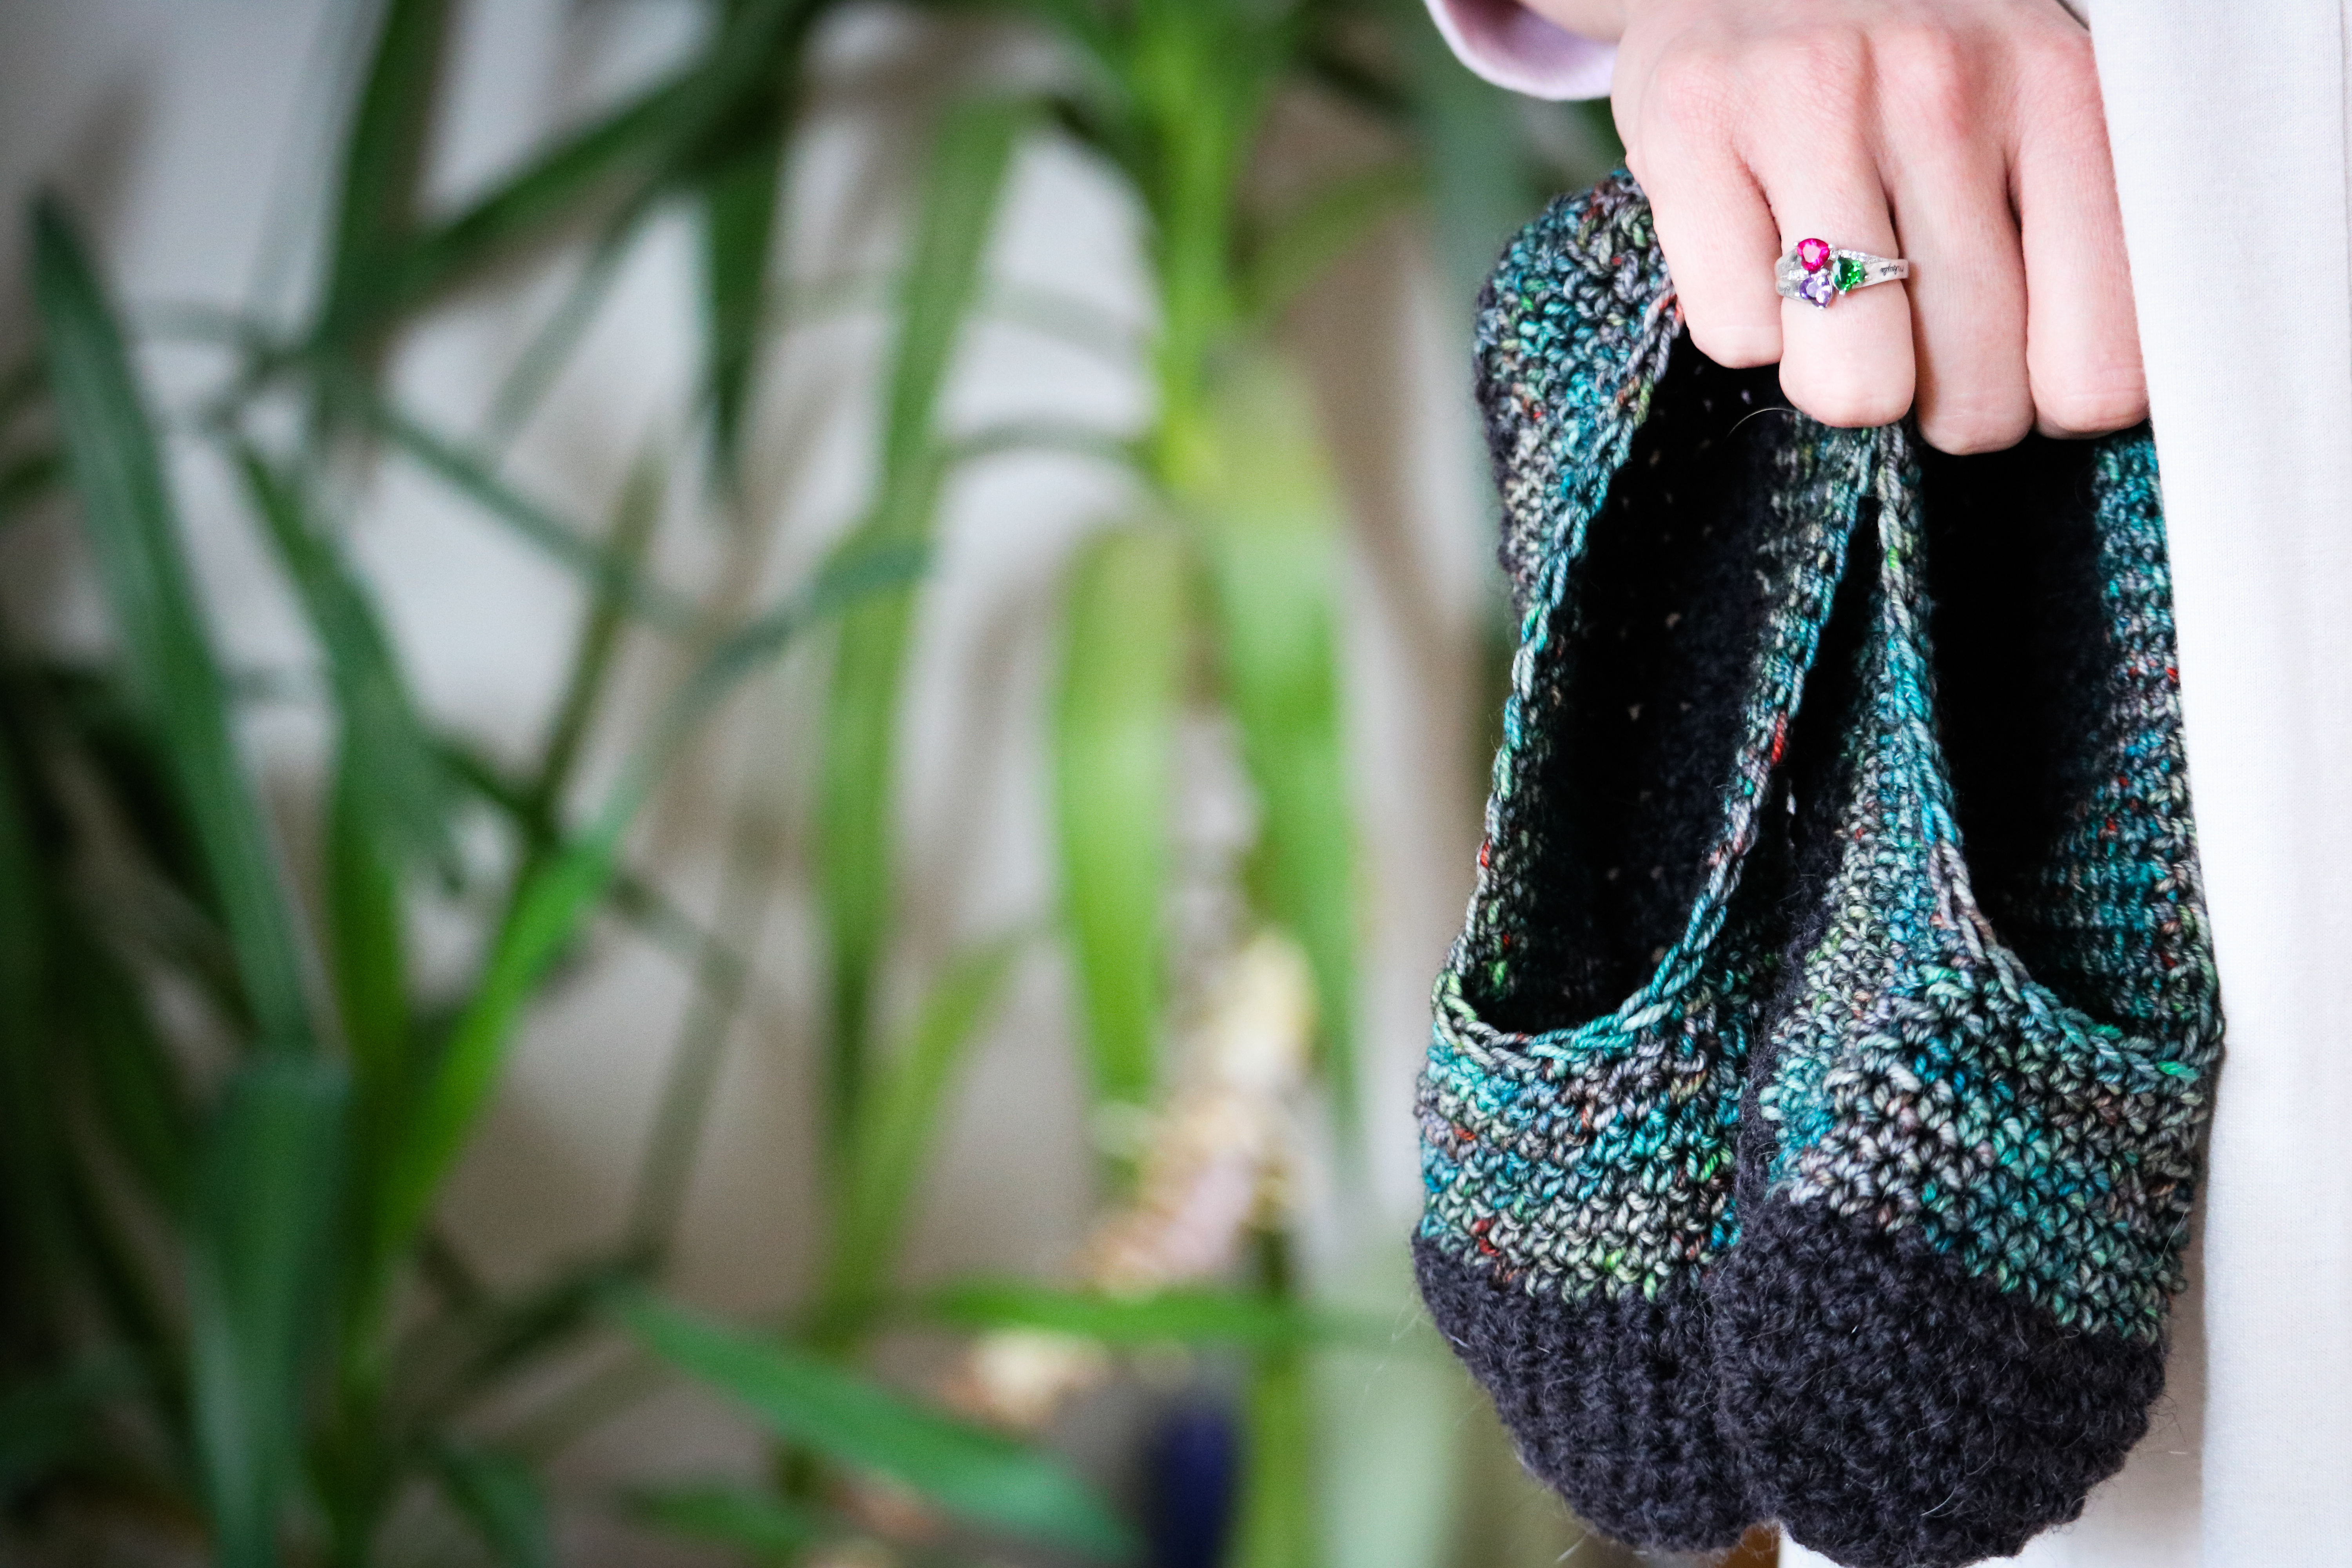
Free Pattern for Crochet Rag Rug

Many households have unused sheets stashed away in cupboards, begging to be given a new life, but if you’re looking for a sweet, down-home addition to your kitchen, bathroom or bedroom, and don’t have sheets of your own, they’re easy to find in an array of colours at your local thrift store. Be sure to read labels and feel for texture when choosing the sheets you’ll be working with, as you’ll want to use sheets made with the same or similar materials.

By the end of this tutorial, you should be able to create your very own rag rug.
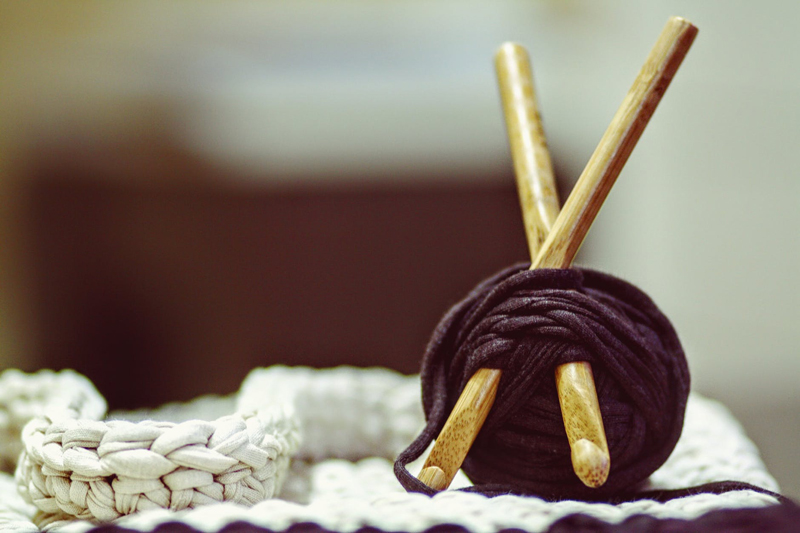
First, you’ll need to assemble your materials. You’ll need:
- 15 mm crochet hook
- Scissors
- 2 twin or double bed sheets in complementary colours
- Measuring tape (optional)
You’ll begin by using the scissors to remove any tags on your sheets, and to remove the elastic on the corners, if you’re using bottom sheets, or to remove the folded-over top edge on a top sheet.
Next, use your measuring tape to measure a one-inch width from the edge of your sheet, make an initial cut with the scissors, and begin tearing a strip off of your sheet. Be sure to stop approximately one inch from the end of the sheet. *Troubleshooting: if your strip doesn’t tear in a straight line, simply correct its direction by cutting using the scissors until you’re back on track.
When you’ve reached approximately one inch from the end of your sheet, stop tearing, turn, and use the scissors to make another initial cut, this time running along the bottom edge of your sheet. Continue this process at each corner, making continuously smaller rounds until you’ve turned the entire sheet into one long strip.
Wind this strip into a ball. Snip any annoyingly long loose threads, but don’t worry about getting every loose thread. They add to the charm of a rag rug, and most will be contained by the stitches you make when crocheting.
Tear the second sheet into strips using the same method, and wind it into a ball.
You’re now ready to begin the crochet step of making your rag rug. Make a slip knot with the first sheet, insert your hook, and chain 2.
Insert hook into first chain, single crochet 10 in same loop, joining last stitch to first using a slip stitch.
Chain 1, which will count as your first stitch in round 2. Make 2 single crochet in next stitch. Repeat this pattern of 1 single crochet, then 2 single crochet in the next stitch, all the way around. You should have 15 stitches in total in round 2. Do not join first to last stitch.
We will now work in continuous rounds, working in multiples of 5.
Round 3: Work 5 sets of *single crochet 2, single crochet 2 in next stitch* for a total of 20 stitches
Round 4: Work 5 sets of *single crochet 3, single crochet 2 in next stitch* for a total of 25 stitches
Colour changes can be done at your discretion. An easy way to do a colour change is to simply cut your strip at the end of a round, leaving about a 3 inch tail, and tie your new colour to this tail. Crochet as usual. When ready to switch back to colour A, cut and tie as before.
When you’ve reached your desired size, slip stitch the last stitch of your round to the first stitch, tie off, leaving about a 3 inch tail, and weave in the tail.
Two twin sheets will make a rug approximately 2 feet in diameter. Of course, you can choose to continue with your rounds, working in multiples of five, until you’ve reached your desired size. Keep in mind that, with successive rounds, the strips have further to travel, and simply adding two more sheets will not yield an additional two feet of diameter in your finished product. Be sure to gather as many sheets as you will need before beginning a project.
Ravelry
By the end of this tutorial, you should be able to create your very own rag rug.
First, you’ll need to assemble your materials. You’ll need:
- 15 mm crochet hook
- Scissors
- 2 twin or double bed sheets in complementary colours
- Measuring tape (optional)
You’ll begin by using the scissors to remove any tags on your sheets, and to remove the elastic on the corners, if you’re using bottom sheets, or to remove the folded-over top edge on a top sheet.
Next, use your measuring tape to measure a one-inch width from the edge of your sheet, make an initial cut with the scissors, and begin tearing a strip off of your sheet. Be sure to stop approximately one inch from the end of the sheet. *Troubleshooting: if your strip doesn’t tear in a straight line, simply correct its direction by cutting using the scissors until you’re back on track.
When you’ve reached approximately one inch from the end of your sheet, stop tearing, turn, and use the scissors to make another initial cut, this time running along the bottom edge of your sheet. Continue this process at each corner, making continuously smaller rounds until you’ve turned the entire sheet into one long strip.
Wind this strip into a ball. Snip any annoyingly long loose threads, but don’t worry about getting every loose thread. They add to the charm of a rag rug, and most will be contained by the stitches you make when crocheting.
Tear the second sheet into strips using the same method, and wind it into a ball.
You’re now ready to begin the crochet step of making your rag rug. Make a slip knot with the first sheet, insert your hook, and chain 2.
Insert hook into first chain, single crochet 10 in same loop, joining last stitch to first using a slip stitch.
Chain 1, which will count as your first stitch in round 2. Make 2 single crochet in next stitch. Repeat this pattern of 1 single crochet, then 2 single crochet in the next stitch, all the way around. You should have 15 stitches in total in round 2. Do not join first to last stitch.
We will now work in continuous rounds, working in multiples of 5.
Round 3: Work 5 sets of *single crochet 2, single crochet 2 in next stitch* for a total of 20 stitches
Round 4: Work 5 sets of *single crochet 3, single crochet 2 in next stitch* for a total of 25 stitches
Colour changes can be done at your discretion. An easy way to do a colour change is to simply cut your strip at the end of a round, leaving about a 3 inch tail, and tie your new colour to this tail. Crochet as usual. When ready to switch back to colour A, cut and tie as before.
When you’ve reached your desired size, slip stitch the last stitch of your round to the first stitch, tie off, leaving about a 3 inch tail, and weave in the tail.
Two twin sheets will make a rug approximately 2 feet in diameter. Of course, you can choose to continue with your rounds, working in multiples of five, until you’ve reached your desired size. Keep in mind that, with successive rounds, the strips have further to travel, and simply adding two more sheets will not yield an additional two feet of diameter in your finished product. Be sure to gather as many sheets as you will need before beginning a project.
Ravelry
You Should Also Read:
Venus Shell Cowl Pattern

Related Articles
Editor's Picks Articles
Top Ten Articles
Previous Features
Site Map
Content copyright © 2023 by Holly Messenger Aamot. All rights reserved.
This content was written by Holly Messenger Aamot. If you wish to use this content in any manner, you need written permission. Contact Holly Messenger Aamot for details.