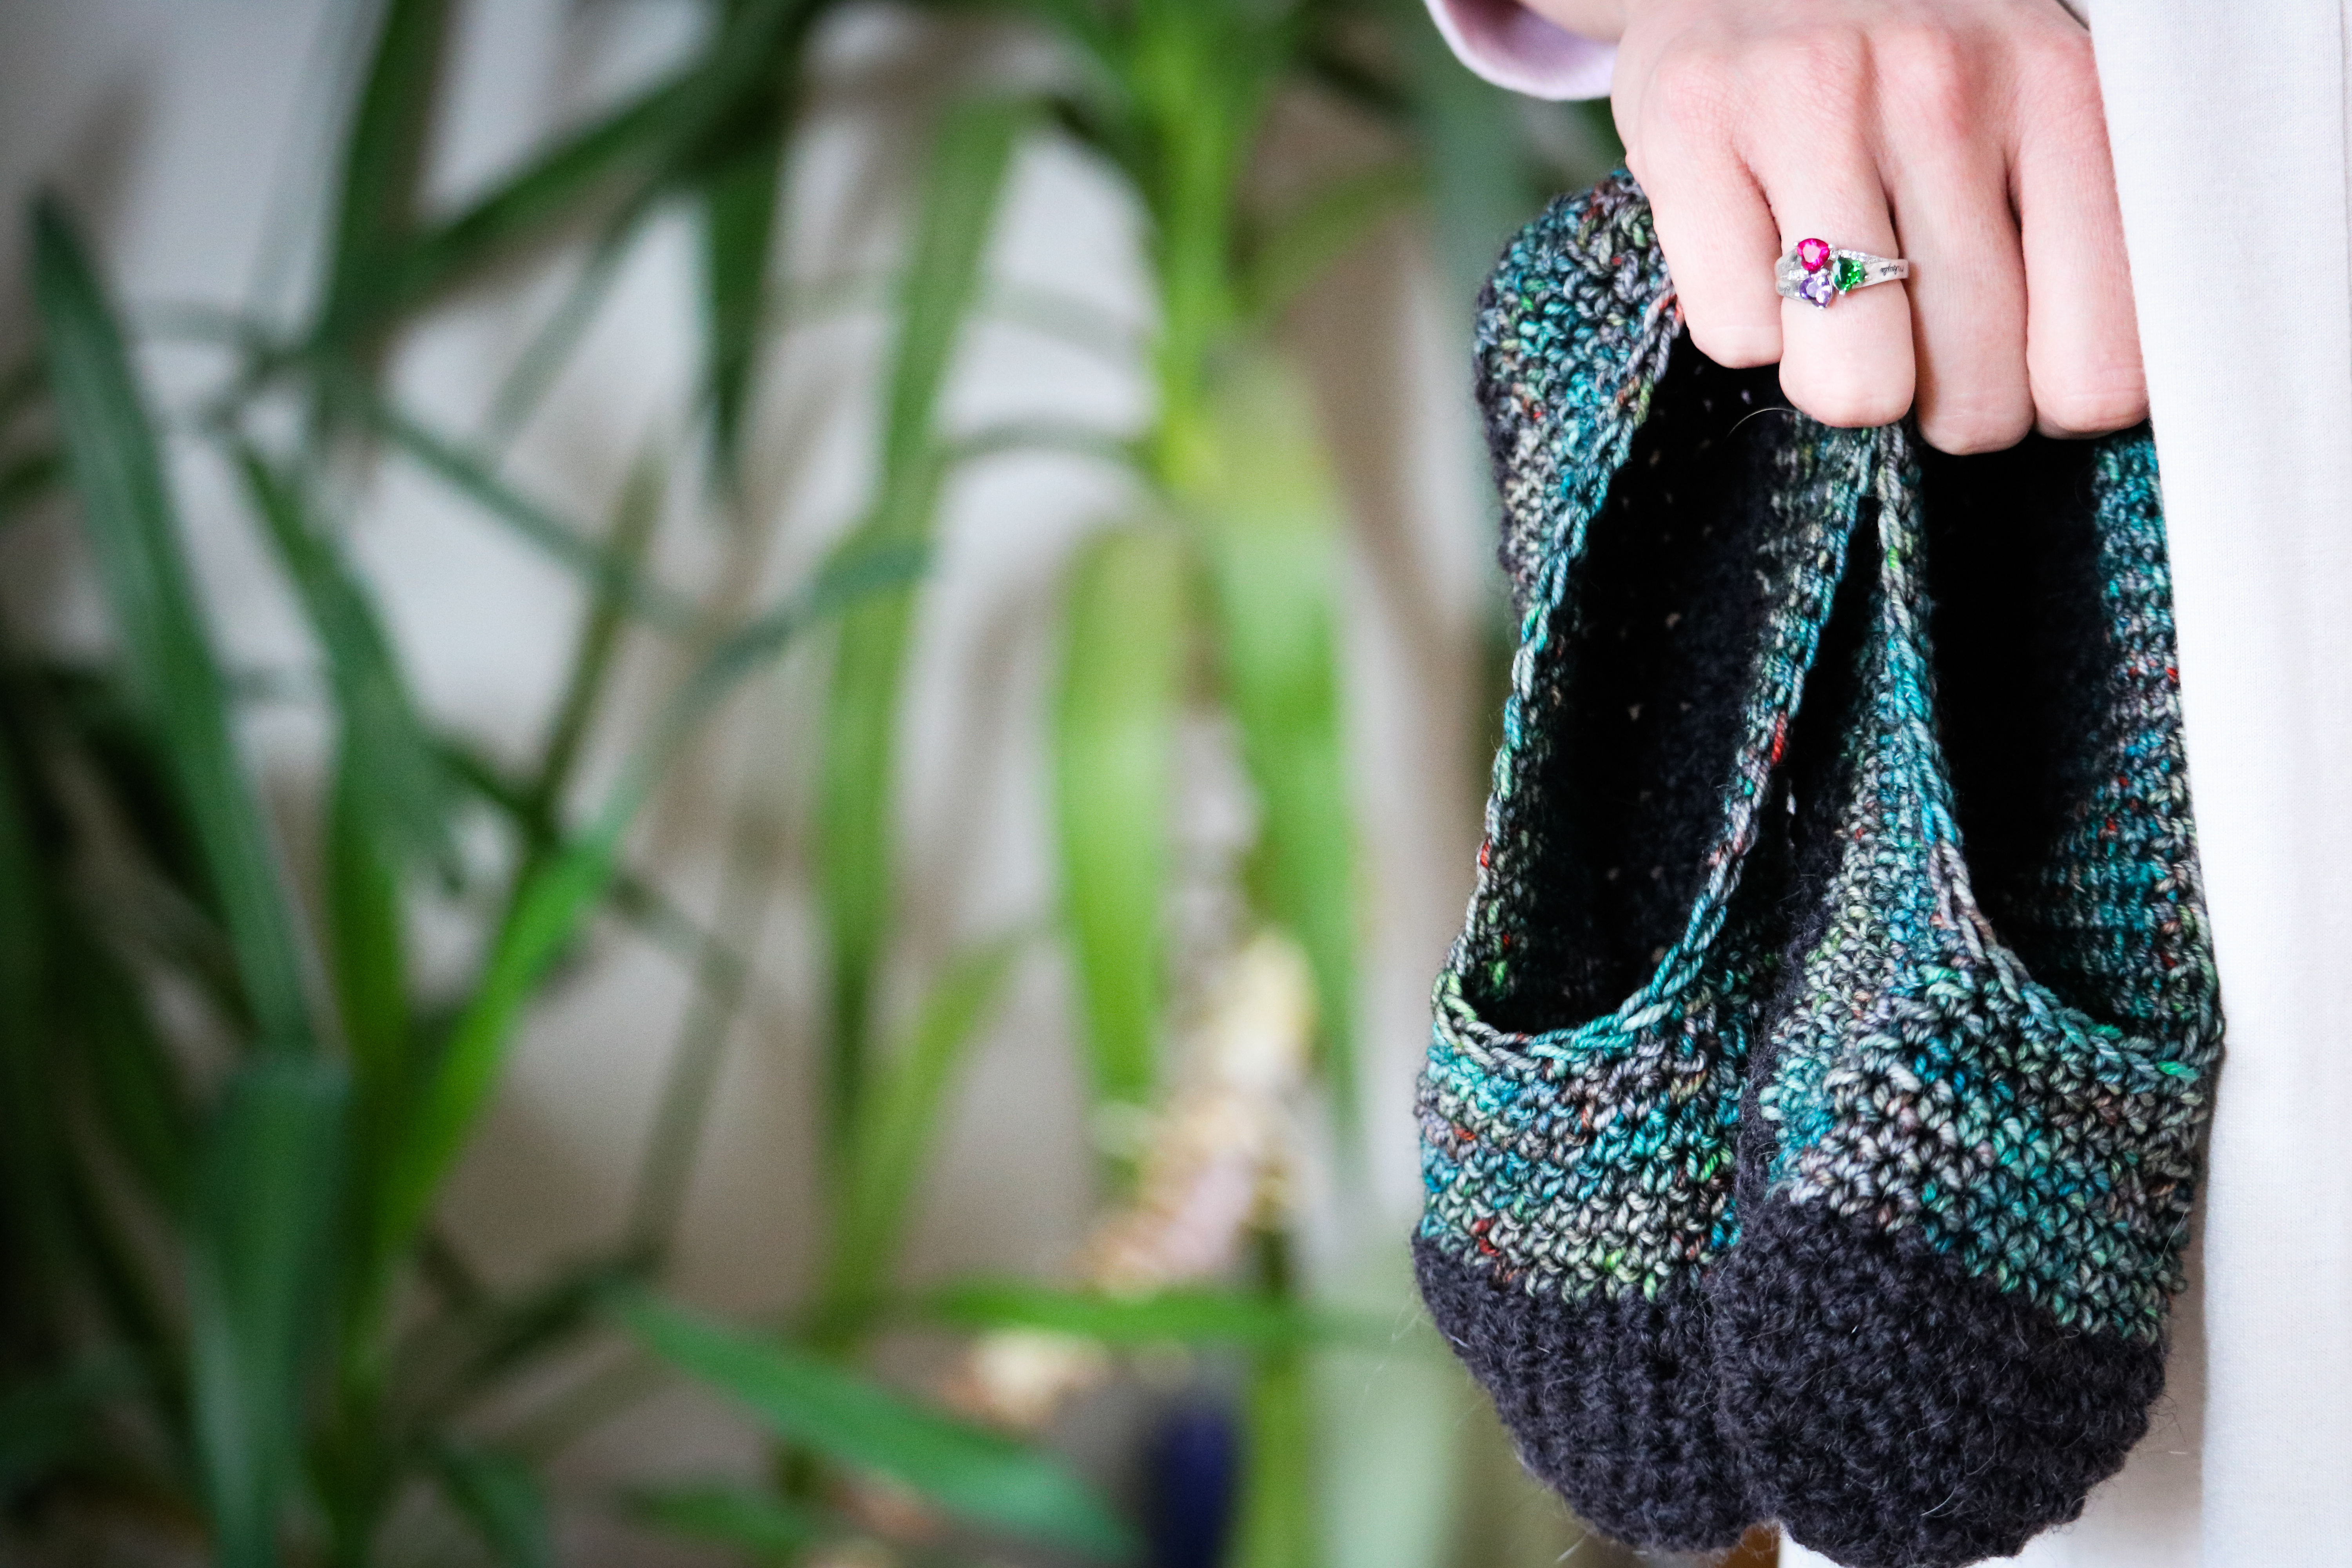
Size it up
Patterns have certainly come a long way over the years, especially crochet patterns. In the 1800’s and early 1900’s, patterns for any type of wearable were not written completely out. Usually it came on a black background with tiny white writing, a diagram with 3 sets of numbers if you were lucky. Very hard to see and decipher, this was assuming that you had that particular type of yarn and size of hook that the pattern was worked up in. A Yarn Store was not always readily available, many people out of necessity had to spin their own so the numbers were very helpful in accomplishing the pattern. Now let’s fast forward a little as patterns did get better but were still coming in only 3 sizes: Small, Medium, and Large.
This does and did put a little bit of a crimp into crocheting any type of wearable. After all, myself, I do not fit into any of those 3 categories and as we fast forward again to this current time, patterns now come in a variety of sizes but again most are not a great fit for most of us. Or the yarn that is suggested just really is not your favorite. What to do with this small little problem besides sigh and wish they would make it your size and in your favorite yarn? No, yes I did try that already and it doesn’t help.
The following is a quick fix that can work easily without having to re do the entire pattern. Super fast and easy; use a larger hook for a bigger size, use a smaller hook for a smaller size. Make sure that if you use this method, the yarn must match the pattern i.e. worsted, sport or lace. Only go up or down 3 hook sizes, any more than that you run the risk of really distorting the pattern and it won’t look anything like you want it to. Know your size, what I mean by this is if a size small/large is already too small/big for you with off the rack clothing, know how small/big and use the appropriate hook. You may only need to go down/up one size for just a little bit too small/big or if you really need it to be quite a bit smaller/bigger use the 3rd size down/up. Follow the appropriate size on the pattern.
If you are a between size, I would suggest using one size larger hook and follow the smaller size. For example you are between a small and medium but medium is always too big and small is just uncomfortable, pattern calls for a G hook. You would use a size H hook and follow the small size instructions, making sure to check your work as you go along. Keep your favorite comfy sweater handy to help you check your current work against it. Remember your lap is not flat; lay it on a flat surface for accurate measurements.

Related Articles
Editor's Picks Articles
Top Ten Articles
Previous Features
Site Map
Content copyright © 2023 by Eva Owsian. All rights reserved.
This content was written by Eva Owsian. If you wish to use this content in any manner, you need written permission. Contact Holly Messenger Aamot for details.