Tips for Baby Gifts

Babies and knit gifts seem to go together. Making something for a new mother is a tangible way to show love and support. Because baby knits are small, these projects can be wonderful for using up stash yarn, and can be great ways to practice new techniques. But before you begin, take a moment to think about the situation and plan out a gift that will be practical as well as beautiful. Here are some considerations.
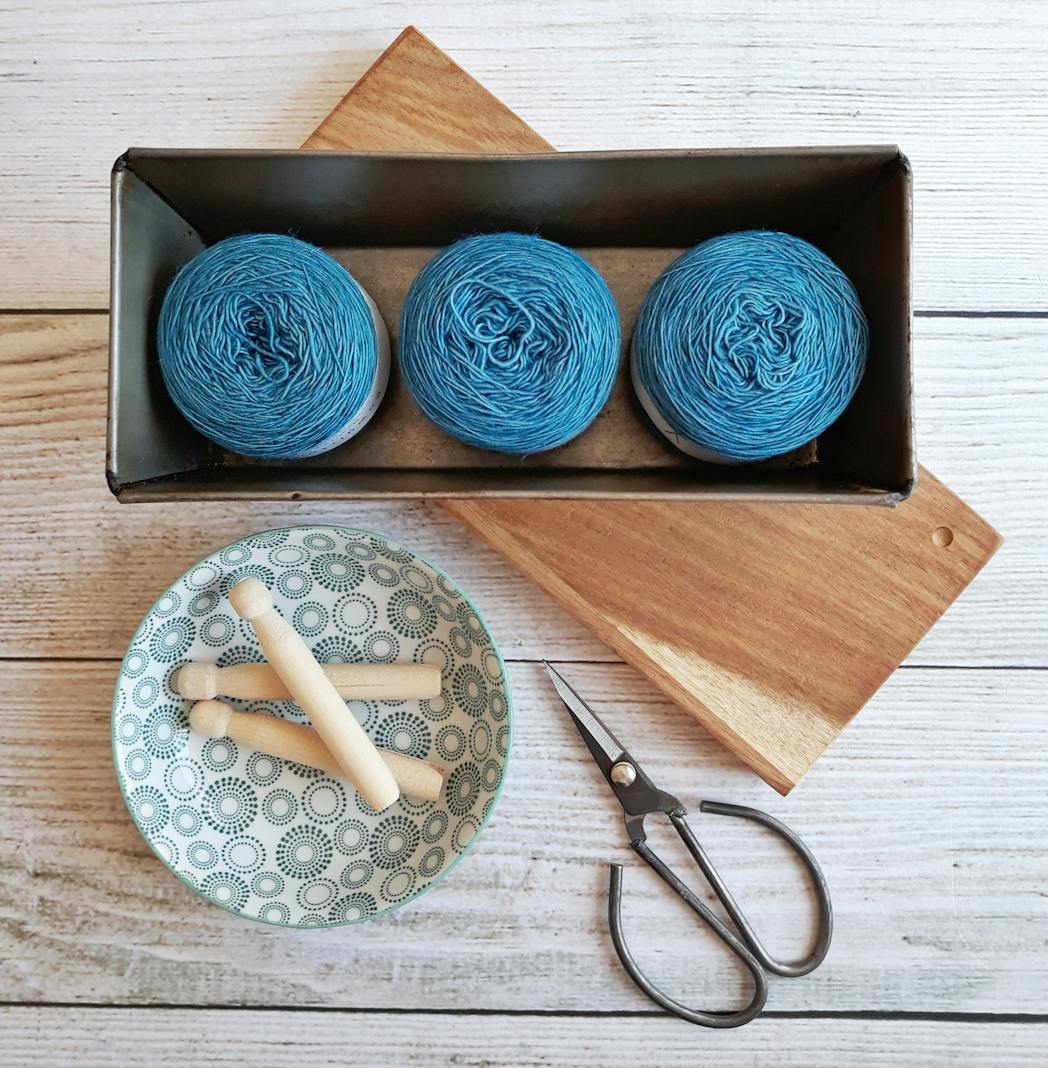
First of all, choose easy-care yarn. Babies are cute, but they are also extremely messy, and no article of clothing or blanket is going to stay in pristine condition for long. A new mother has more than enough to do besides hand-washing baby spit and more off that gift. Also, baby skin is very delicate, and it’s important to use soft, non-irritating fibers; washable wool might be too rough. Many companies make yarn specifically designed for baby gifts, but any soft machine-washable line can be suitable. Check your stash for leftovers -- partial balls can be used for stripes, and baby projects don’t take much.
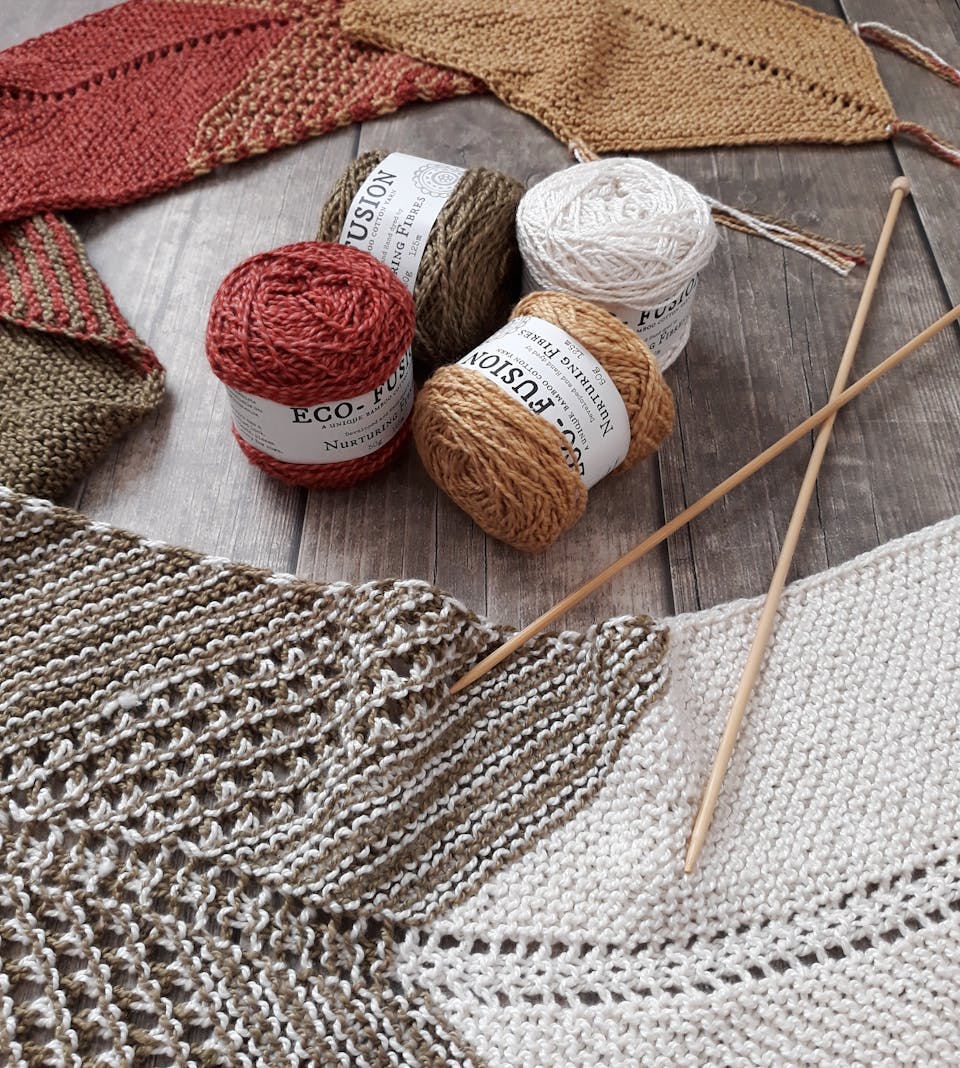
Consider the tastes of the parents when choosing colors. Some mothers would be thrilled to dress their children of either sex in hot pink or navy blue. Some adhere to tradition, preferring boys in blue and girls in pink. Not sure? There’s always something to be said for soft yellows and greens for either sex! Many baby yarns come in multi-colors, which can add a layer of interest to a simple knit.
Finding a pattern will be easier than choosing the yarn. A quick Ravelry search for baby booties returned two thousand free baby bootie projects and over eight thousand free baby hat patterns. Or check at the local library or bookstore for printed anthologies; designers such as Susan Anderson and Debbie Bliss have written entire collections devoted to babies and toddlers. If you’re not sure about sizing, how about making soft toys or a blanket?
While most patterns for babies take into account the needs of the recipients, it’s always a good idea to double-check before beginning. Lacy stitches and stranded patterns are beautiful, but baby fingers can get caught if holes or strands are long enough, and the potential for snagging is great. Toys for small children should never be made with eyes or anything else that can present a swallowing or choking hazard. Buttons can be problematic for the same reason. Keep in mind also that babies grow quickly, and so anything too fitted is going to get packed away fairly quickly – although it might then be brought out for brothers and sisters later on!
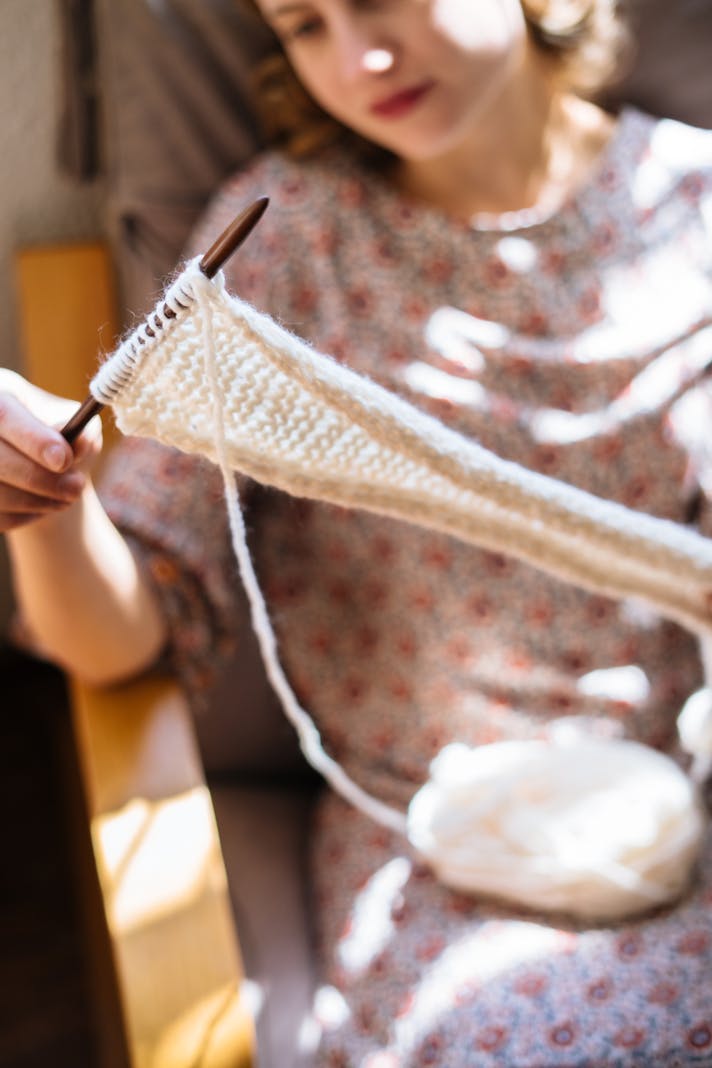
Remember that knitting takes longer than crochet. Especially if you’re knitting for a baby shower, be sure to start early enough that you’ll be able to complete the project in time for the event or for the baby to actually wear the piece before outgrowing it. Finishing can also be time-consuming, so give yourself more days than you actually think you’ll need, just in case. Hand-made gifts are always more fun when you’re not racing to meet a difficult deadline!
As you knit, remember to send love into each stitch. Your gift will be remembered long after the item is outgrown!
First of all, choose easy-care yarn. Babies are cute, but they are also extremely messy, and no article of clothing or blanket is going to stay in pristine condition for long. A new mother has more than enough to do besides hand-washing baby spit and more off that gift. Also, baby skin is very delicate, and it’s important to use soft, non-irritating fibers; washable wool might be too rough. Many companies make yarn specifically designed for baby gifts, but any soft machine-washable line can be suitable. Check your stash for leftovers -- partial balls can be used for stripes, and baby projects don’t take much.
Consider the tastes of the parents when choosing colors. Some mothers would be thrilled to dress their children of either sex in hot pink or navy blue. Some adhere to tradition, preferring boys in blue and girls in pink. Not sure? There’s always something to be said for soft yellows and greens for either sex! Many baby yarns come in multi-colors, which can add a layer of interest to a simple knit.
Finding a pattern will be easier than choosing the yarn. A quick Ravelry search for baby booties returned two thousand free baby bootie projects and over eight thousand free baby hat patterns. Or check at the local library or bookstore for printed anthologies; designers such as Susan Anderson and Debbie Bliss have written entire collections devoted to babies and toddlers. If you’re not sure about sizing, how about making soft toys or a blanket?
While most patterns for babies take into account the needs of the recipients, it’s always a good idea to double-check before beginning. Lacy stitches and stranded patterns are beautiful, but baby fingers can get caught if holes or strands are long enough, and the potential for snagging is great. Toys for small children should never be made with eyes or anything else that can present a swallowing or choking hazard. Buttons can be problematic for the same reason. Keep in mind also that babies grow quickly, and so anything too fitted is going to get packed away fairly quickly – although it might then be brought out for brothers and sisters later on!
Remember that knitting takes longer than crochet. Especially if you’re knitting for a baby shower, be sure to start early enough that you’ll be able to complete the project in time for the event or for the baby to actually wear the piece before outgrowing it. Finishing can also be time-consuming, so give yourself more days than you actually think you’ll need, just in case. Hand-made gifts are always more fun when you’re not racing to meet a difficult deadline!
As you knit, remember to send love into each stitch. Your gift will be remembered long after the item is outgrown!

Related Articles
Editor's Picks Articles
Top Ten Articles
Previous Features
Site Map
Content copyright © 2023 by Korie Beth Brown, Ph.D.. All rights reserved.
This content was written by Korie Beth Brown, Ph.D.. If you wish to use this content in any manner, you need written permission. Contact Korie Beth Brown, Ph.D. for details.