
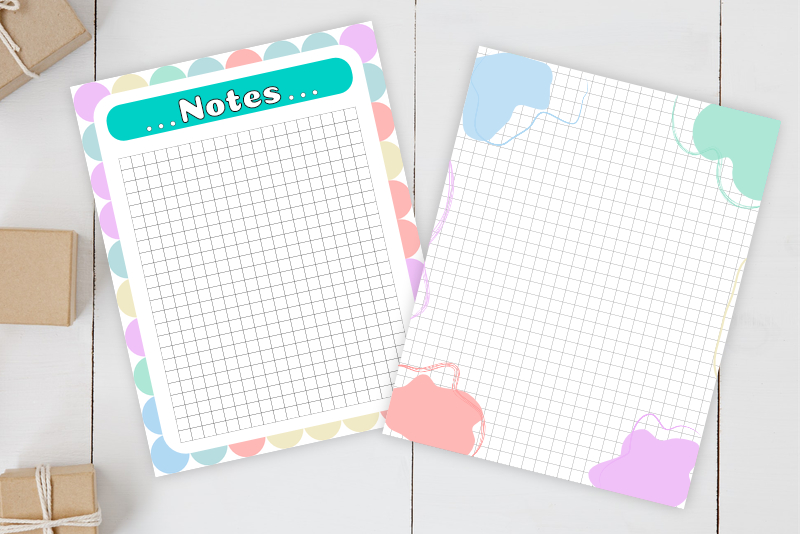
GoodNotes Squared Paper Layout
In this tutorial, we will examine the GoodNotes Squared Paper layout, which you exported from GoodNotes in the previous tutorial.
Many designers prefer to use a grid system when designing layouts for their projects. Using a grid system makes it much easier to be consistent when placing design elements, which results in a cohesive design.
Are you ready to study the Squared Paper layout from GoodNotes? If you have not exported it from GoodNotes, you can do that in the previous tutorial. Just use the link at the end of this tutorial to go to the Index page.
I used Affinity Designer for the following steps. You may use your own design app.
Many people who design for the web, apps and mobile devices use an 8 point or pixel grid system to size and position their design elements, as well as the empty spaces between, for their design layouts. One of the challenges for these designers is the variety of screen sizes available. However, most of the popular screen sizes are divisible by 8. So using the 8 point or pixel grid system helps designers to maintain the layout for their designs, as they scale their designs for these popular screen sizes.
Create a Digital Planner Template Kit - Series Index
Screenshots used by permission of Serif (Europe) Ltd. This article is not endorsed by Serif Ltd.
Screenshots used by permission of Time Base Technology Limited.
Many designers prefer to use a grid system when designing layouts for their projects. Using a grid system makes it much easier to be consistent when placing design elements, which results in a cohesive design.
Are you ready to study the Squared Paper layout from GoodNotes? If you have not exported it from GoodNotes, you can do that in the previous tutorial. Just use the link at the end of this tutorial to go to the Index page.
I used Affinity Designer for the following steps. You may use your own design app.
- Open the Squared Paper PDF into Affinity Designer. In the PDF Options window, keep the default settings and click Open (see screenshot).
- Select all of the layers in the Layers panel. Right-click and choose Group from the list (see screenshot).
- To view the rulers, click View - Show Rulers (see screenshot).
- With the Group layer selected, go to the Transform panel. You will see that the page is 612 points wide and 792 points high (see screenshot).
- To set the measurement units to pixels, right-click on the top left corner of the Canvas, where the rulers intersect. Next, choose Pixels from the list (see screenshot).
- Select the group layer again and go back to the Transform panel.
- Select the Move tool and click on the first vertical line at the far left upper corner of the Canvas.
- In the Transform panel, you will see that the X position for this line is 12 px (see screenshot).
- Click the next vertical line to the right of the first. In the Transform panel, you will see that the X position for this line is 28 px (see screenshot).
- Select the first horizontal line at the top corner of the Canvas. In the Transform panel, you will see that this line has a Y value of 12 px (see screenshot).
- Select the second horizontal line from the top. In the Transform panel, you will see that this line has a Y value of 28 px (see screenshot).
We now have a group of horizontal and vertical lines in the Layers panel. We will group them together.
We will use the Transform panel to visualize the layout for the lines in the page. The X and Y coordinates will tell us the exact position of each line. Our first task is to switch the measurements from the default points to pixels.
If the rulers are not visible, do the next step.
It is much easier to work in pixels. So we will change the units to pixels.
As you can see, the page size is still 612 by 792 (see screenshot). However, we are now using pixels.
In this case, points are equal to pixels. This is called a 1 point to 1 pixel ratio or @1x. UI designers usually work in @1x because the finished layout can be easily scaled up to any screen size such as @2X and @3X. Also, as I mentioned above, I find working in pixels gives me more flexibility.
This first line is 12 pixels from the left edge of the canvas.
So, the second line is 28 pixels from the left edge. When we subtract 12 from 28, we can see that we have 16 pixels between each line. Now we will do the same for the horizontal lines. But this time we will use the Y coordinate to tell us the position of the lines.
Many people who design for the web, apps and mobile devices use an 8 point or pixel grid system to size and position their design elements, as well as the empty spaces between, for their design layouts. One of the challenges for these designers is the variety of screen sizes available. However, most of the popular screen sizes are divisible by 8. So using the 8 point or pixel grid system helps designers to maintain the layout for their designs, as they scale their designs for these popular screen sizes.
Create a Digital Planner Template Kit - Series Index
Screenshots used by permission of Serif (Europe) Ltd. This article is not endorsed by Serif Ltd.
Screenshots used by permission of Time Base Technology Limited.

Related Articles
Editor's Picks Articles
Top Ten Articles
Previous Features
Site Map
Content copyright © 2023 by Diane Cipollo. All rights reserved.
This content was written by Diane Cipollo. If you wish to use this content in any manner, you need written permission. Contact Diane Cipollo for details.


