
Writing Lines Digital Planner Template Kit
One very basic design element that you will find in any digital planner template kit is lined paper for hand writing with the digital pen. We will create two versions of lined paper. One paper will have lines that are 16 pixels apart. The other, for those with large hand writing, has lines that are 24 pixels apart. When finished, we will store these lines in the fillerPapers artboard. That way, they will be ready when we want to add lines to any of your paper designs.
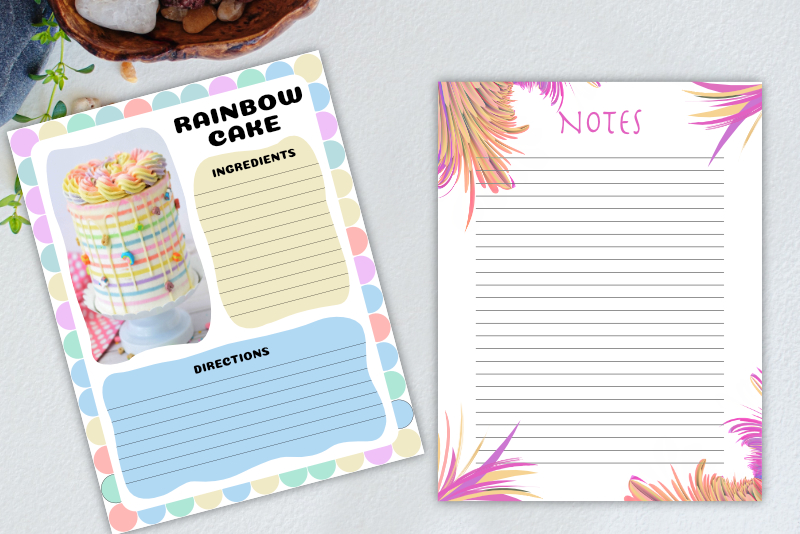
Open your 002_digitalPlannerTemplateKit document in to Affinity® Designer. We will be working in the fillerPapers artboard (see screenshot).
Save your work (File - Export as Template).
Create a Digital Planner Template Kit - Series Index
Screenshots used by permission of Serif (Europe) Ltd. This article is not endorsed by Serif Ltd.
Screenshots used by permission of Time Base Technology Limited.
Open your 002_digitalPlannerTemplateKit document in to Affinity® Designer. We will be working in the fillerPapers artboard (see screenshot).
- Select the fillerPapers artboard. Zoom in closer if needed.
- In the Context toolbar, set the Fill to null, the Stroke to 1 px and the Stroke Color to Black.
- Draw a horizontal line across the canvas at the top of the artboard.
- In the Transform panel, set the Y to 24 and the Width to 612 px (see screenshot).
- From the top Menubar, click File - Duplicate. Drag the new line downward 24 px (see screenshot).
- From the top Menubar, click File - Duplicate.
- Select all of the line layers in the Layers panel, right-click and choose Group. Name the group layer writingLines 24 apart (see screenshot).
- Turn off the visibility for the writingLines layer.
When creating your paper designs, you will want to add writing lines in to some designs. All you will need to do is copy and paste these lines from the artboard and in to your paper design. Then, you can change the line color for each new paper design as you wish.
Now, we have our line at 24 pixels from the top edge and at the same width as the page base. We just need to duplicate this line to fill the paper.
Now we will use the Power Duplicate feature to create a new line 24 px below the second. Repeat the next step until the template is full (see screenshot).
Let's group the lines together.
Save your work (File - Export as Template).
Create a Digital Planner Template Kit - Series Index
Screenshots used by permission of Serif (Europe) Ltd. This article is not endorsed by Serif Ltd.
Screenshots used by permission of Time Base Technology Limited.

Related Articles
Editor's Picks Articles
Top Ten Articles
Previous Features
Site Map
Content copyright © 2023 by Diane Cipollo. All rights reserved.
This content was written by Diane Cipollo. If you wish to use this content in any manner, you need written permission. Contact Diane Cipollo for details.


