
Planner Template Kit - Yearly Layout Template
In this Affinity Designer tutorial, we will design a yearly planner page layout template for the digital planner template kit. Starting from the threeColumnLayout template, this layout will have a small rectangle for each month.
Our first step will be to duplicate the threeColumnLayout artboard from our Digital Planner Template Kit.
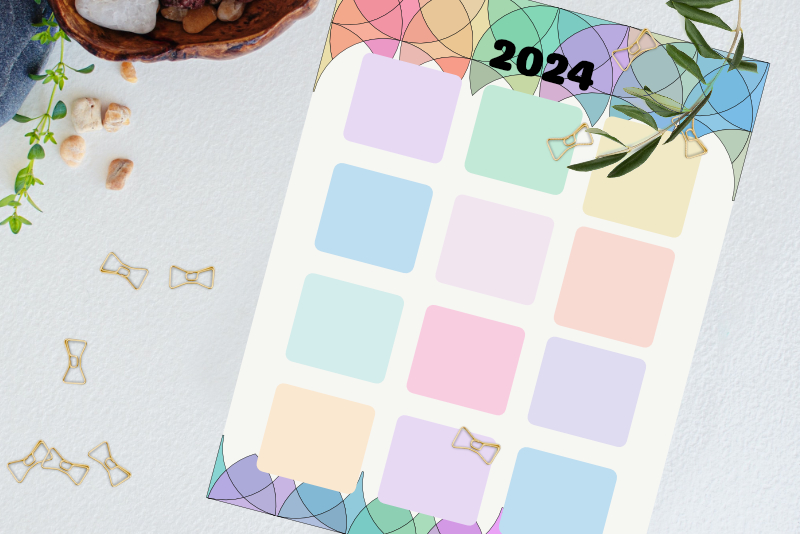
When creating a yearly planner page using this template, you might want to add a colored margin or add artwork in the top and bottom margins. For the individual yearly rectangles, try rounding the corners and adding a different colored solid background for each, as you can see in the image above.
Create a Digital Planner Template Kit - Series Index
Screenshots used by permission of Serif (Europe) Ltd. This article is not endorsed by Serif Ltd.
Screenshots used by permission of Time Base Technology Limited.
Our first step will be to duplicate the threeColumnLayout artboard from our Digital Planner Template Kit.
- Open the 002_digitalPlannerTemplateKit in to Affinity® Designer.
- In the Layers panel, duplicate the threeColumnLayout artboard.
- Rename the new artboard to yearlyLayout and drag it to the bottom of the Layers panel (see screenshot).
- On the canvas, drag the duplicate artboard under the original (see screenshot).
- Open the yearlyLayout and the Equal Columns group layers. Select the three columns that are inside (see screenshot).
- In the Transform panel, change the Height from 648 px to 128 px, to resize the rectangles. Change the Y value from 72 pixels to 144 pixels, to move the rectangles down just a little, to make room for the title text (see screenshot).
- In the Layers panel, rename this group from Equal Columns to Jan - Mar (see screenshot).
- In the Layers panel, duplicate the Jan - Mar group layer and rename it to Apr - Jun. Open this group layer and select the three columns.
- In the Transform panel, set the Y value to 288 px, to move the Apr - Jun layer downward (see screenshot).
- Name the third row Jul - Sep and set the Y value to 432 px (see screenshot).
- Name the fourth row Oct - Dec and set the Y value to 576 px (see screenshot).
- In the components artboard, copy the title placeholder.
- Select the yearlyLayout artboard and paste the placeholder. In the Transform panel, it should automatically have an x value of 204 and a y value of 72 (see screenshot).
At this point the artboard has three columns that are 144 pixels wide and 648 pixels tall and a 16 pixel gutter between them. We want to resize these to smaller rectangles that are 144 px wide x 128 px tall. These smaller rectangles will be the first three rectangles for the first three months of the year.
Repeat the previous steps to create two more rows.
We already have a title placeholder, so let's use it to add a title to our template.
When creating a yearly planner page using this template, you might want to add a colored margin or add artwork in the top and bottom margins. For the individual yearly rectangles, try rounding the corners and adding a different colored solid background for each, as you can see in the image above.
Create a Digital Planner Template Kit - Series Index
Screenshots used by permission of Serif (Europe) Ltd. This article is not endorsed by Serif Ltd.
Screenshots used by permission of Time Base Technology Limited.

Related Articles
Editor's Picks Articles
Top Ten Articles
Previous Features
Site Map
Content copyright © 2023 by Diane Cipollo. All rights reserved.
This content was written by Diane Cipollo. If you wish to use this content in any manner, you need written permission. Contact Diane Cipollo for details.


