
Review Pattern Design in Illustrator Masterclass
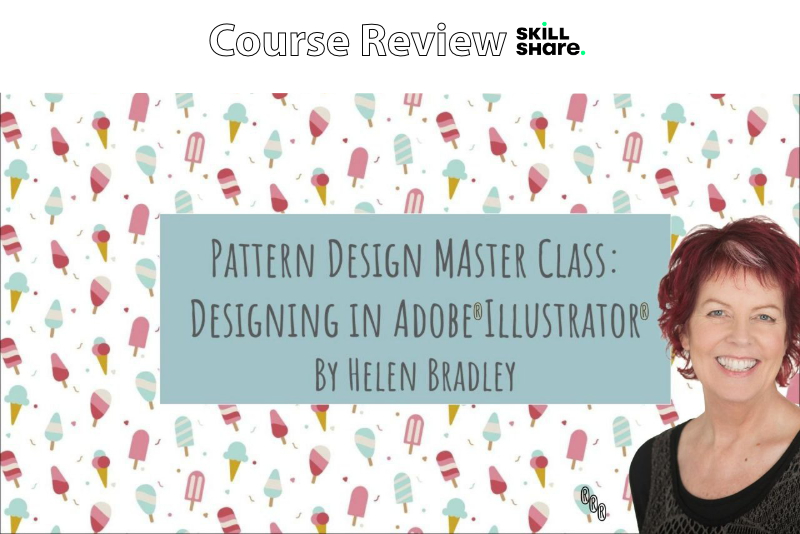
In this Skillshare course entitled Pattern Design in Illustrator Masterclass - A - Graphic Design for Lunch™ class, Helen Bradley introduces the basics of repeat pattern design in Illustrator®. She includes a download containing several ice cream themed motifs, for use in the course project. The project for this course is to create four patterns in two colorways.
Bradley starts with a tour of the basic tools in Illustrator, especially the Pattern Options panel. Using this panel, she creates a simple pattern from simple squares. Next, she demonstrates how to use the Move, Scale and Rotate panels. Now it's time to save your pattern using the Swathes library.
For the next section, Bradley covers how to edit your pattern. First, she discusses some of the most common mistakes and how to fix them. She also covers the Recolor Artwork tool and how to create several colorways for your pattern. She especially concentrates on how to fix a common problem, which is hairlines inside patterns.
Spoonflower.com is a popular website for selling your patterns. Bradley discusses how to prepare your patterns for sale and demonstrates how to upload your patterns to Spoonflower.
Now that the business part of the process is covered, Bradley demonstrates how to create some basic patterns from circles and rectangles. She begins with a simple circle and creates a basic grid pattern. By adding another dot, she can add a new color to the pattern and create a simple offset pattern. Finally, she creates a complex shape by overlapping three circles, to create a scallop pattern. Starting with a thin rectangle, Bradley creates horizontal, vertical and diagonal striped patterns. Finally, Bradley discusses the difference between a block and half drop repeat pattern.
Using the motifs included in the course download, Bradley discusses how to create a collection of patterns. She uses the patterns previously created in the course as the patterns for the collection. She demonstrates how to create a new color group from one of the main patterns and how to recolor the other patterns with this same color group, thus creating a nicely coordinated pattern collection.
Helen Bradley is the author of the Graphic Design for Lunch™ courses on Skillshare. You can find her on her social sites and on her website projectwoman.com.
Pattern Design in Illustrator Masterclass - A - Graphic Design for Lunch™ class by Helen Bradley
Disclosure: As a participant in the Skillshare affiliate program, some of the links in this article are affiliate links. However, my opinions are completely my own based on my experience.
Screenshots used by permission of Skillshare .

Related Articles
Editor's Picks Articles
Top Ten Articles
Previous Features
Site Map
Content copyright © 2023 by Diane Cipollo. All rights reserved.
This content was written by Diane Cipollo. If you wish to use this content in any manner, you need written permission. Contact Diane Cipollo for details.


