Fingerless Mitts Recipe

Hands are one of the first parts of the body to get cold. Fortunately, knitters are able to create mittens for both warms and beauty. Even if one lives in a temperate climate, finger-less mitts make great projects because they are so versatile: they can be worn alone or layered over full mittens or gloves for extra warmth. Beyond that, mitts are quick projects that really don’t need a prescribed pattern. Here are instructions for “winging” it.
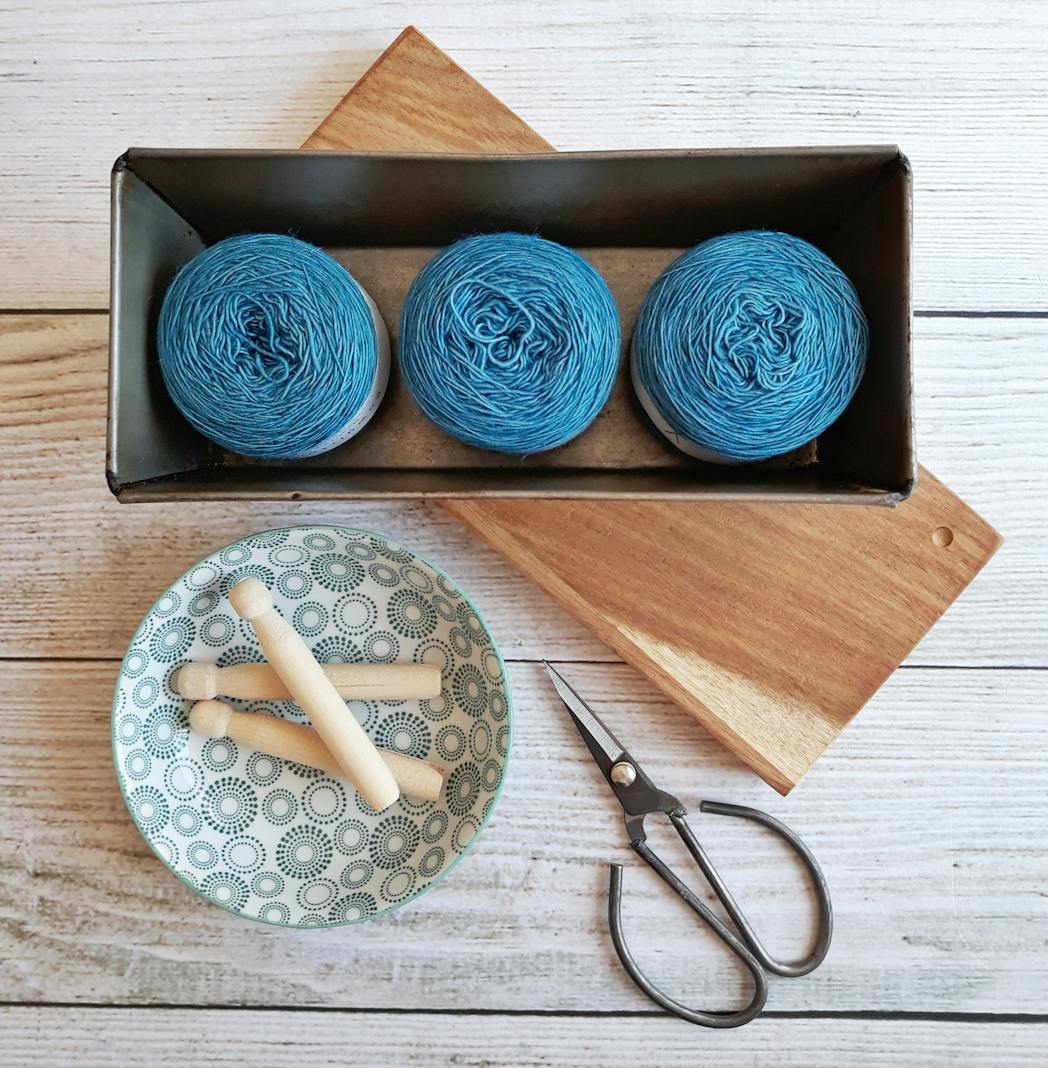
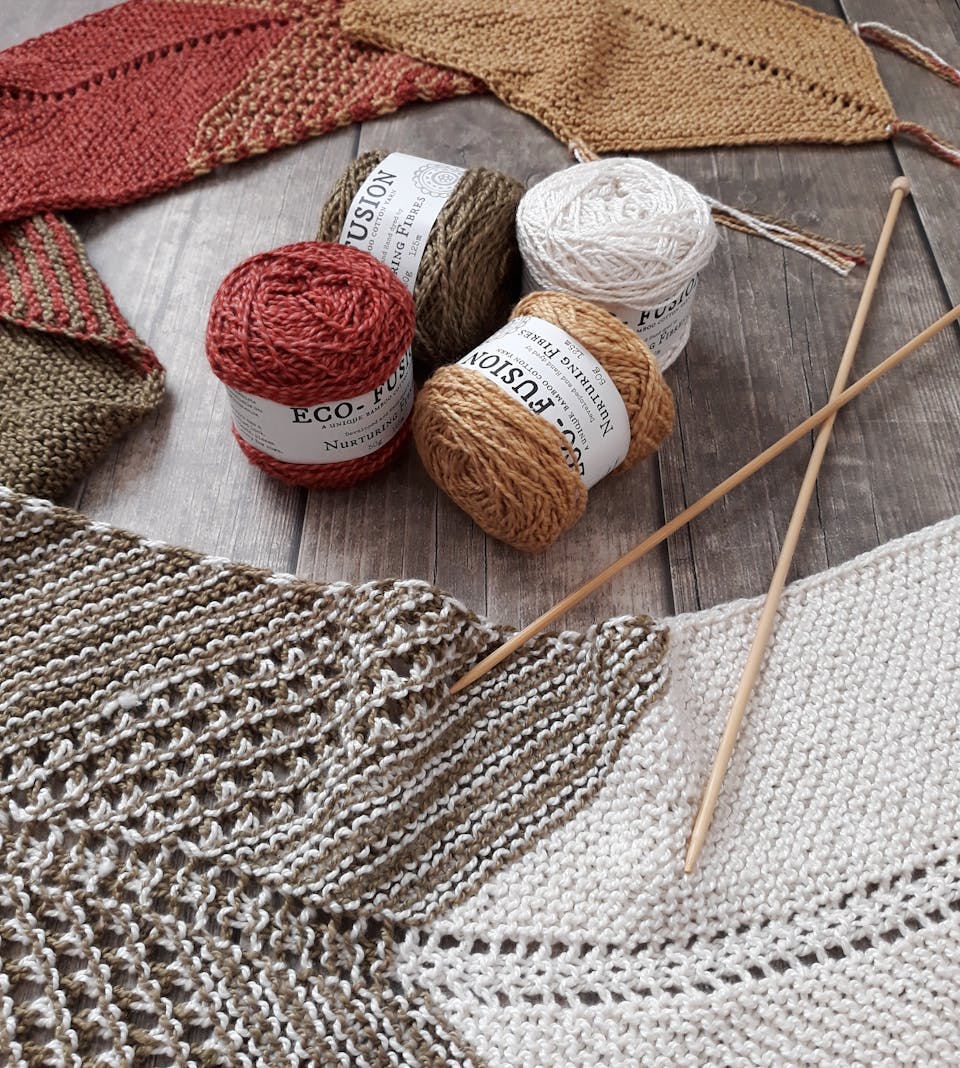
These don’t take much yarn. For basic stockinette mitts with ribbings at the edges, one can make a child’s or small adult’s pair with two hundred yards of sport yarn, using size 2 needles. A medium or large adult’s might take three hundred yards. If one prefers to use worsted weight yarn, a medium or large pair will take approximately one hundred seventy-five yards, with smaller hands of course using less yarn. Mitts are projects that lend themselves well to using up scrap yarn – perhaps stripe them, or make the ribbings a different color. Once the first pair’s been made, it’s easier to estimate the amount of yarn needed; buy an extra ball of yarn for “insurance.”
There are three essential elements to finger-less mitts. First of all, it’s very important to check one’s gauge. Measure the wrist. Then make a gauge swatch with the needles and yarn. Measure the gauge and then multiply the wrist measurement by the stitches in the gauge measurement (in the United States, this will be in inches.) Round up to a multiple of four. That’s all the math needed!
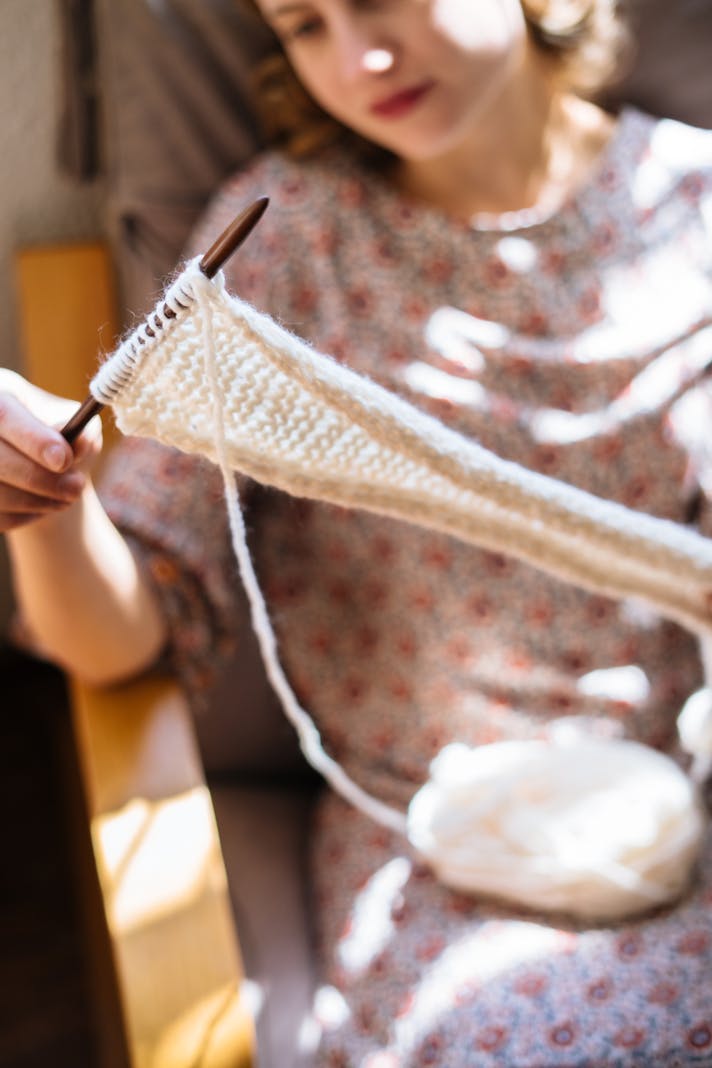
Mitts should be knit in the round for better fit and less chafing. Traditionally, double-pointed needles are used, but two short circular needles are much easier to work with. Cast on the needed number of stitches onto one of the needles, and then knit two rows in knit two, purl 2 (K2, P2) ribbing. Now it’s easier to use the second needle to join the piece into the round without twisting the cuff. Knit half the stitches with the new needle, and then knit the other half with the first needle. Keep ribbing for eight to twelve rows, until the bottom cuff is the desired length. Then knit a plain row.
The only “difficult” part of the mitts is the thumb gusset. While it’s possible to just create a hole by knitting back and forth for an inch or two, gusseted mitts look and fit better. Two stitch markers make this easier. Knit the first stitch on the next row, place a stitch marker, and then make a new stitch by knitting into the running thread between the stitches. Then place the second stitch marker, and knit to the end of the row. The gusset has been started! Knit the next round plain. After that, increase a stitch inside each of the markers for the next row, and follow that by a row of plain knitting. The gusset will form a “V” shape, with a lacy detail around it. Keep doing this until the gusset is the desired length; for small hands, fifteen gusset stitches is usually enough. When the gusset is complete, rib the edges of it (you will need to add or subtract stitches here to keep the K2, P2, ribbing pattern. When the gusset is ribbed, bind it off. On the next row, skip the gusset and join the hand stitches again – there should be the same number of stitches as there were in the beginning.
Knit the hand in stockinette until it reaches the desired length, usually to the knuckles or just below. After that, change back to K2, P2 ribbing for five to eight rows, until the desired length is reached. (It’s nice here to be able to fold the ribbing back for extra dexterity or keep it unfolded for extra warmth.) Then bind off in rib. A new mitt has been created! Repeat these instructions for the other hand. Then wear the mitts with pride, and, when complimented, casually say, “I made these.” Don’t be surprised by requests from friends who want a pair of their own!
These don’t take much yarn. For basic stockinette mitts with ribbings at the edges, one can make a child’s or small adult’s pair with two hundred yards of sport yarn, using size 2 needles. A medium or large adult’s might take three hundred yards. If one prefers to use worsted weight yarn, a medium or large pair will take approximately one hundred seventy-five yards, with smaller hands of course using less yarn. Mitts are projects that lend themselves well to using up scrap yarn – perhaps stripe them, or make the ribbings a different color. Once the first pair’s been made, it’s easier to estimate the amount of yarn needed; buy an extra ball of yarn for “insurance.”
There are three essential elements to finger-less mitts. First of all, it’s very important to check one’s gauge. Measure the wrist. Then make a gauge swatch with the needles and yarn. Measure the gauge and then multiply the wrist measurement by the stitches in the gauge measurement (in the United States, this will be in inches.) Round up to a multiple of four. That’s all the math needed!
Mitts should be knit in the round for better fit and less chafing. Traditionally, double-pointed needles are used, but two short circular needles are much easier to work with. Cast on the needed number of stitches onto one of the needles, and then knit two rows in knit two, purl 2 (K2, P2) ribbing. Now it’s easier to use the second needle to join the piece into the round without twisting the cuff. Knit half the stitches with the new needle, and then knit the other half with the first needle. Keep ribbing for eight to twelve rows, until the bottom cuff is the desired length. Then knit a plain row.
The only “difficult” part of the mitts is the thumb gusset. While it’s possible to just create a hole by knitting back and forth for an inch or two, gusseted mitts look and fit better. Two stitch markers make this easier. Knit the first stitch on the next row, place a stitch marker, and then make a new stitch by knitting into the running thread between the stitches. Then place the second stitch marker, and knit to the end of the row. The gusset has been started! Knit the next round plain. After that, increase a stitch inside each of the markers for the next row, and follow that by a row of plain knitting. The gusset will form a “V” shape, with a lacy detail around it. Keep doing this until the gusset is the desired length; for small hands, fifteen gusset stitches is usually enough. When the gusset is complete, rib the edges of it (you will need to add or subtract stitches here to keep the K2, P2, ribbing pattern. When the gusset is ribbed, bind it off. On the next row, skip the gusset and join the hand stitches again – there should be the same number of stitches as there were in the beginning.
Knit the hand in stockinette until it reaches the desired length, usually to the knuckles or just below. After that, change back to K2, P2 ribbing for five to eight rows, until the desired length is reached. (It’s nice here to be able to fold the ribbing back for extra dexterity or keep it unfolded for extra warmth.) Then bind off in rib. A new mitt has been created! Repeat these instructions for the other hand. Then wear the mitts with pride, and, when complimented, casually say, “I made these.” Don’t be surprised by requests from friends who want a pair of their own!

Related Articles
Editor's Picks Articles
Top Ten Articles
Previous Features
Site Map
Content copyright © 2023 by Korie Beth Brown, Ph.D.. All rights reserved.
This content was written by Korie Beth Brown, Ph.D.. If you wish to use this content in any manner, you need written permission. Contact Korie Beth Brown, Ph.D. for details.